Today I’m sharing what might be my favorite home project yet- our new fireplace wall and mantel! It was a complete DIY project so it’s been a long time in the making, but it’s finally complete and we’re thrilled with the results. Follow along as I walk you through what it looked like before and how we transformed it step by step! Oh and don’t forget to stick around for the after pictures, you won’t believe it’s the same space!
*This post contains affiliate links.
BEFORE
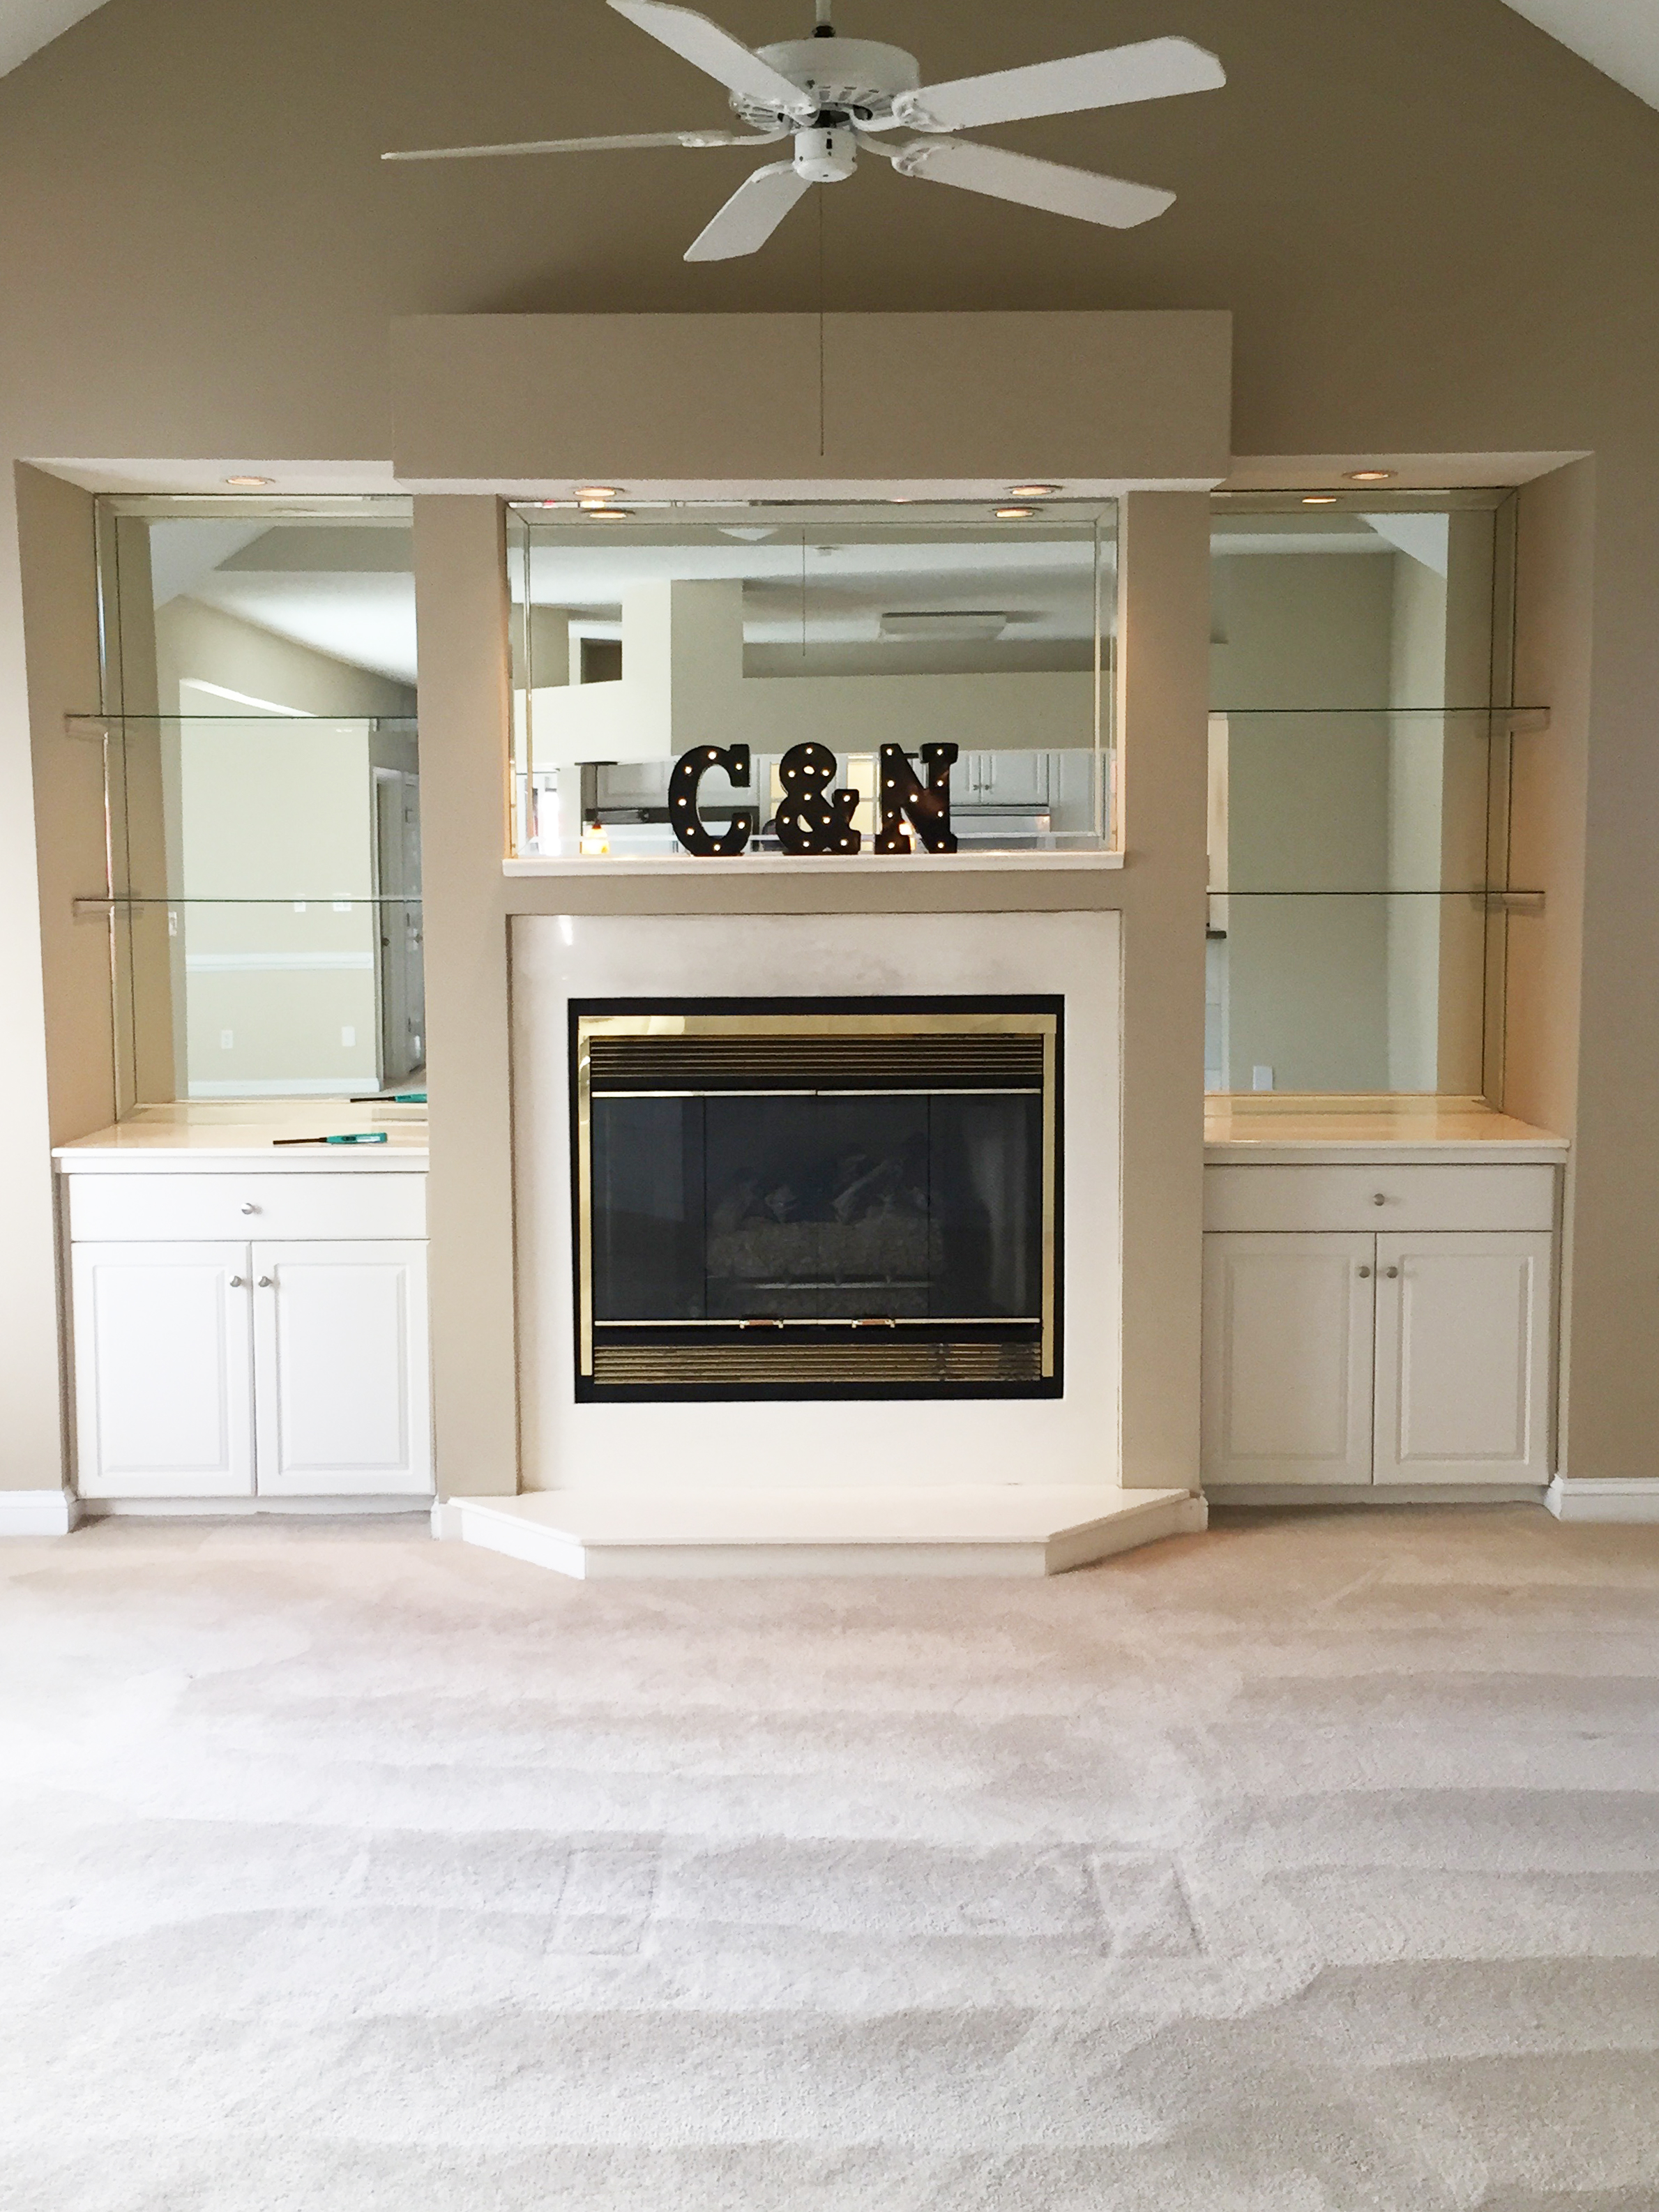
STAGE 1
My first attempt at making this wall look decent was intended to be a temporary fix while I figured out a design plan. Well, here we are 3 years later and finally executing that plan….But I’m just thankful that during that time we didn’t have to look at cluttered glass shelving and a wall of mirrors! If you’ve been following me for a while, you may remember this post where I shared the low budget transformation. For under $60 I was able to get paneling at lowes to fit the inserts and my husband built the wood “X’s”. Overall, I think it turned out pretty great! But the soffit that popped out over the fireplace drove me crazy. I finally was able to talk my husband into making my vision become reality!
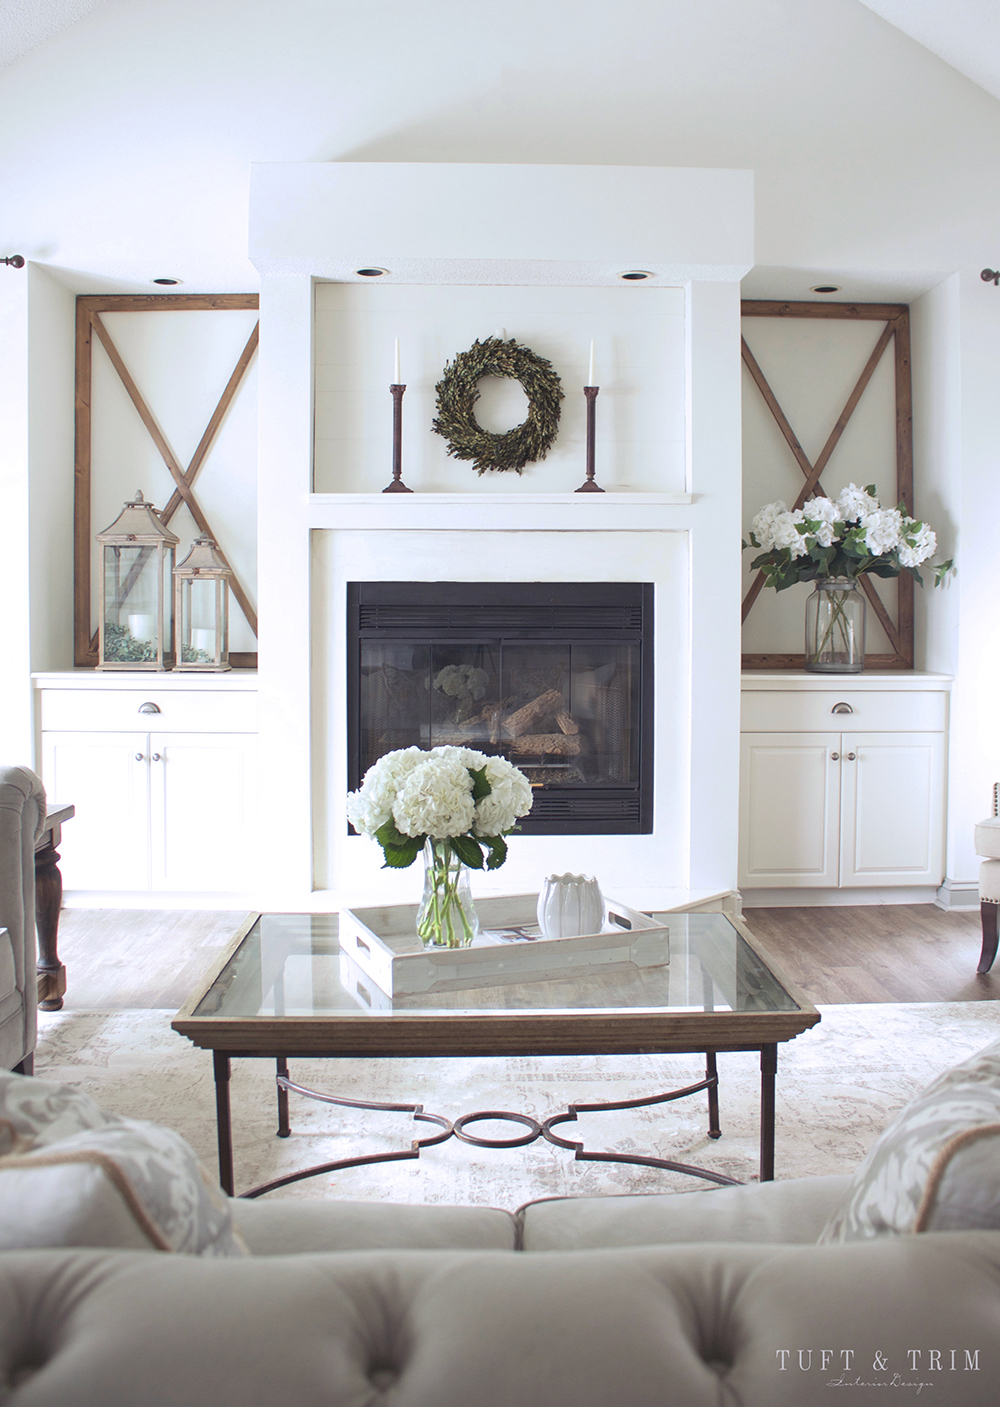
STEP 1: TEAR DOWN SOFFIT
The project began with a little bit of demolition. This is always my husbands favorite part. I’m usually watching nervously in the background hoping he doesn’t hurt himself. This time I was also celebrating the fact that I could say good bye to the soffit once and for all!


STEP 2: BUILD WALL FRAME
I’m still amazed that he was able to figure this out. I have to admit, I was a bit skeptical at first, but now I’m a believer! In just a couple hours he framed the fireplace wall and was ready for the next step…

STEP 3: INSTALL DRY WALL PANEL
This part was fairly simple, but a bit nerve wrecking. The panels were pretty heavy so I helped him hold them in place while he nailed them into the studs.

STEP 4: APPLY COMPOUND
Because the panels were cut to fit around the existing walls, we had to tape and apply compound to smooth them out. You can see how the wall looks uneven where the cutout was above the fireplace. It took several layers of compound to get it thick enough to get the surface flat.
STEP 5: SAND
This is my least favorite part of the process..the dust gets everywhere! But to get the wall to be smooth, we had to sand down the dried compound.

STEP 6: PRIME & PAINT
We covered the wall with a layer of primer and another layer of paint to match the other walls. Once the paint was up, we took a step back and were AMAZED at how much bigger the space felt! I liked it so much, I was tempted to not put anything on the wall because I loved how clean it looked.
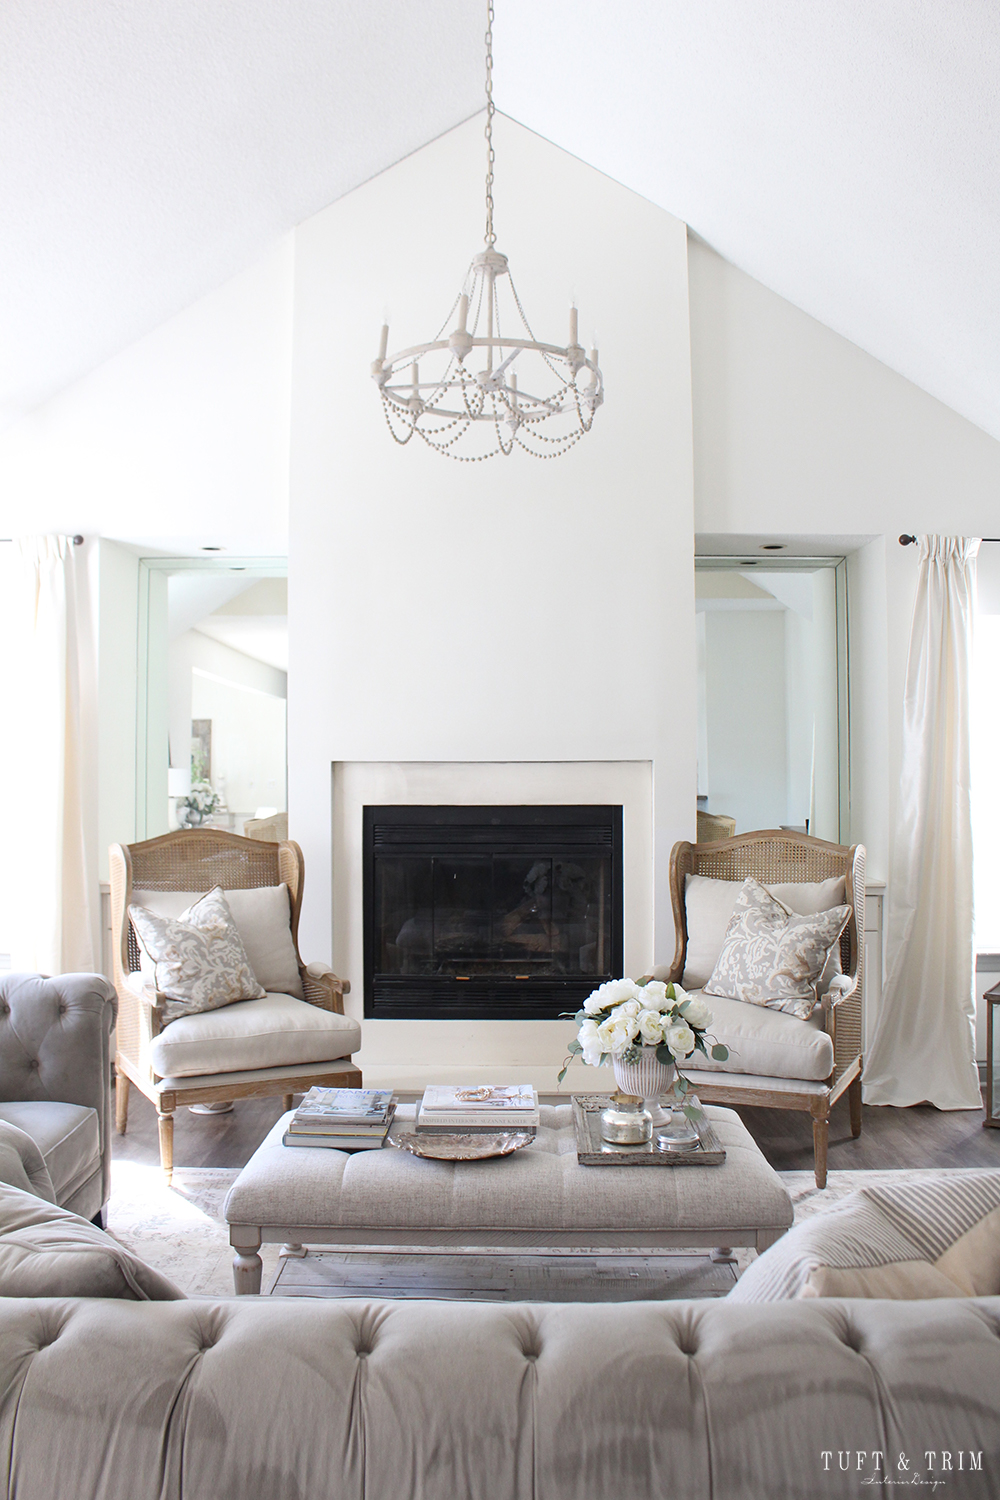
STEP 7: BUILD & INSTALL MANTEL
Fast forward a couple weeks and I decided to design a mantle.. I put my husband back to work on creating this french country style, wood mantle shelf with corbels. I’m still amazed at how great it turned out! We used pine wood and stained it with weathered oak and then gray washed it with a mixture of gray chalk paint and water. The gray wash helped tone it down so it matched the wood on the wingback chairs.

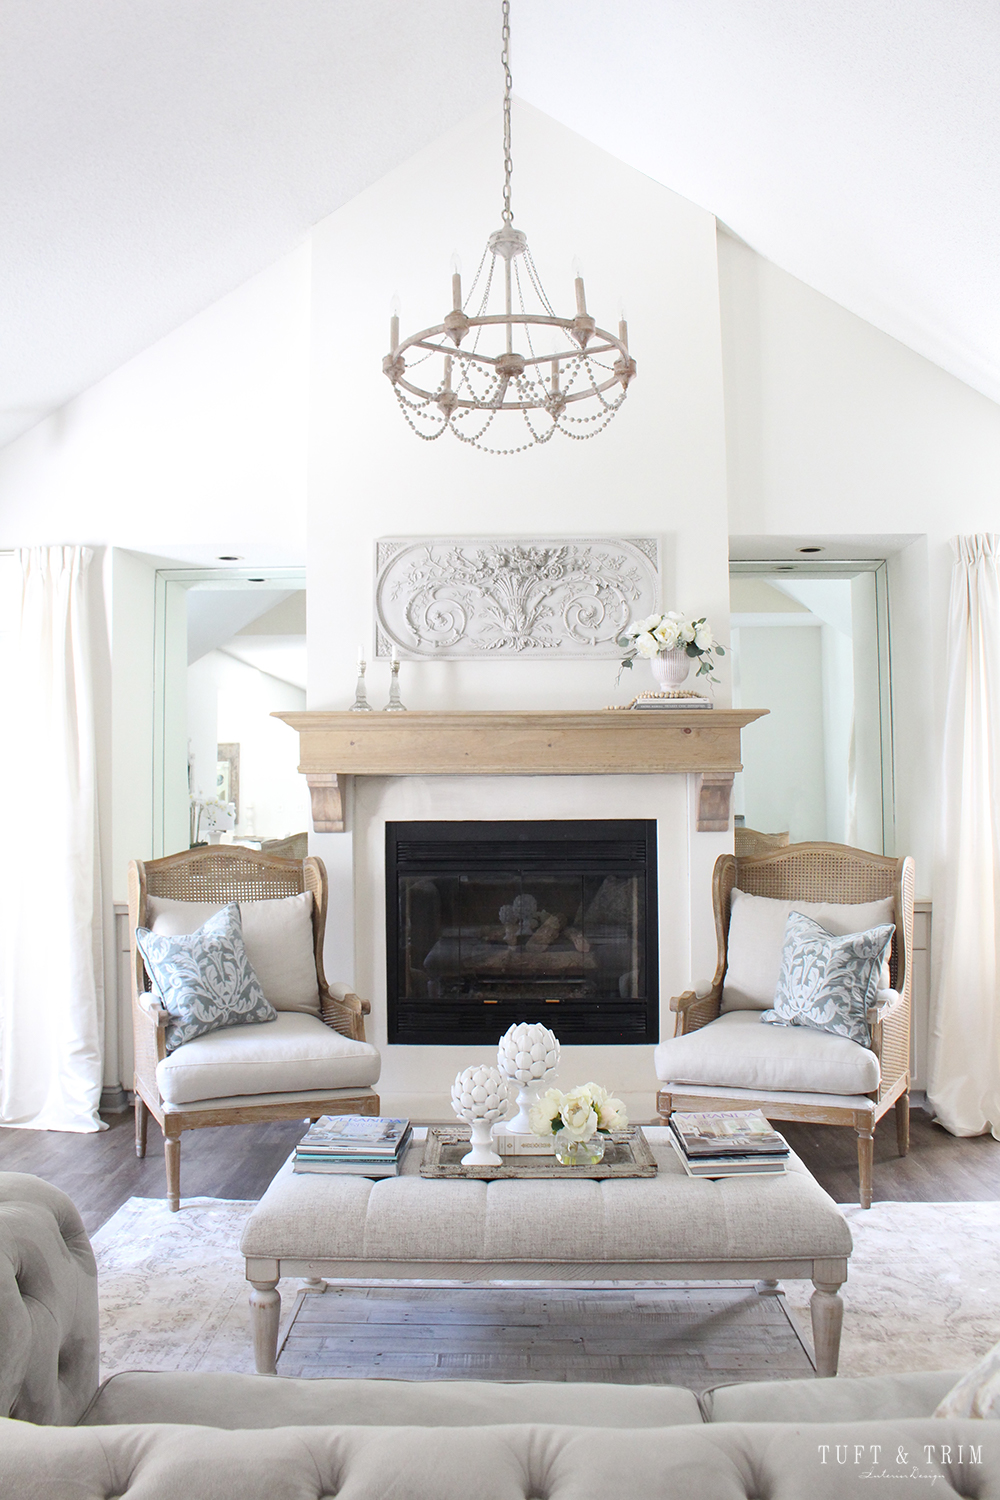
Another change you might notice is there is no longer a ceiling fan!! That’s right, finally won the chandelier battle! I found this one on craigslist for next to nothing and refinished it. We also retired the wood X frames and decided to keep the mirrors to help brighten the space. Still not sold on them, but at least the fireplace takes center stage and they aren’t as noticeable.
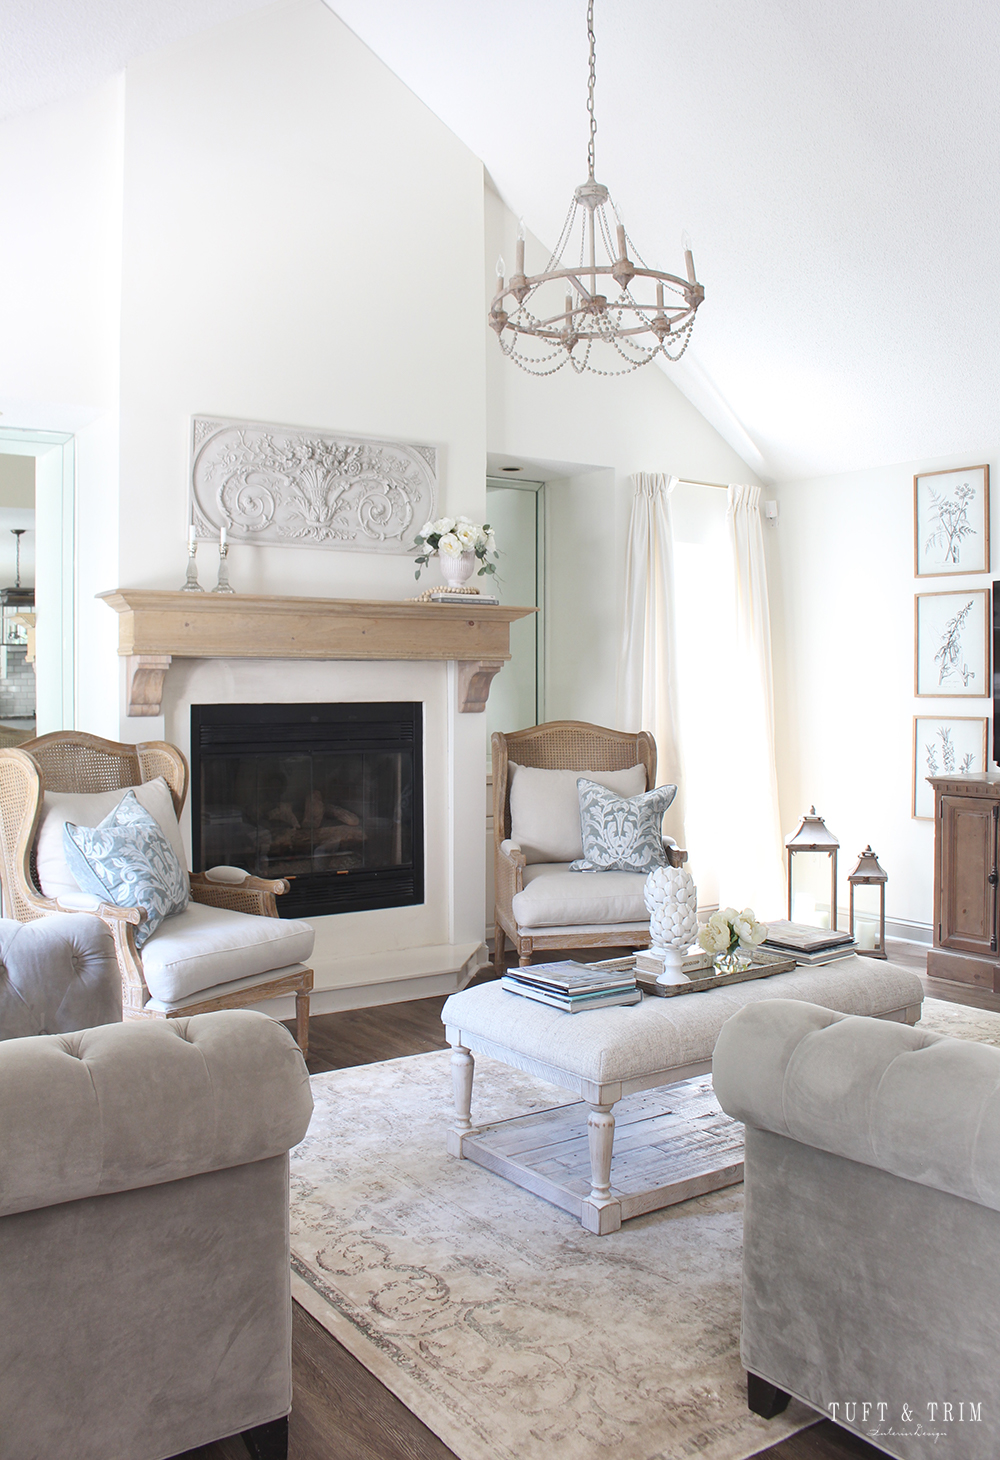
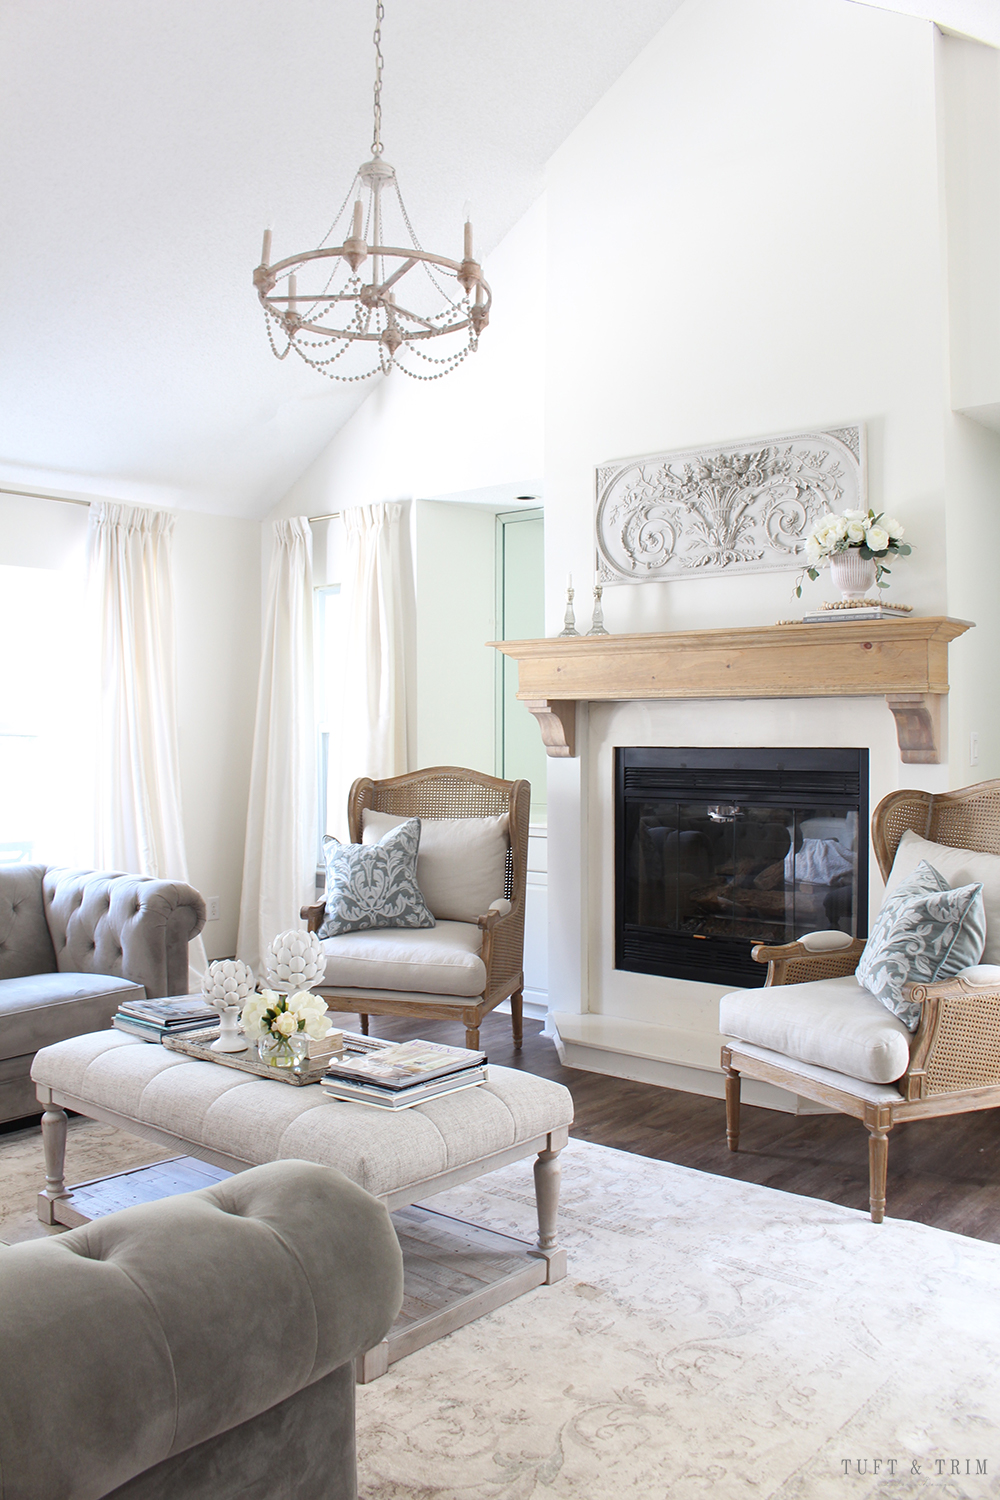

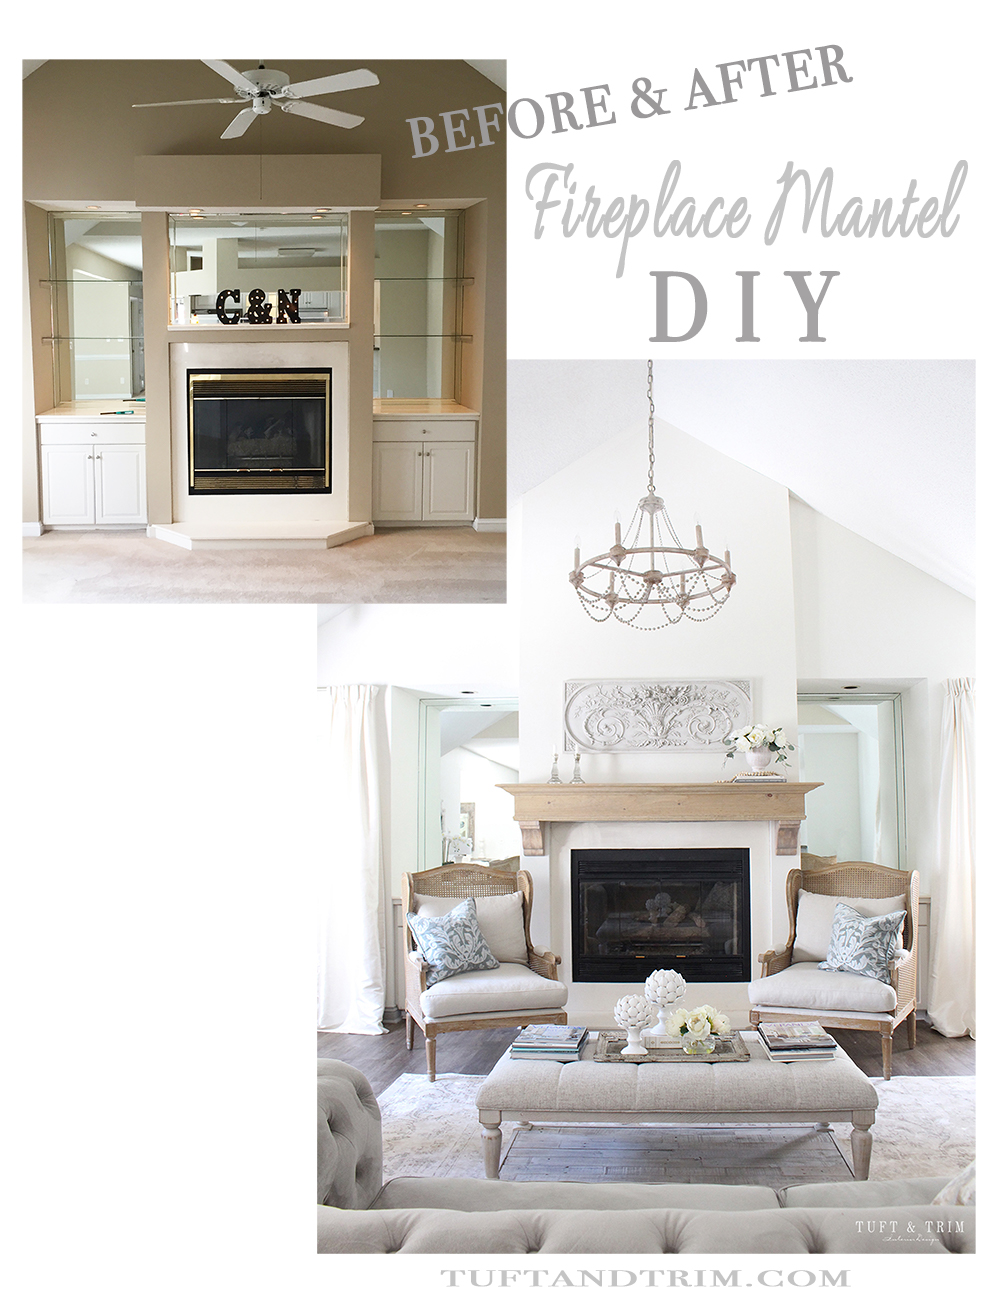
We’re so excited about our new fireplace mantel and updated living room! Hope you enjoyed seeing the process unfold. It’s always fun to see what can happen with a little hared work and creativity!
Stay connected!
Instagram / Pinterest / Facebook


Thanks for letting us follow along as you made these amazing changes. You and your husband did a lovely job on the fireplace and the mantle looks great too …. the whole room looks very comfortable and inviting. Great job you two, enjoy !!
Hi Jayne,
Thank you so very much, that is so encouraging to hear! I’m so glad you like how the room came together. I appreciate your kind feedback! Thank you for following along!!
Courtney