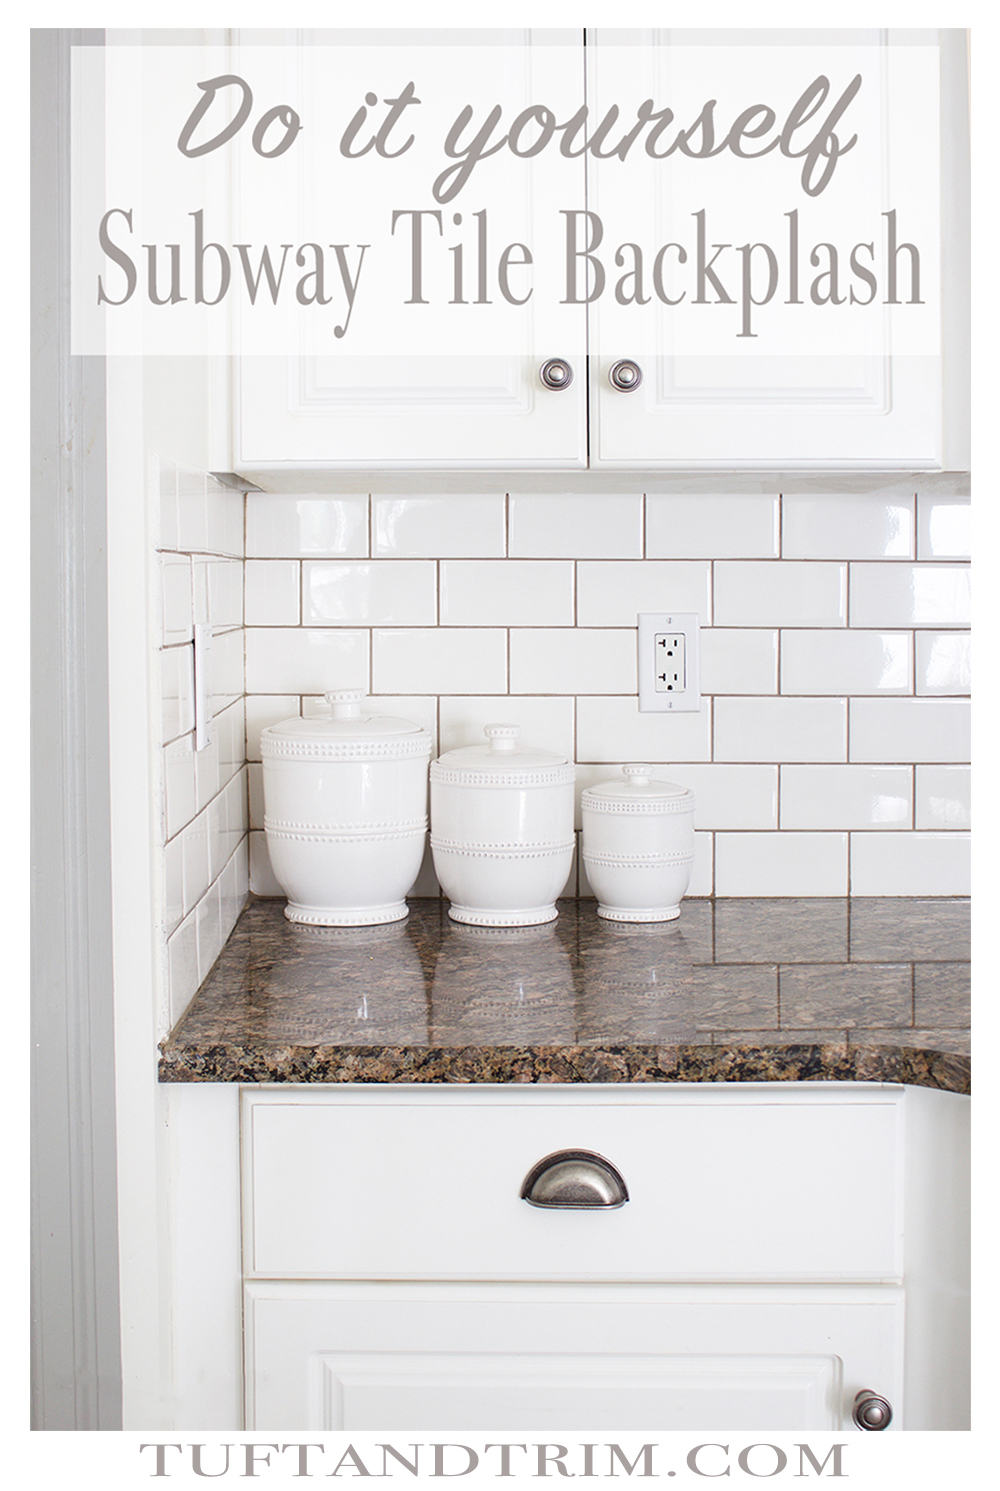
 If your anything like me, you have a long list of home projects waiting to get done. Unfortunately for us, hiring someone to complete those projects doesn’t fit within our budget. But I don’t take no for an answer when it comes to design, so my poor husband has had to learn how to be an electrician, plumber, tile layer, and the list will continue to grow. If you’ve been following me onInstagram or Pinterest, you’ve already seen our kitchen evolve with DIY projects. First we did the DIY Reclaimed Wood Island Makeover which was fun. Then we tackled an even bigger challenge of tearing down a wall and hanging lanterns in our Kitchen Reveal. But why stop there?
This week we conquered the subway tile backsplash. I was a bit nervous to tackle such a task, but was surprised to find it wasn’t as hard as I thought! I wanted to share a step by step tutorial for anyone who might be wanting to try it for themselves. And you don’t have to be a DIY pro to do it. My husband and I had never dealt with tile before and were able to figure it out, so you can to! Below I have all the materials and tools needed, along with pictures of each step of the process.
This post contains affiliate links.
Materials
Daltile Bright White Subway Tile
Caulk-Light Smoke and Bright White
Tools
1. Removing Granite Backsplash
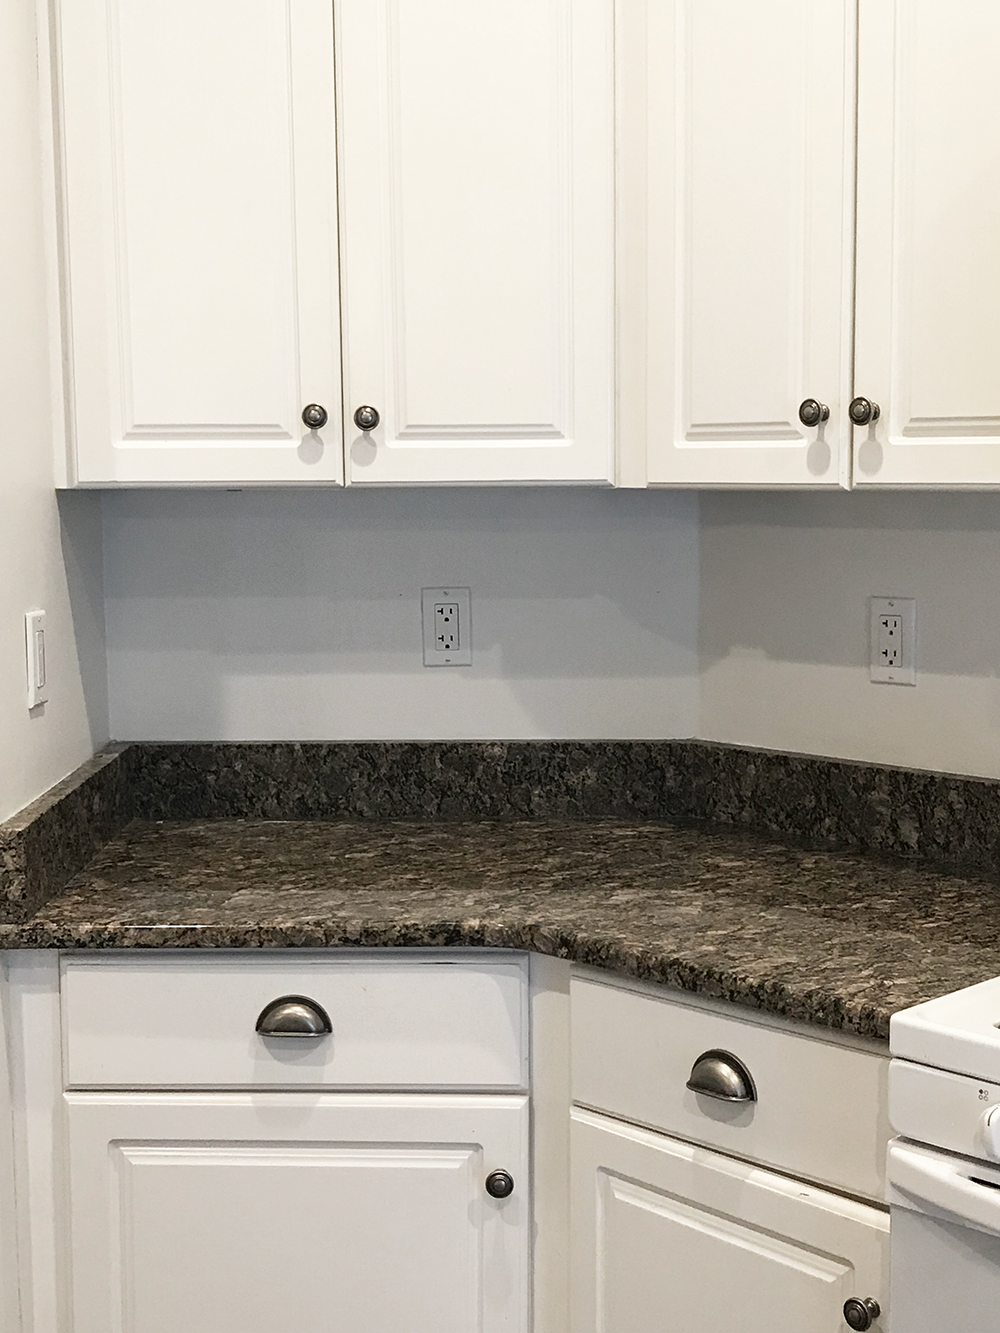
If you have a 4-6″ granite backsplash, you’ll want to remove it before laying the tile. You may be tempted to just lay tile above the backsplash trim, but you’ll be SO much happier if you don’t! The tile backsplash looks so much better when it starts at the counter surface.
To remove granite, start by using the utility knife to cut the edges where the granite meets both the counter surface and wall. Be careful not to scratch the granite. Then slide chisel knife under the granite backsplash and between the backsplash and wall in order to wiggle it loose. As you can see, we tried several different tools such as a pry bar and rubber mallet to get ours off. The Mallet helped us get chisel knife under the backsplash and behind it, and the pry bar helped us pull it off.
Unfortunately, in the excitement of the project, I forgot to take more pictures of this process. However, here is a good tutorial by The Blue Hue House that shows the step by step process.
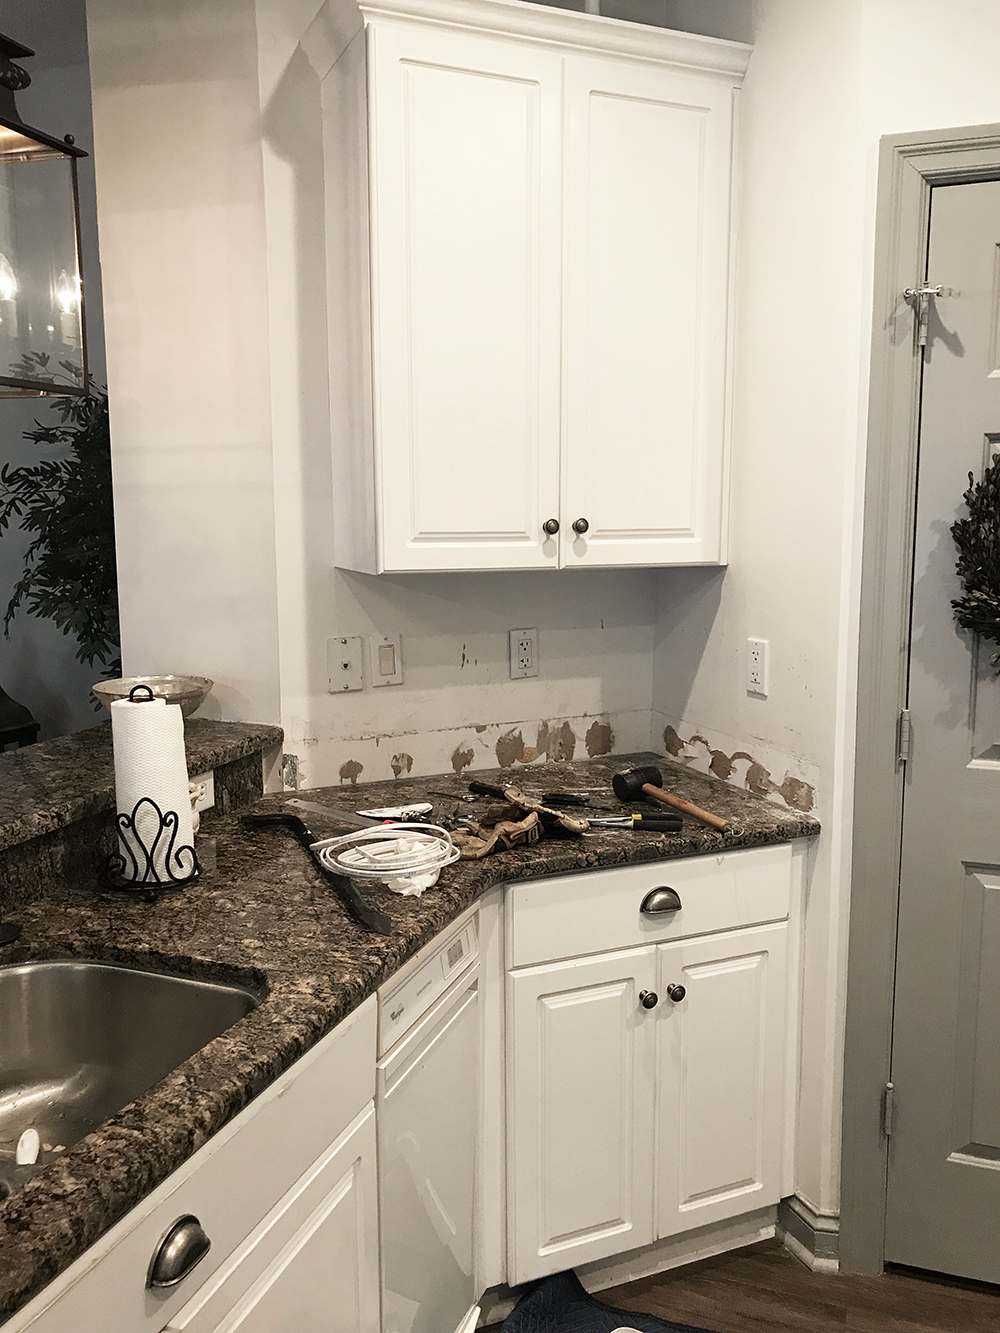
2. Prep Walls & Work Area
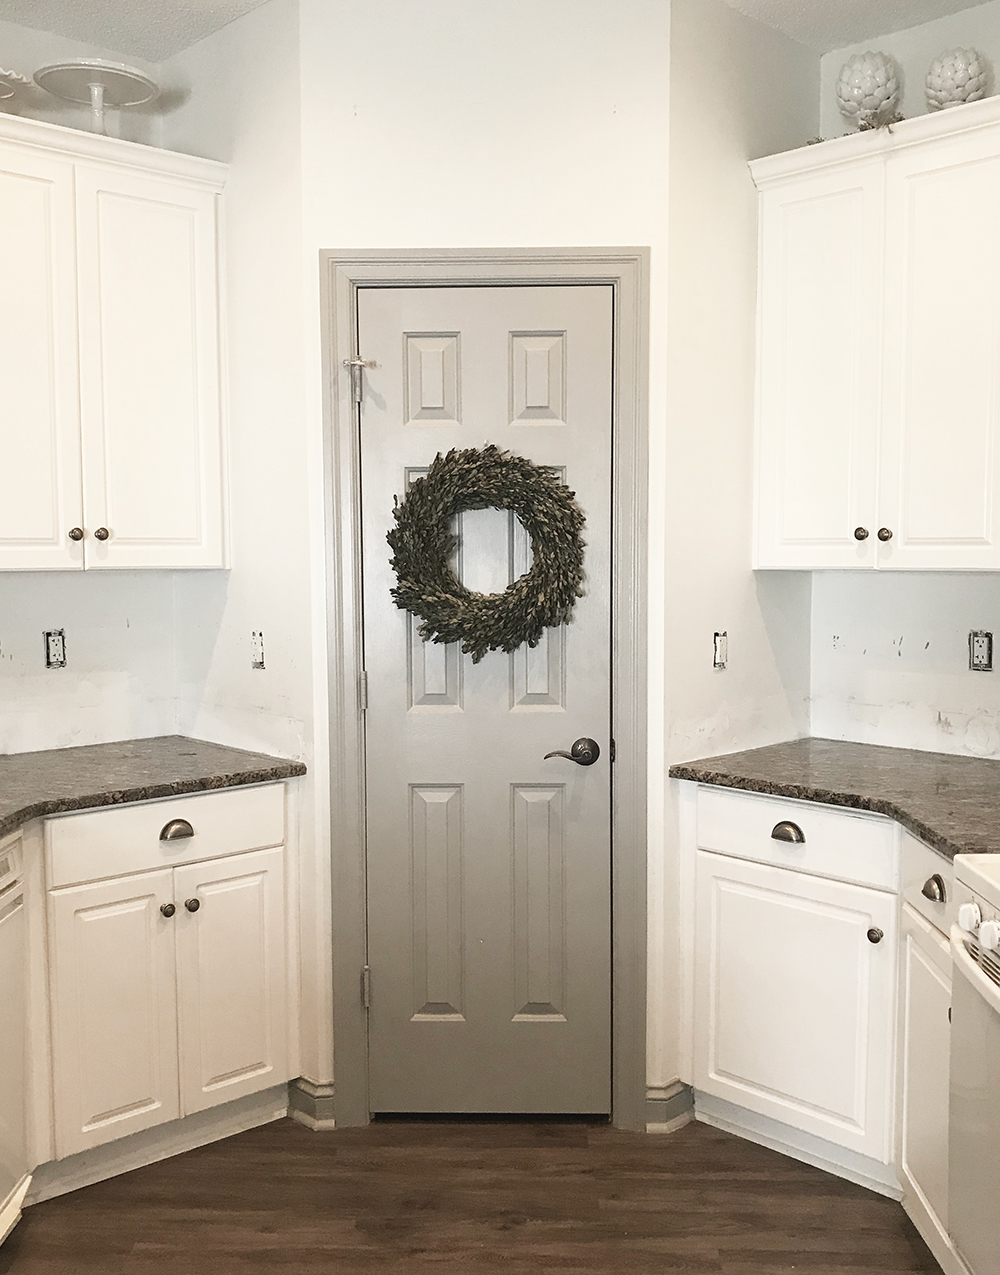
Before starting backsplash, you’ll want to make sure the wall surface is smooth and level. We patched up the areas that needed it, sanded, and then wiped down. You’ll also want to remove the outlet covers. After other DIY home projects, I’ve learned to always use a drop cloth! You’ll see why in a minute.
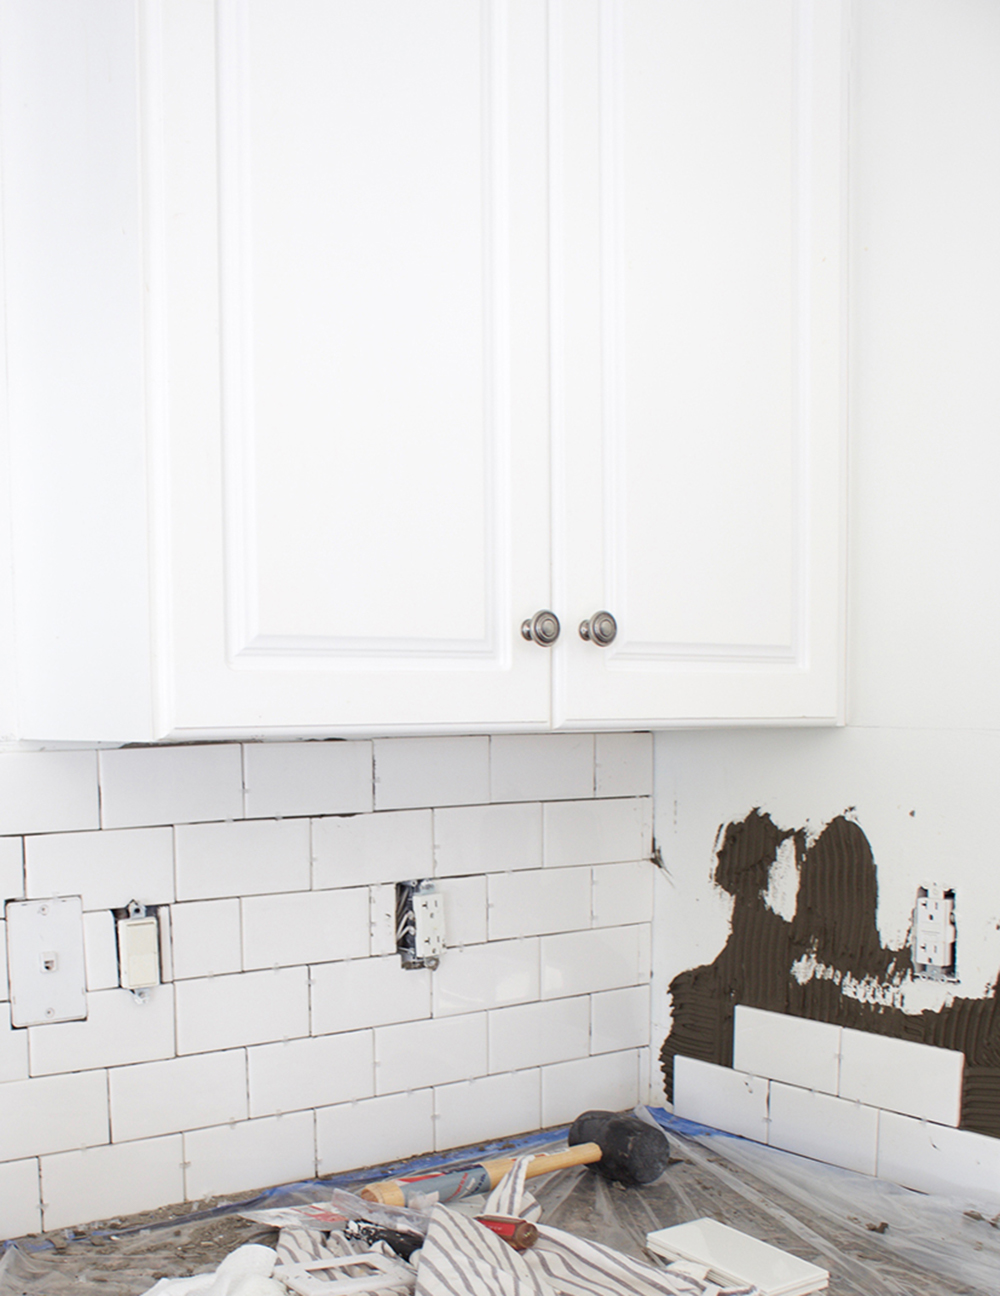
3. Apply Mortar to Wall and Place Tiles
Use the trowel to apply the mortar onto the wall, one section at a time. You’ll want to make sure you use the notched side to form the grooves you see below. This will help the tiles stick. For harder to reach areas like corners, you’ll want to apply the mortar directly to the tile instead of the wall. We used a dark brown mortar but I’d recommend a lighter one to keep it clean. Once the mortar is up, begin placing tiles side by side, starting in the middle. Insert 2 spacers in between each tile to ensure equal spacing.
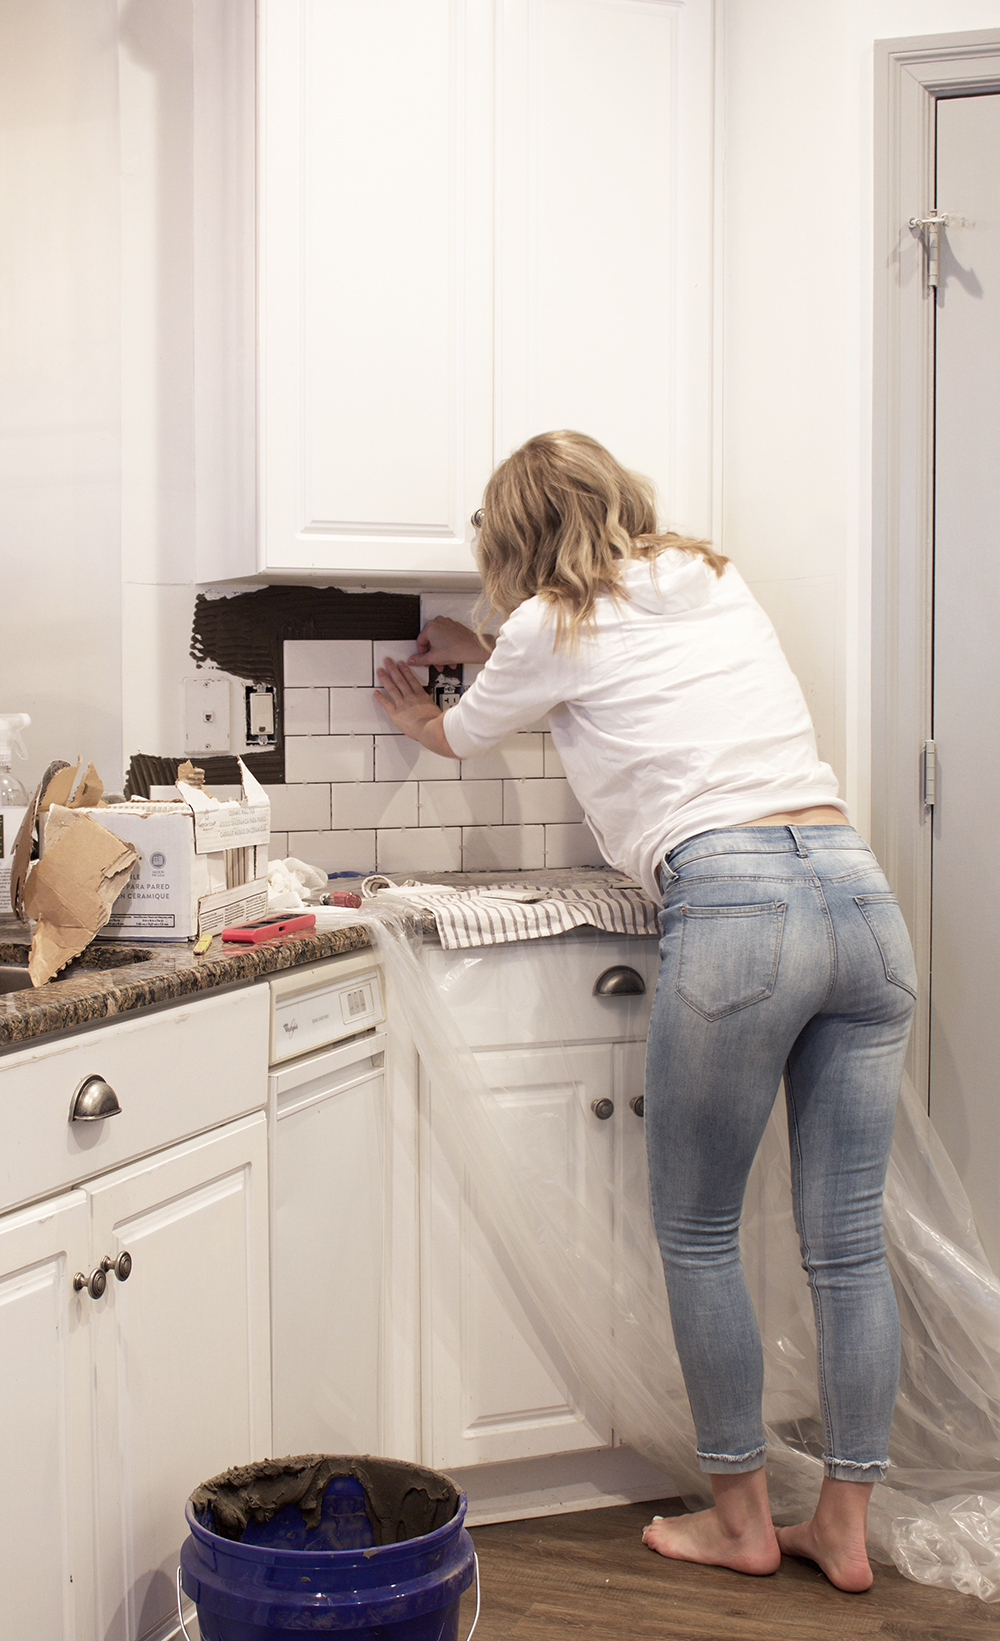
Warning: these DIY projects can get messy! While in the process of figuring things out, we failed to keep things clean and organized, so please don’t mind the mess.
4. Cut Tiles
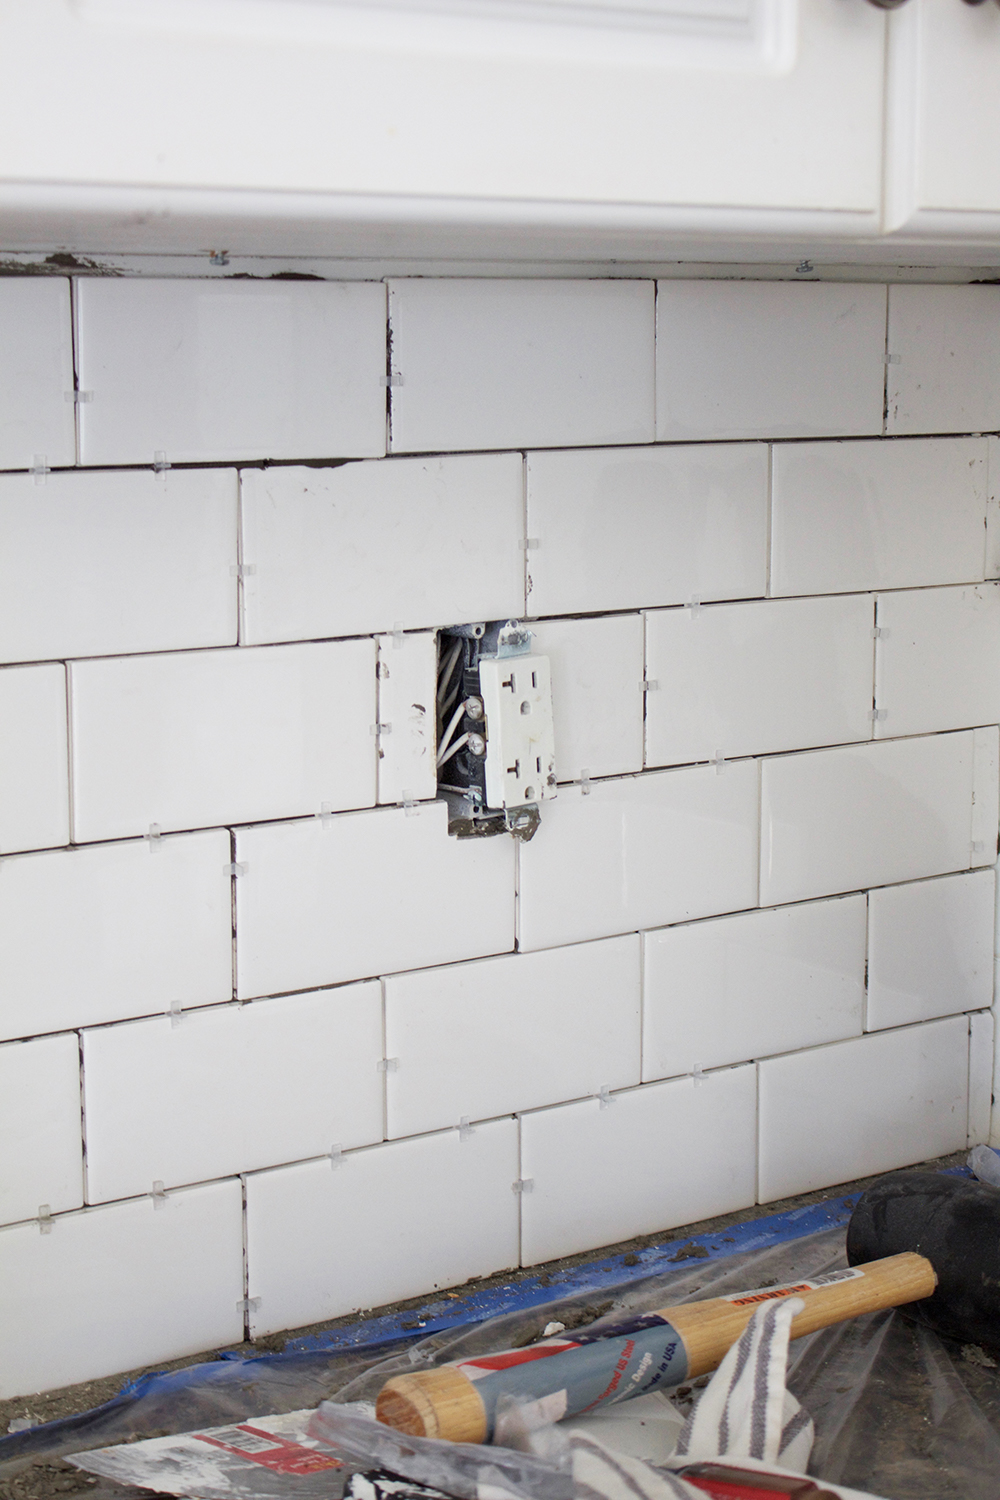
Once you reach the edges of the backsplash, you’ll need to cut the tile so it lines up. Measure the dimensions needed and use the tile saw to cut the tile. Face the cut tile towards the outside border. You’ll also need to cut around outlets. Originally we were measuring the outlet’s opening and cutting around it, but then found it was only necessary to cut a notch out around where the screws were (you’ll see an example of both in the next 2 pictures). I also found this tutorial by Try Everything that includes a template to help cut around outlets. Once tile is up, let dry 24-48 hours.
Note- we were lucky enough to borrow a friends tile saw, but you can also rent them at the Home Depot to save on cost.
5. Apply Grout
Now that the mortar is dried, it’s time for the grout!
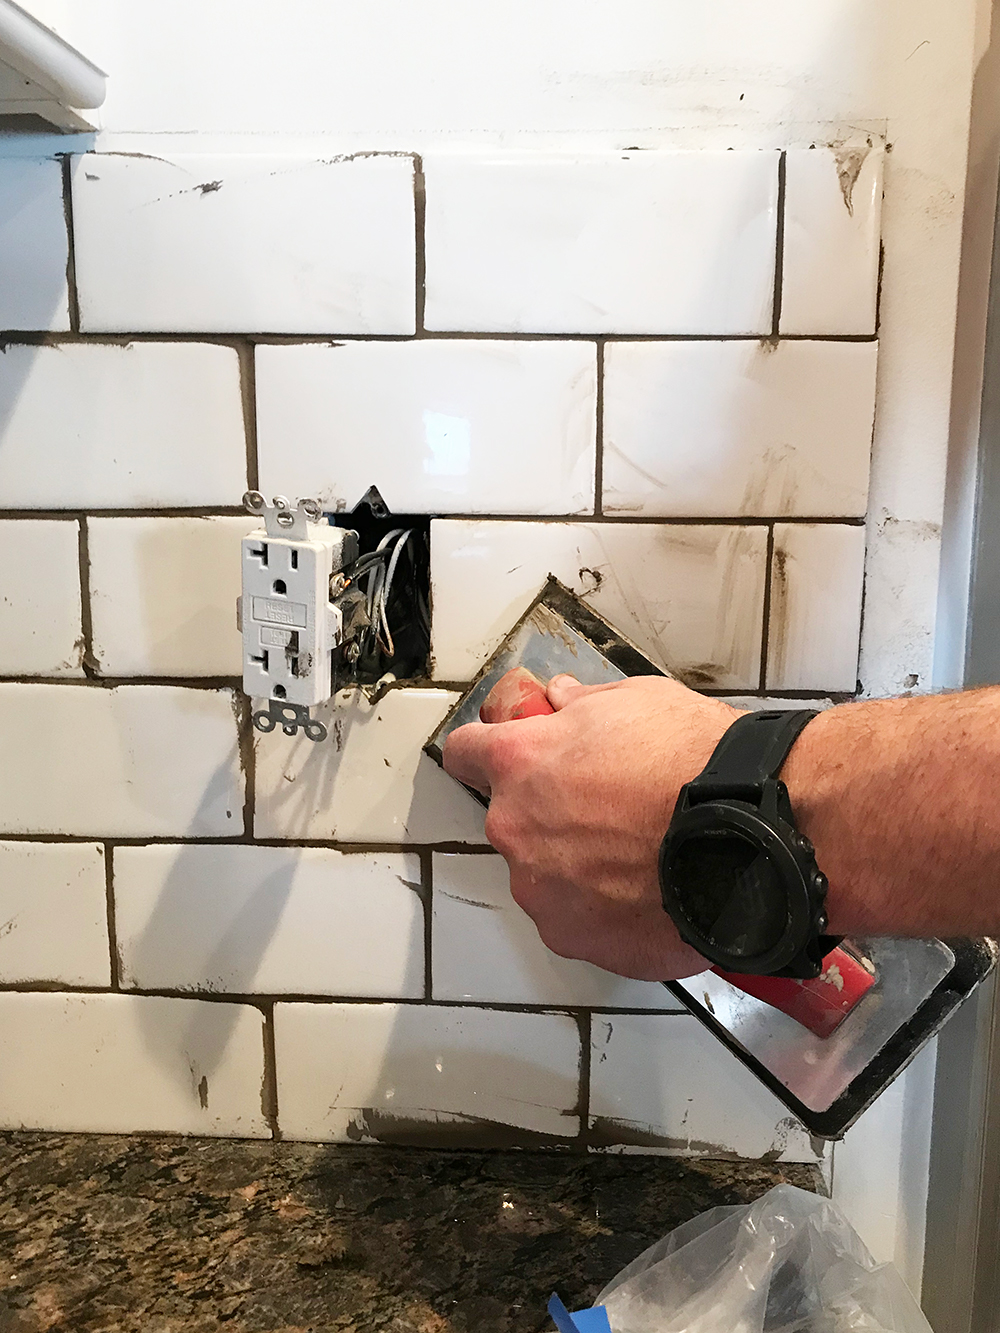
First you’ll want to clear the spacers and wipe down tile. Use the rubber floater to spread a thin layer of grout to the tile in a 45 degree angle. Make sure to get it evenly packed over the surface.
Picking a grout color isn’t always easy. I’ve helped hundreds of clients pick their grout but I still had a hard time with ours. I had originally planned to go all white, but after seeing the tile with the dark mortar, I liked the way it made it pop. Ultimately I decided on light smoke. At first I freaked out when it was wet because it looked so dark, but I’m so happy with how it turned out.
6. Clean with Sponge
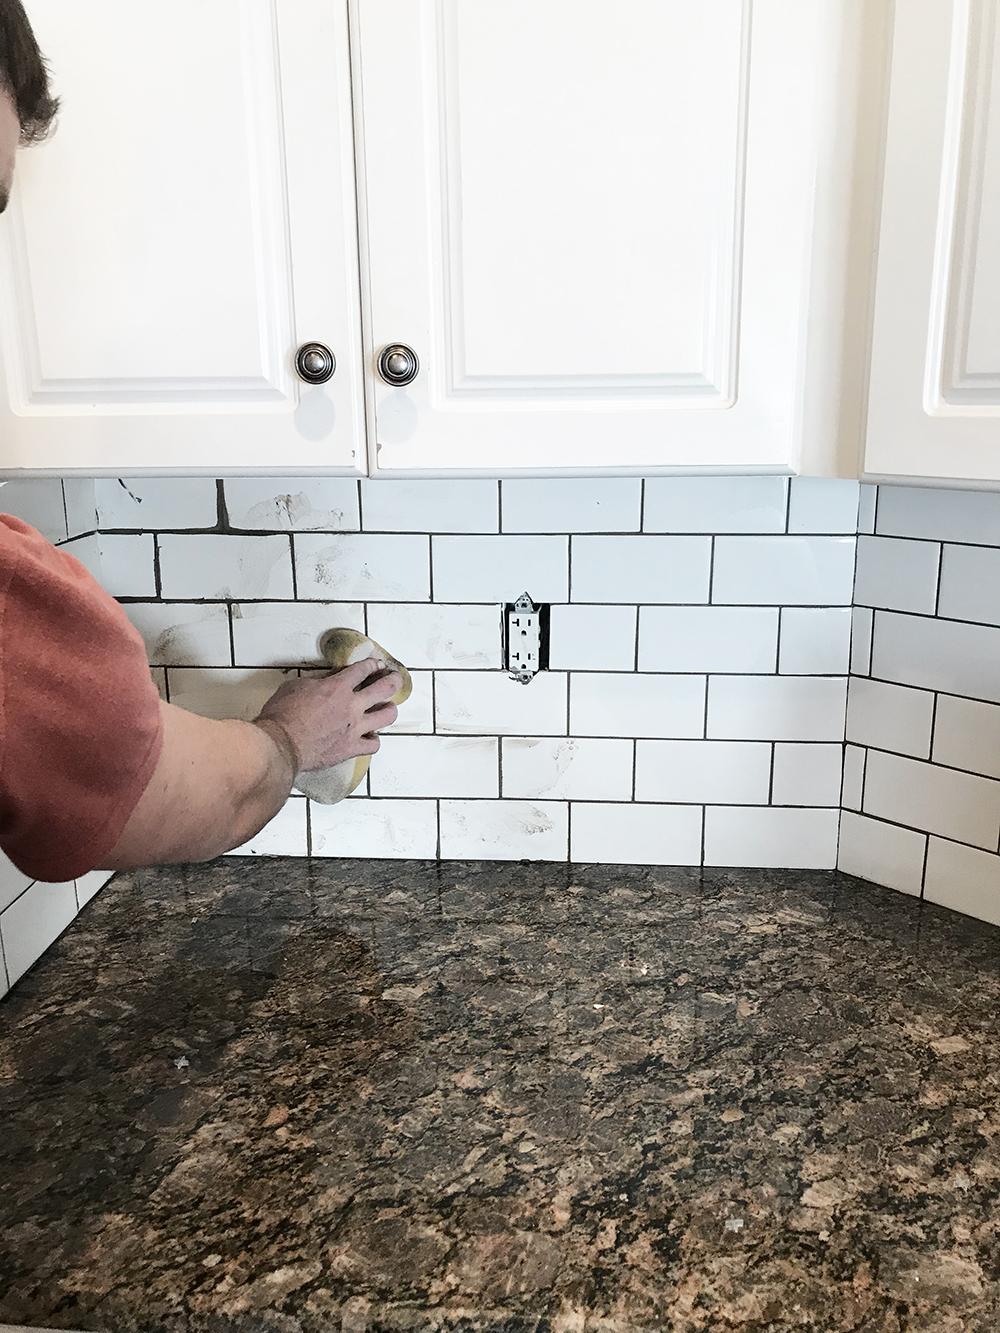
After about an hour we started cleaning the grout off the tile with a wet sponge. We tried to rub off as much excess grout as we could to keep it looking as clean as possible. I probably spent 5 min cleaning each area before moving on to the next. We were constantly needing to rinse the sponge, so you might find it helpful to have a bucket of warm water nearby.
7. Caulk the Borders
We actually got 2 colors of caulk, both bright white and light smoke to match the grout. Because our granite is so dark we used the light smoke where the tile met the surface. For the top and outside edges we used the bright white so it blended well with our white walls and cabinets for a more seamless look.
Before
After
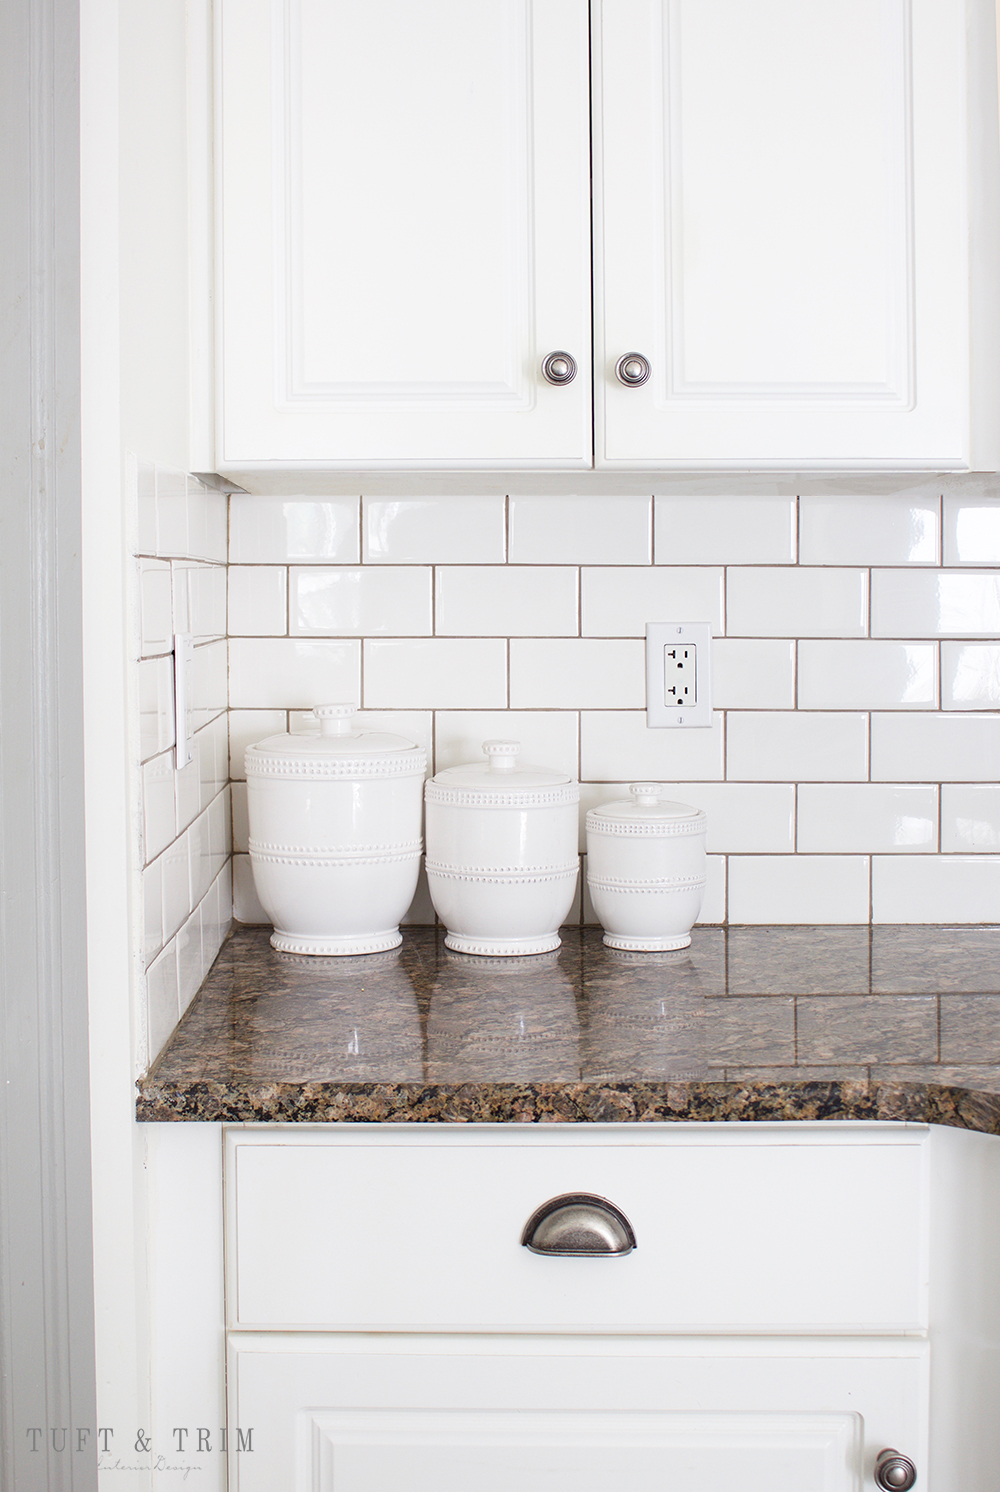
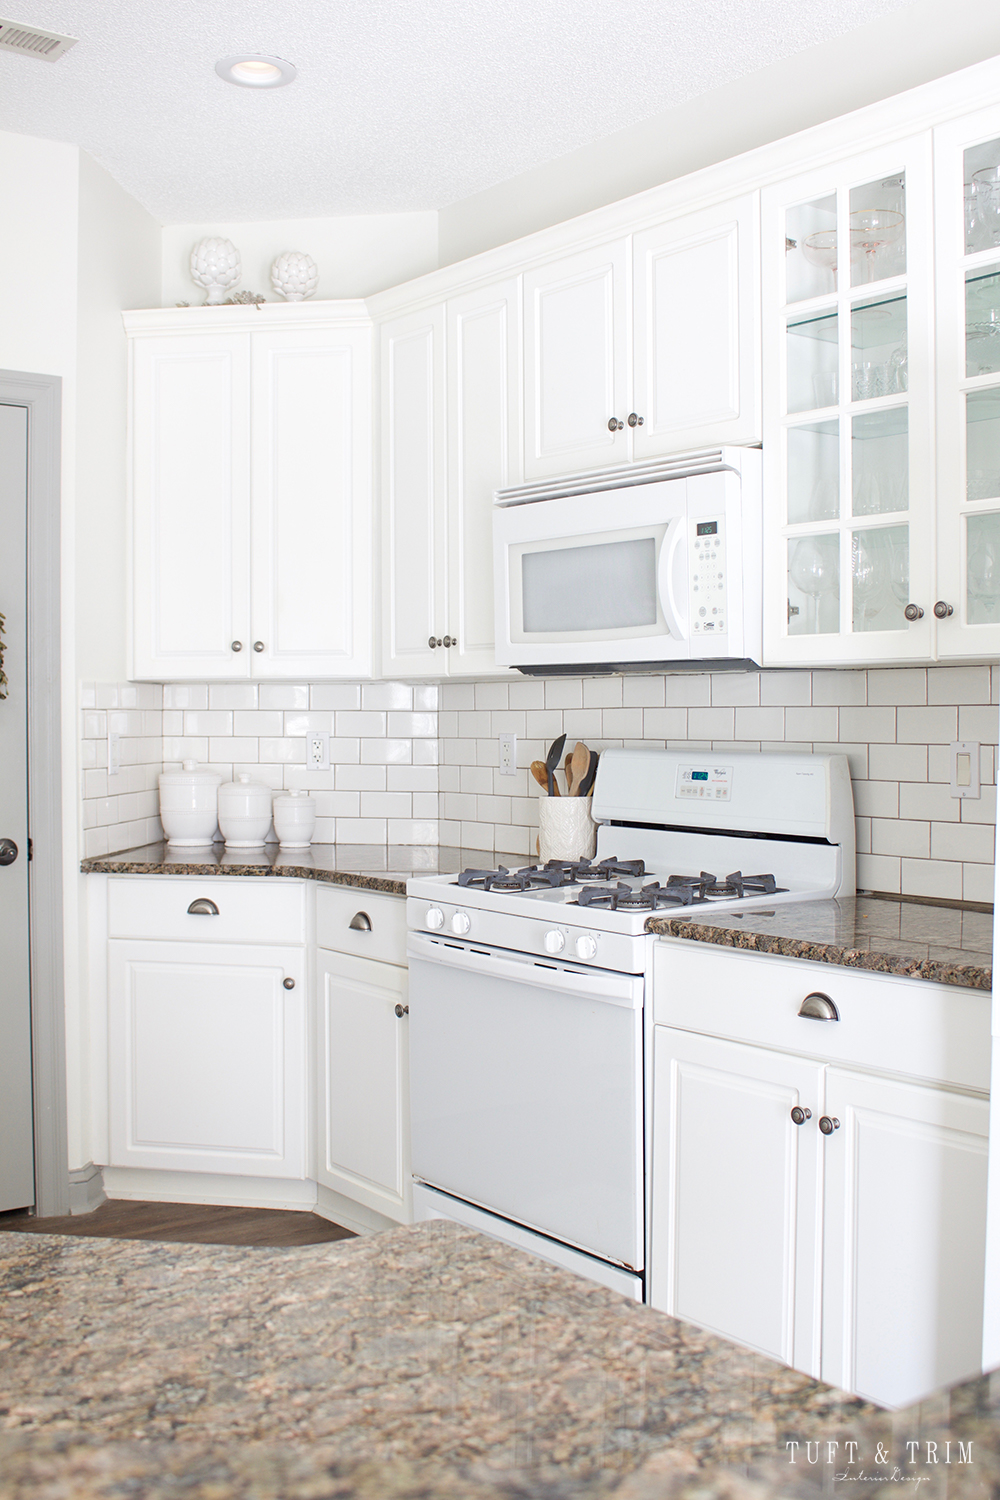
Don’t look too closely as there are plenty of beginner mistakes, but overall, we are so happy with the way it turned out! And the best part is, all together it cost under $150. If we were to hire someone, the job would have cost anywhere from $675 to $850. In my opinion, it was worth getting our hands dirty one weekend to save some money!
If you’ve been itching to put up a backsplash yourselves, I hope this has given you the courage to tackle it! For more design inspiration and home DIY tutorials, feel free to subscribe below!


This backsplash looks amazing! Great work!
This blog was… how do you say it? Relevant!! Finally I’ve found something which helped me.
Kudos!
What did you use to end your tile on the left side?
This design is steller! You most certainly know how to keep a reader amused. Between your wit and your videos, I was almost moved to start my own blog (well, almost…HaHa!) Fantastic job. I really loved what you had to say, and more than that, how you presented it. Too cool!
Curious if you had the edge of the granite countertop cut straight? When I look closely, it looks like they aren’t rounded in the after photo. Looks beautiful!