I have expensive taste on a DIY/ Facebook Marketplace budget… Can you relate? Sometimes this means you have to get creative and often requires waiting until the right piece comes along. Both can require a lot of patience and thinking outside the box, but in the end, it’s worth the wait!
Today I’m sharing the newest version of our guest room, layered with elegant features and reflecting my love for all things French. You may remember this past Fall when I shared our Refined Elegance bedroom design. If you missed it, you’re welcome to check out the tour here. While I was perfectly happy with the space, I later came across some amazing finds that I couldn’t turn down, which led to the making of this dreamy space. Today I’m sharing all the details, including a quick tutorial on how I created my half tester canopy and my mirror makeover. Before I cover all the details, let’s scroll through the space…
*This post contains affiliate links.

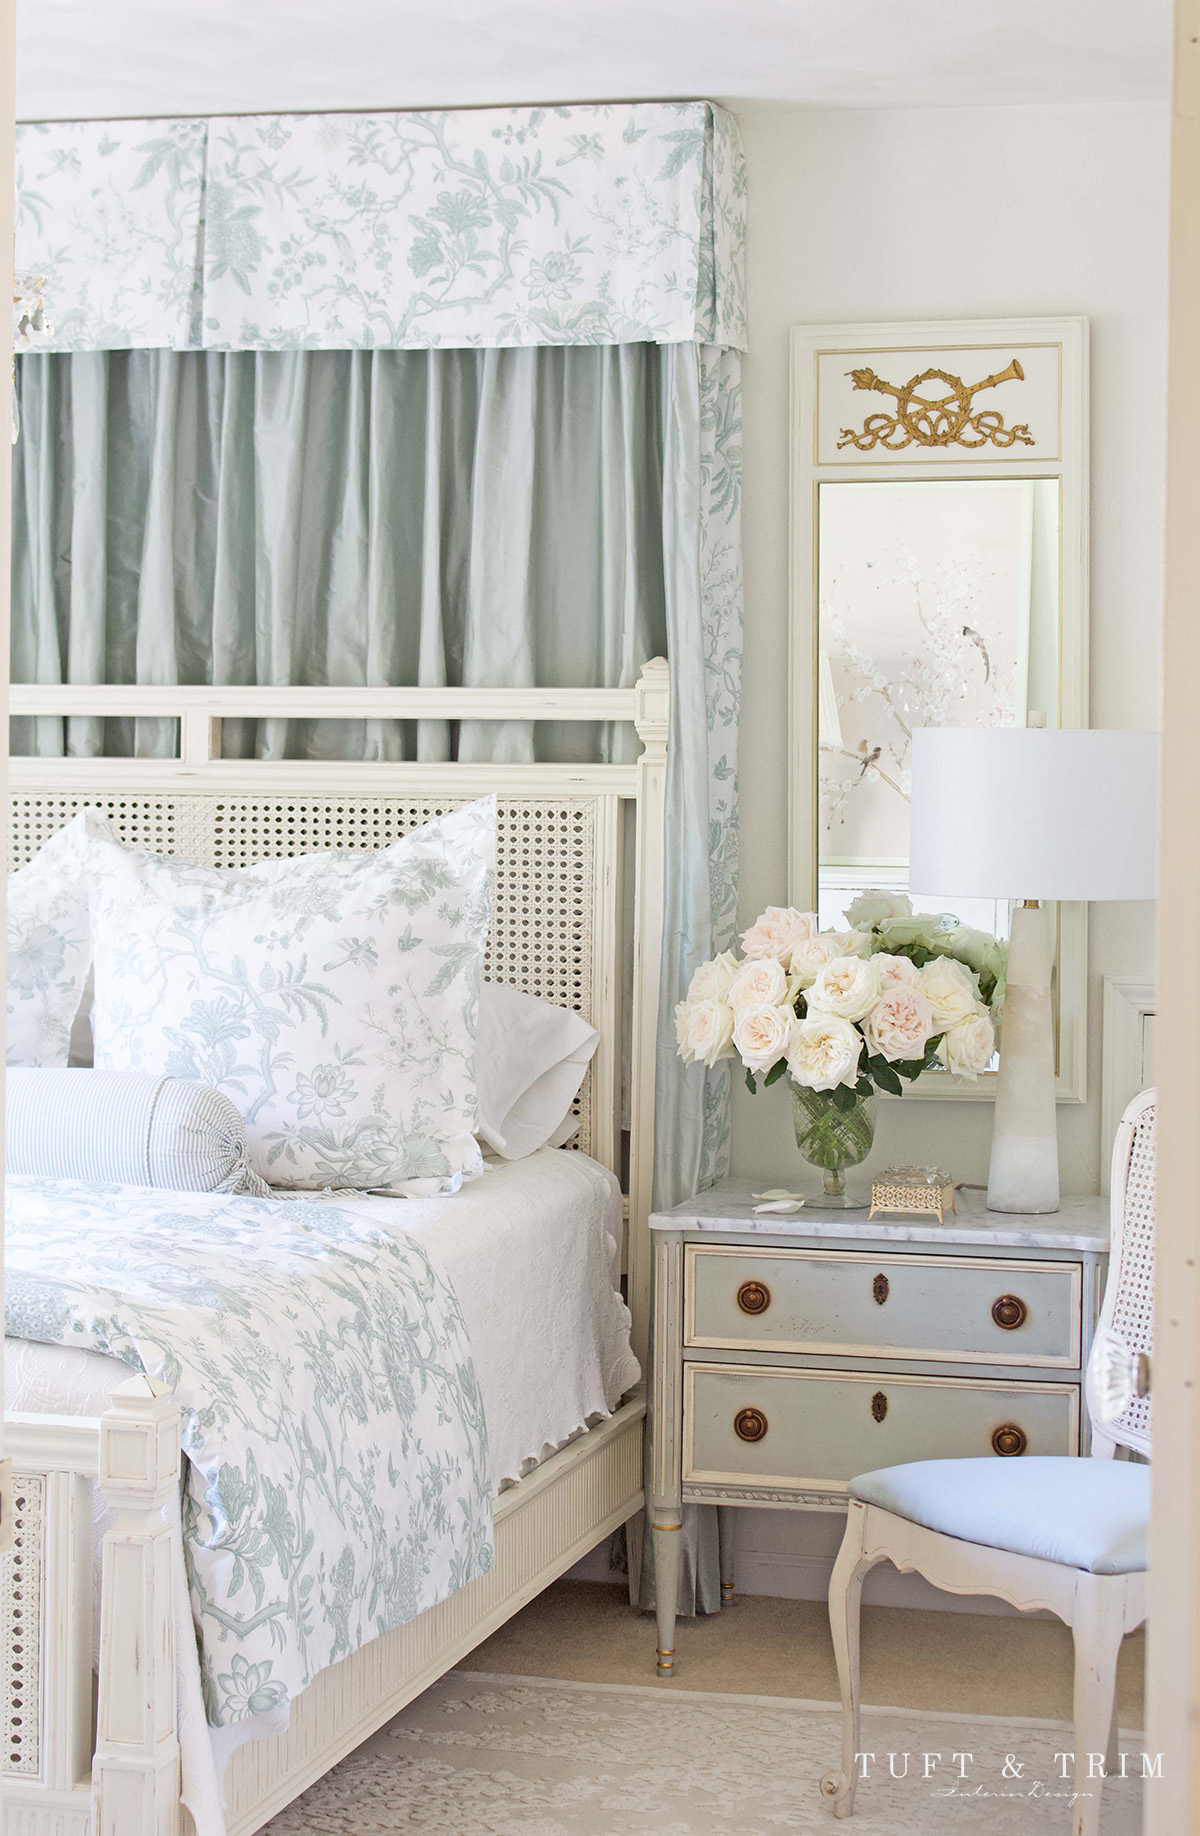
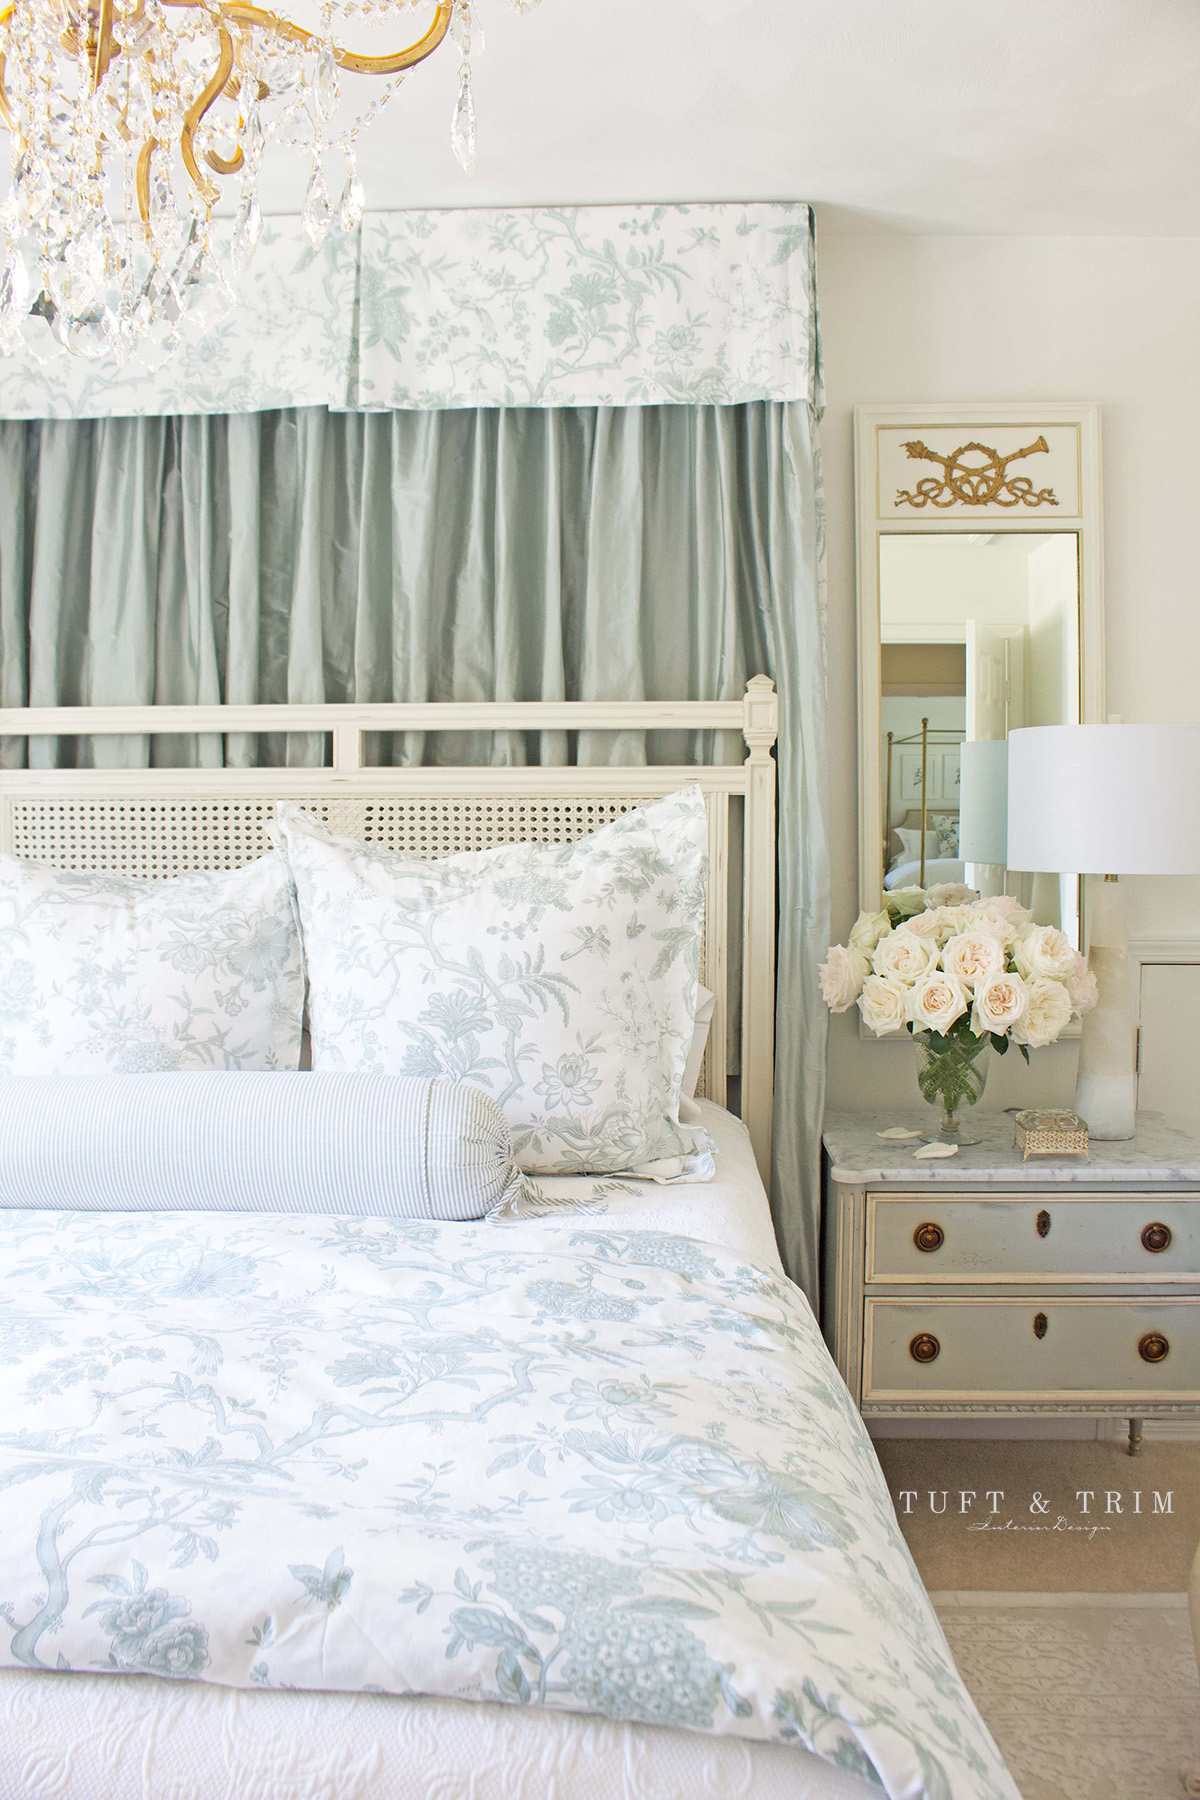
Furniture
As I mentioned earlier, the furniture was a very lucky find on Facebook Marketplace. The cane bed and blue nightstand are from Frontgate and I’ve linked them below. I’ve always had my eye on the Etienne collection, it’s so elegant and comes in a variety of beautiful colors. I’m not certain, but I believe mine is a discontinued light blue version of the chest, but looks very similar to their French Patina color. I’m amazed at how well the furniture is made, complete with solid wood, soft close drawers, and marble top. If you’re looking to invest in quality furniture, I highly recommend them!


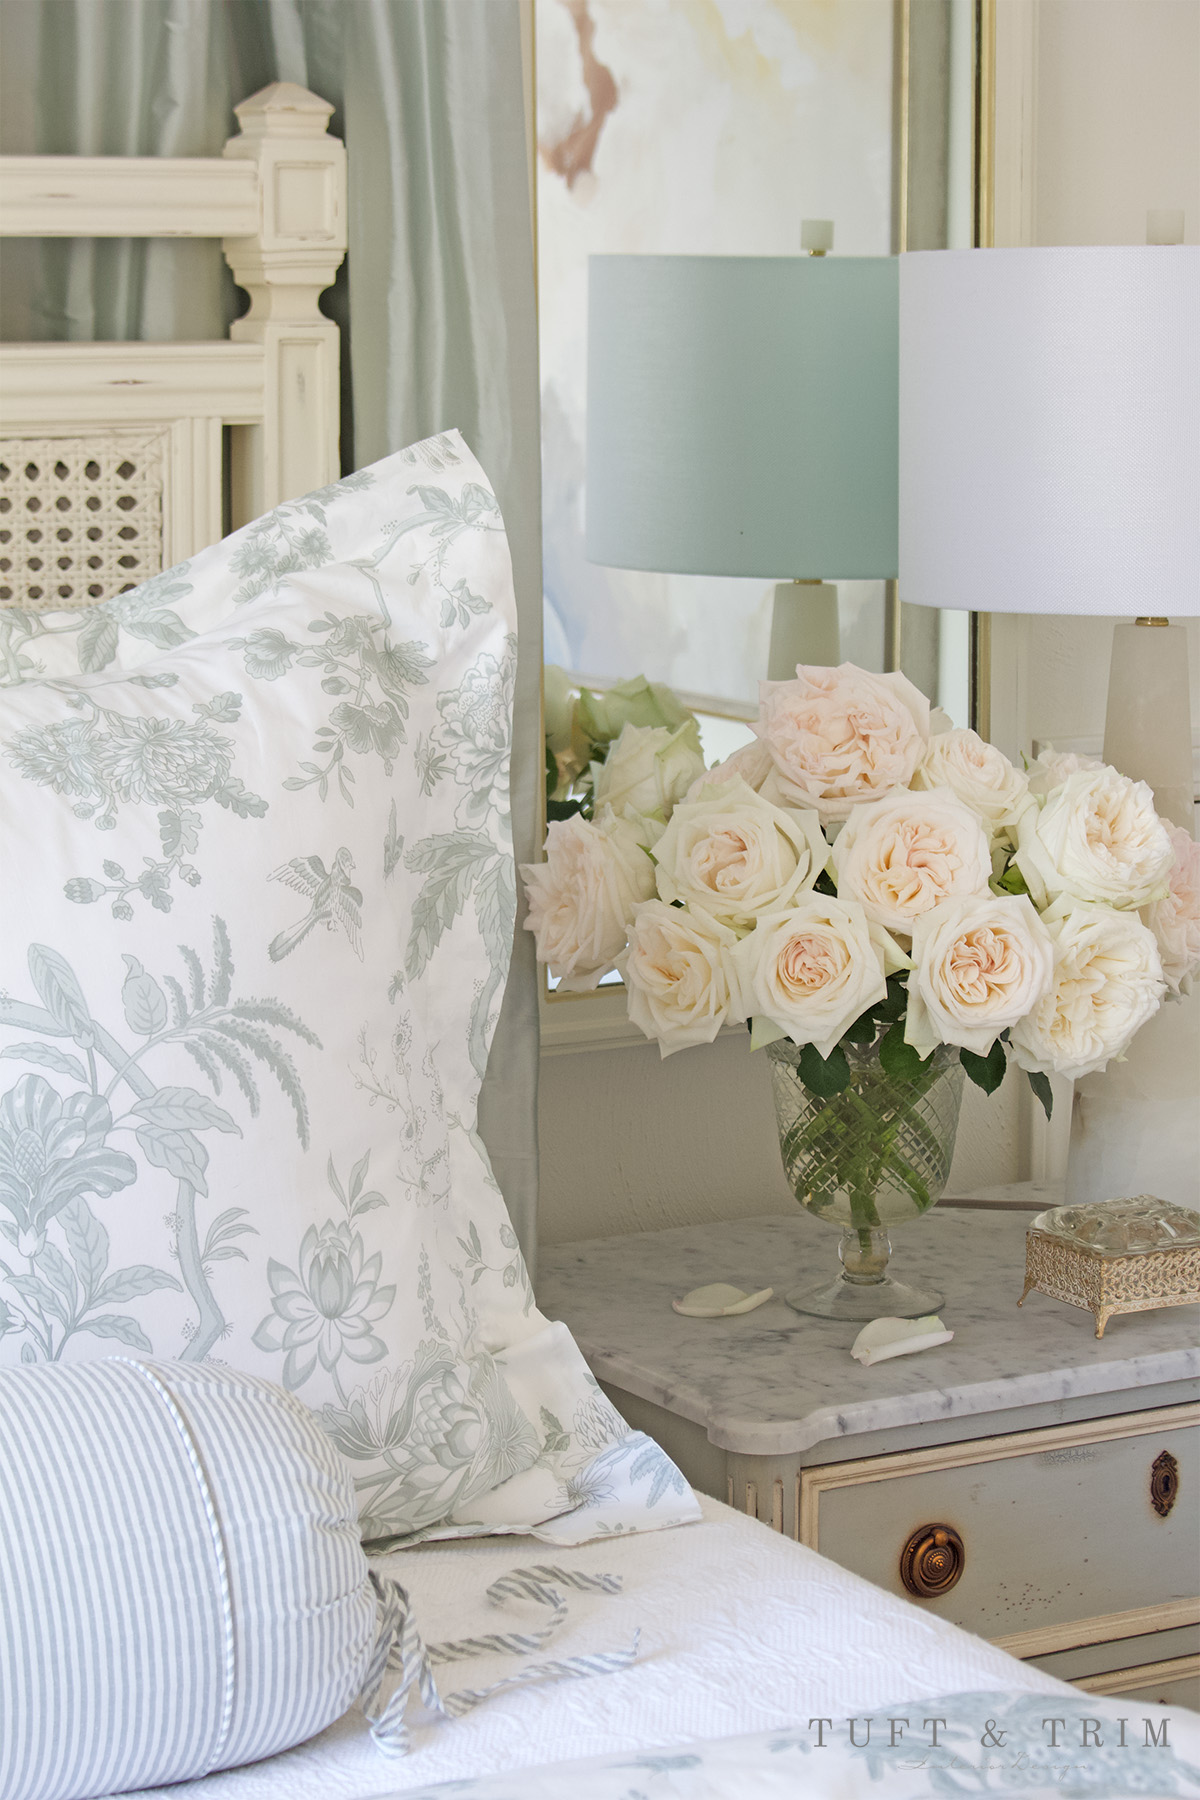
The Bedding
A gorgeous Spa blue toile pattern covers the duvet and euro shams and creates a soft contrast to the ticking stripe bolster. I used a white coverlet beneath the duvet to break up the patterns. Overall, they create a subtle, but beautiful combination. I’ve linked my bedding for you to shop below!

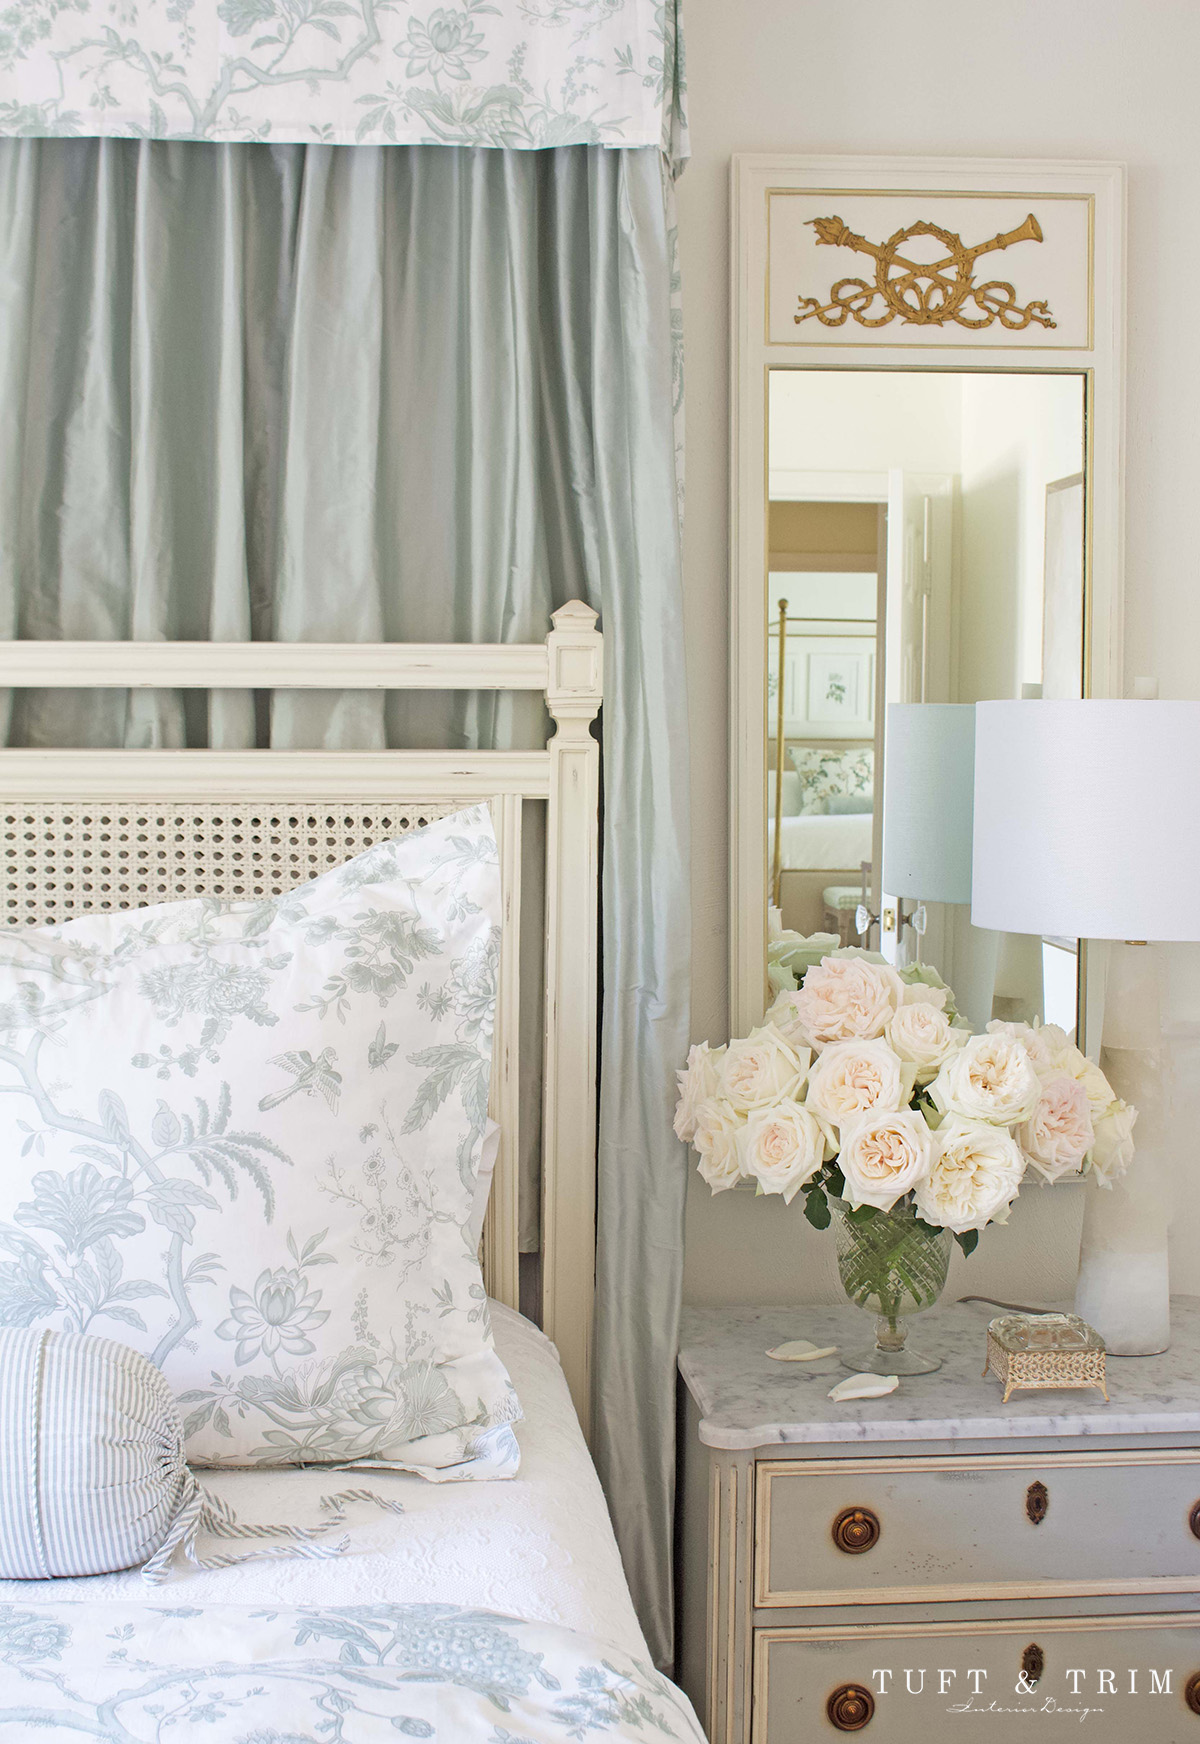

Half Tester Canopy
Let me start by saying this was a budget project on a time crunch. I’m fairly certain I didn’t do this as professionals might have, but a lot of you have reach out with questions, so I thought I’d break down how I executed the project for those interested.
Frame
My husband built a wood rectangular frame to hold the curtains. He used 1x4s and cut them the width of the queen bed and 8″ deep.
Valance
Since I wanted to get this done quickly, I decided to buy bedding that was offered in a matching bedskirt so I could use it to create the valance. This saved me the time I’d typically take browsing designer fabrics and spending way more money than I should, not to mention the time spent also sewing the bedding. I used a king bedskirt for the valance and used the extra width to create a center pleat. I made my valance approximately 8″ deep, so the remainder of the bedskirt I used for the side panels. Please note, they do not touch the ground. It wasn’t an issue for me since I lined them with the silk and the furniture framing the bed hides it. However, if I could have bought a curtain panel in the matching toile fabric, I would have done that and split it to make a panel for each side for a more polished look.
Curtains
The back curtains are made of Dupioni silk and gathered tightly on a suspension rod. I used 3 panels in the back and made the side panels separate. I sewed the silk and patterned fabric together to make a double sided curtains for the sides.
Install
First, I stapled the side panels on to the top of the frame’s sides. Next, I stapled the valance on top of all the sides. Since it was originally a bedskirt, I had the extra fabric that could reach the back of the frame for a clean interior look. Once the sides and valance were secure, we drilled the frame directly into the wall in three locations. I then hung the back curtains on an extension rod within the frame and added several nails below the rod to ensure it stays in place.
Here is an example of what the valance looks like from the inside:

Mirror Makeover
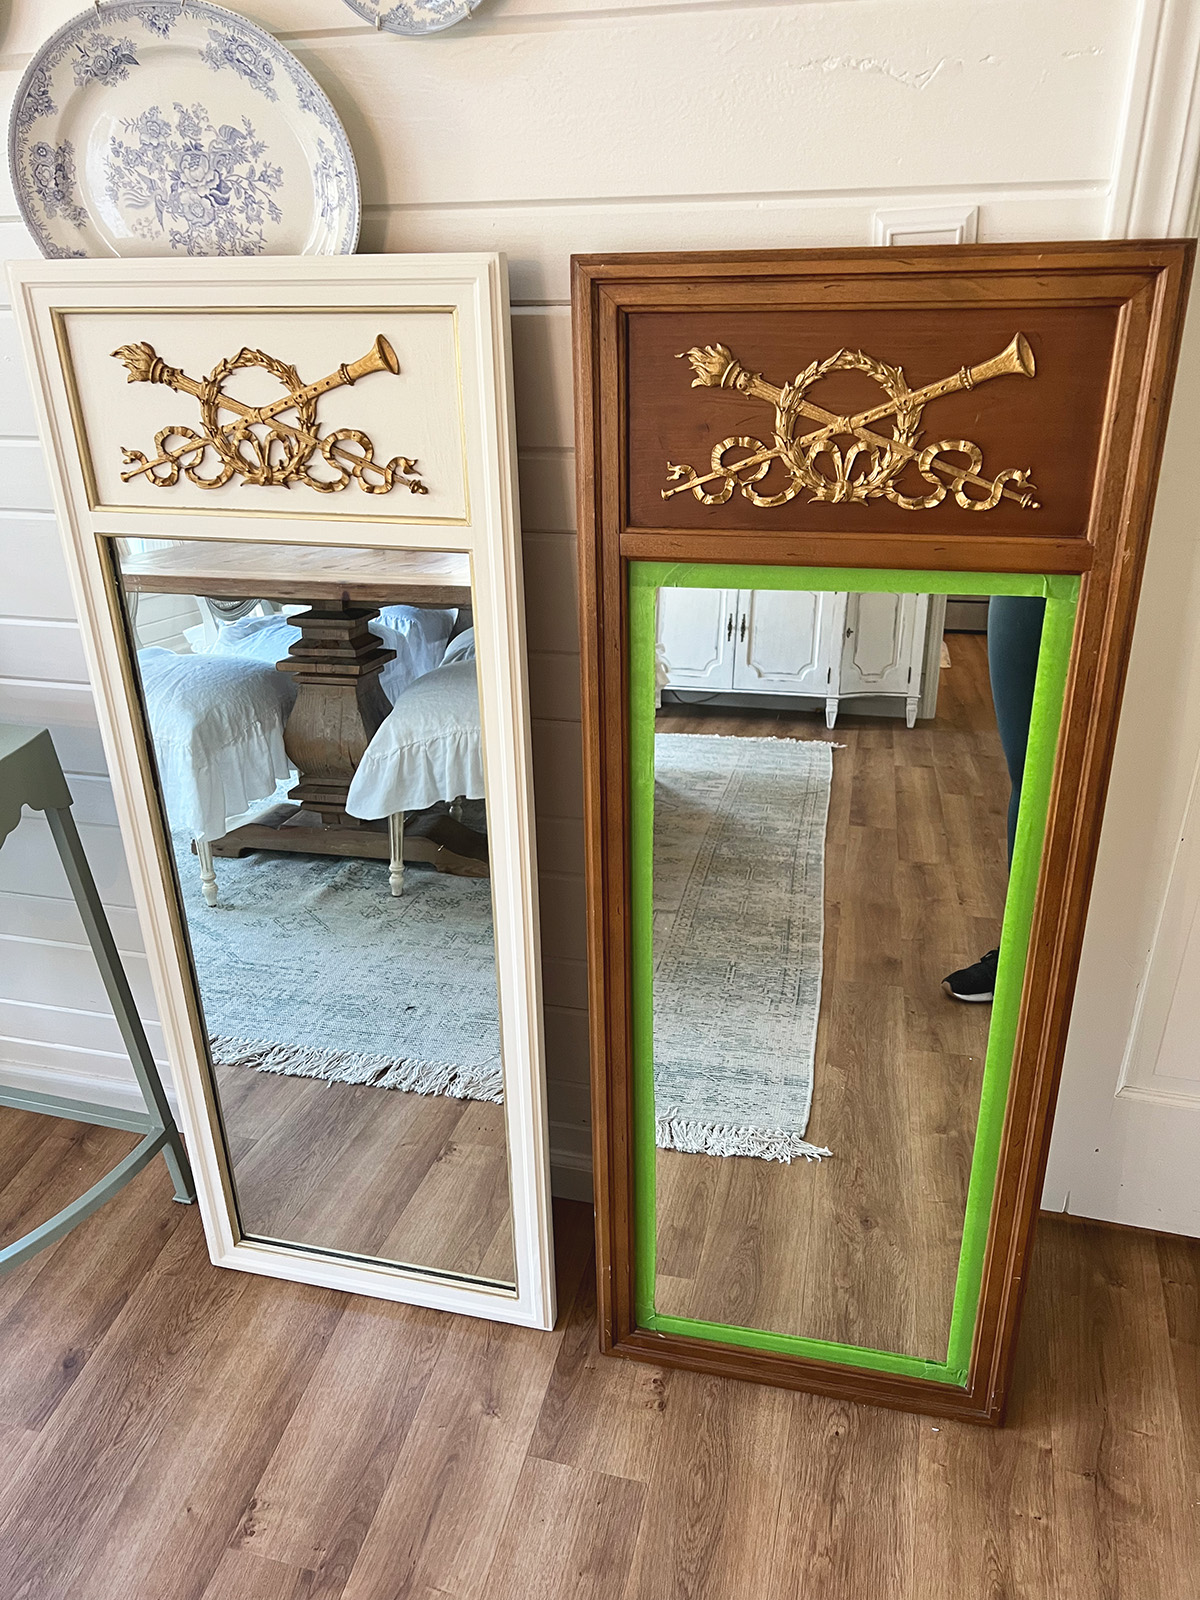
The mirrors are vintage Thomasville from a local used furniture store. I got both of them for a whopping $40 and used Jolie Paints to give them a makeover. See the before and after and watch a fast-forward video of the process below!
Shop the Products
It’s always so rewarding to see where a little creativity and hard work can get you! If you’re feeling discouraged because what you want is out of budget, try looking on Facebook Marketplace or Craigslist! You never know what awesome things you may find.
Thanks so much for stopping by today! For more home decor ideas and inspiration, please subscribe below and follow me on social media!
Instagram / Facebook / Pinterest


Leave a Reply