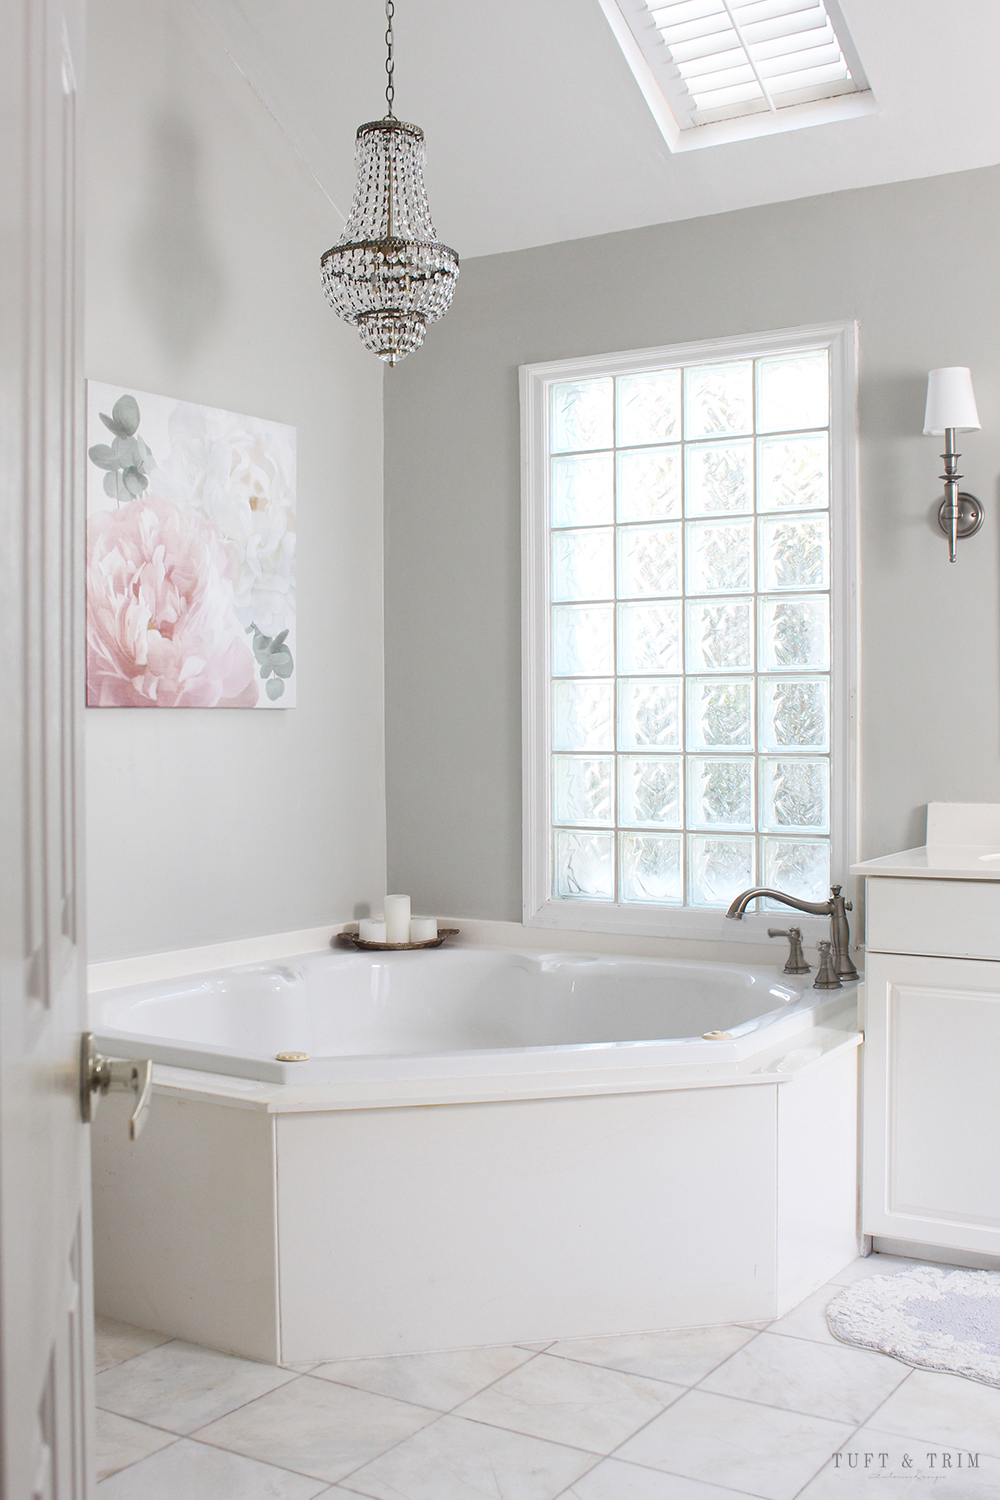
I’m both excited and relieved to finally be sharing our master bathroom update! The process has been a long one, filled with learning experiences and sometimes frustrating DIY attempts. But overall, it has come together beautifully, many thanks to my patient and hardworking husband. Because I’m so anxious to share the finished product, I’m going to take you on a tour of the updated bathroom first. Then I’ll walk you through the step-by-step process and fill you in on all the dirty details!
*This post contains affiliate links.

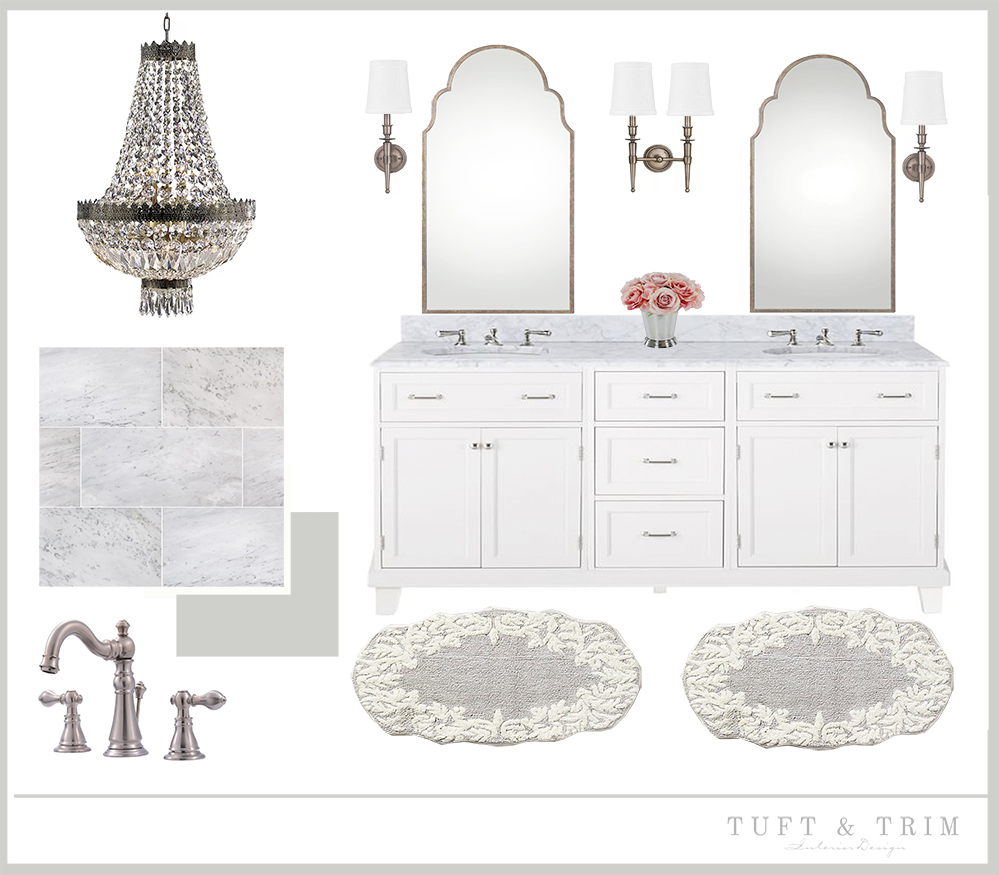
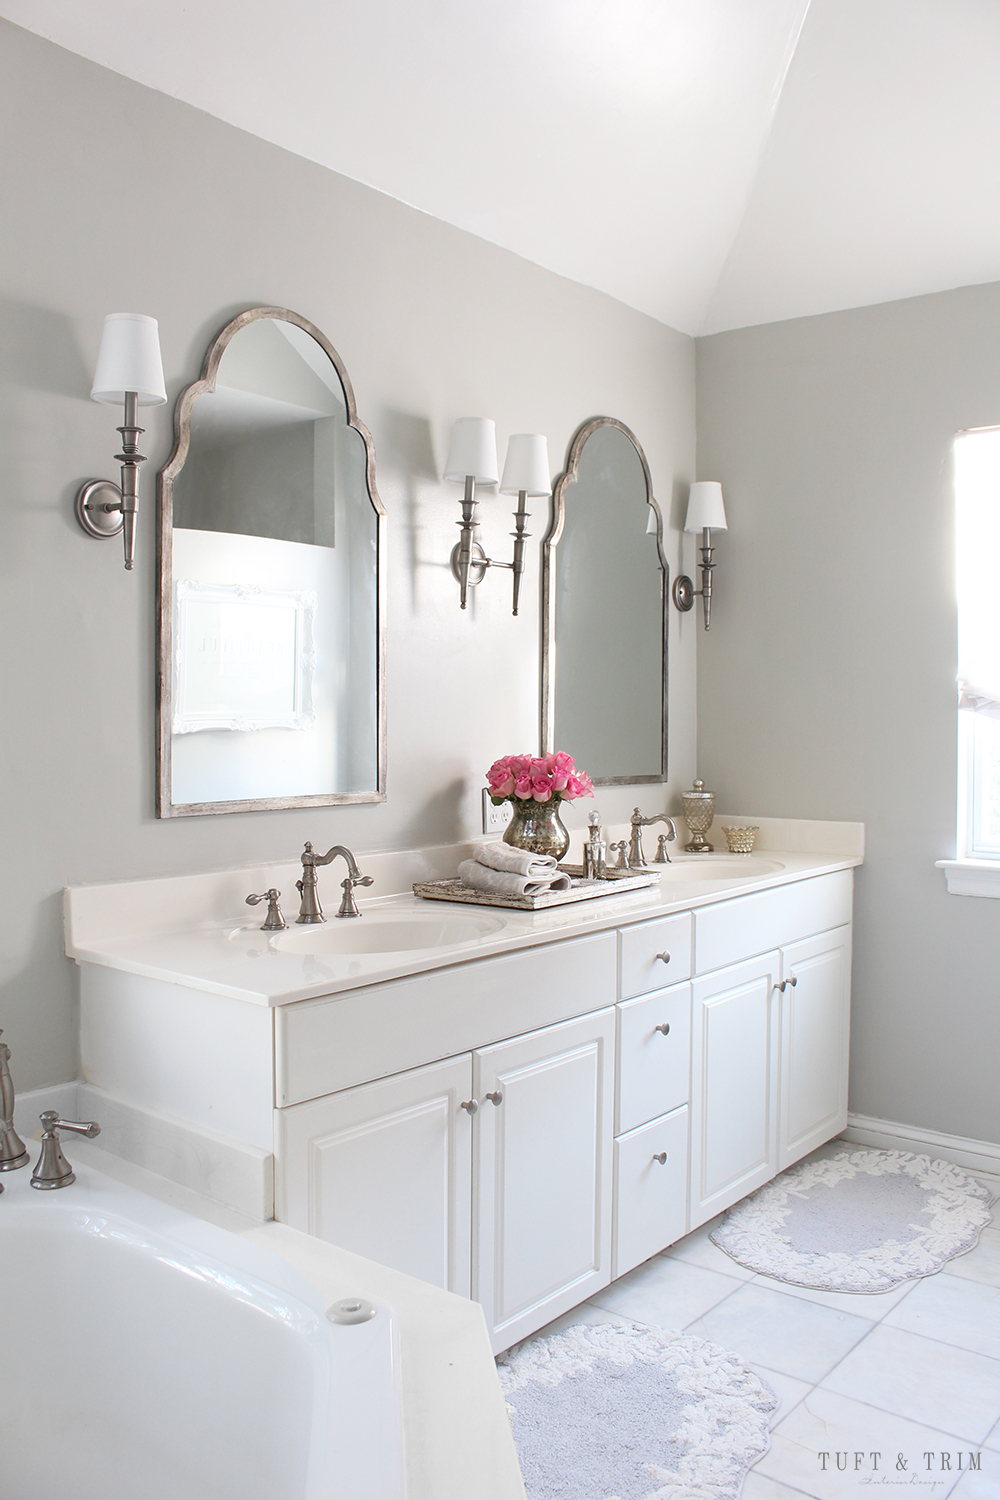
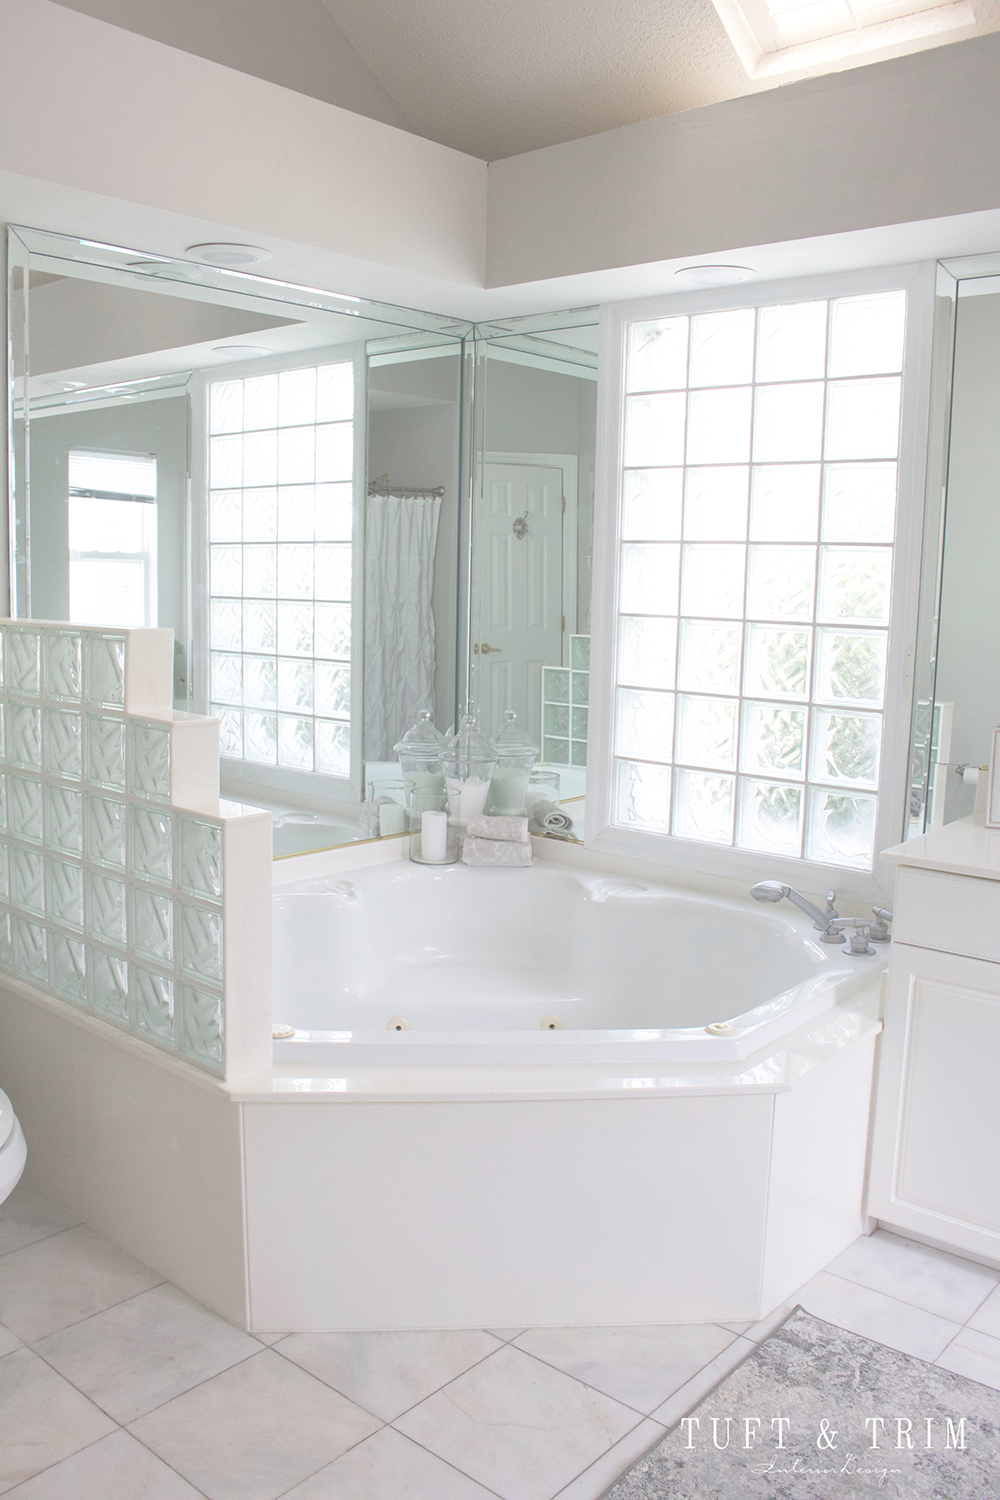
I started this project with a vision of a classic and timeless bathroom with a feminine vibe. A full bathroom renovation didn’t work in the budget, but I was still able to update the space by bringing in new light fixtures, wall mirrors, a new bath faucet, and some new decor. Before we brought in the additions though, we needed to rid the space of some not-so-cute elements. Our bathroom was covered in wall to wall mirrors with multiple medicine cabinets, soffits, and the good ol’ ice block wall that screams 90’s. My husband and I were determined to remove it all ourselves which turned into a bigger project than we anticipated….but boy was it worth it!
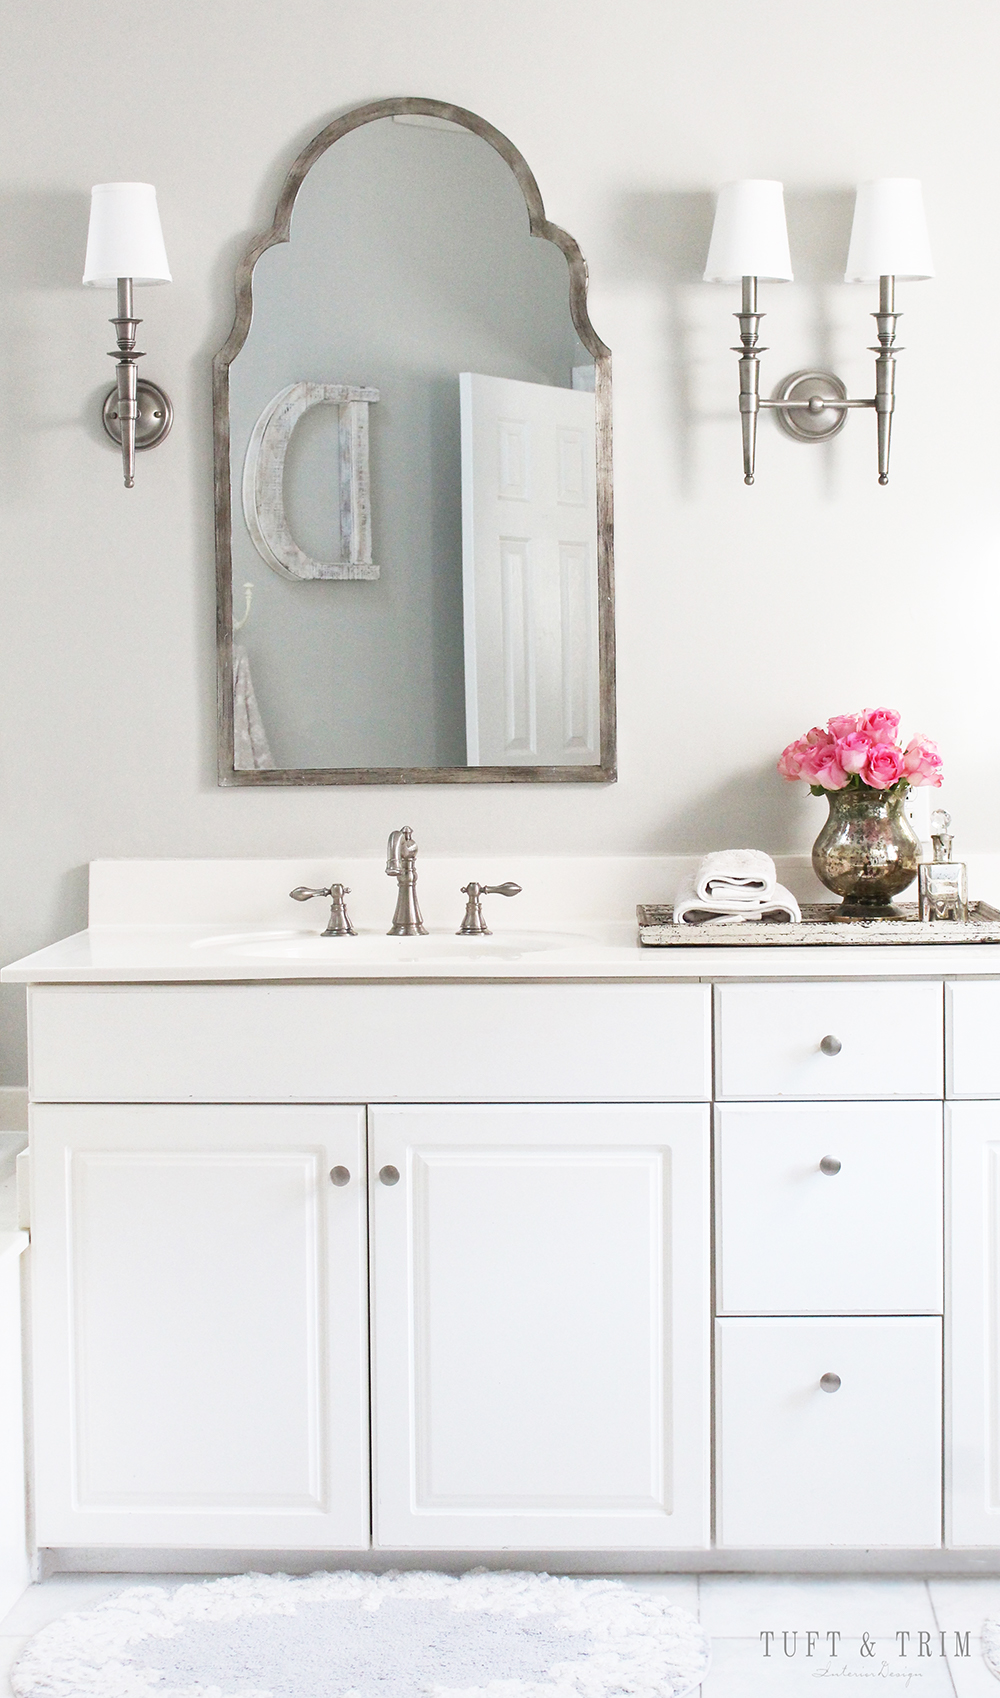

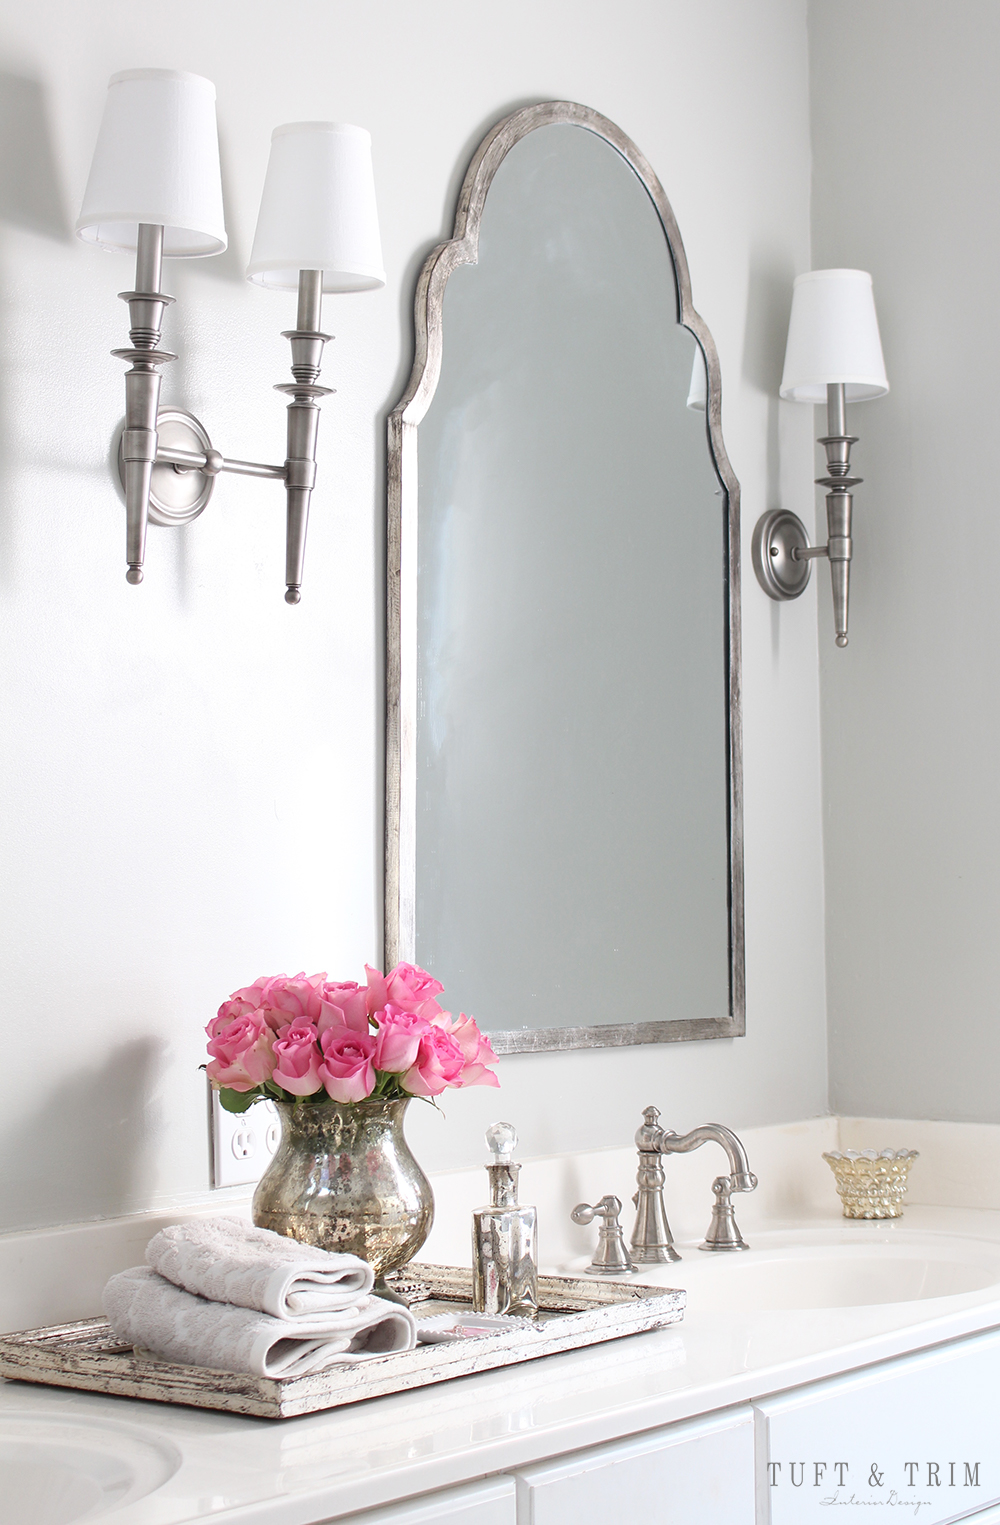
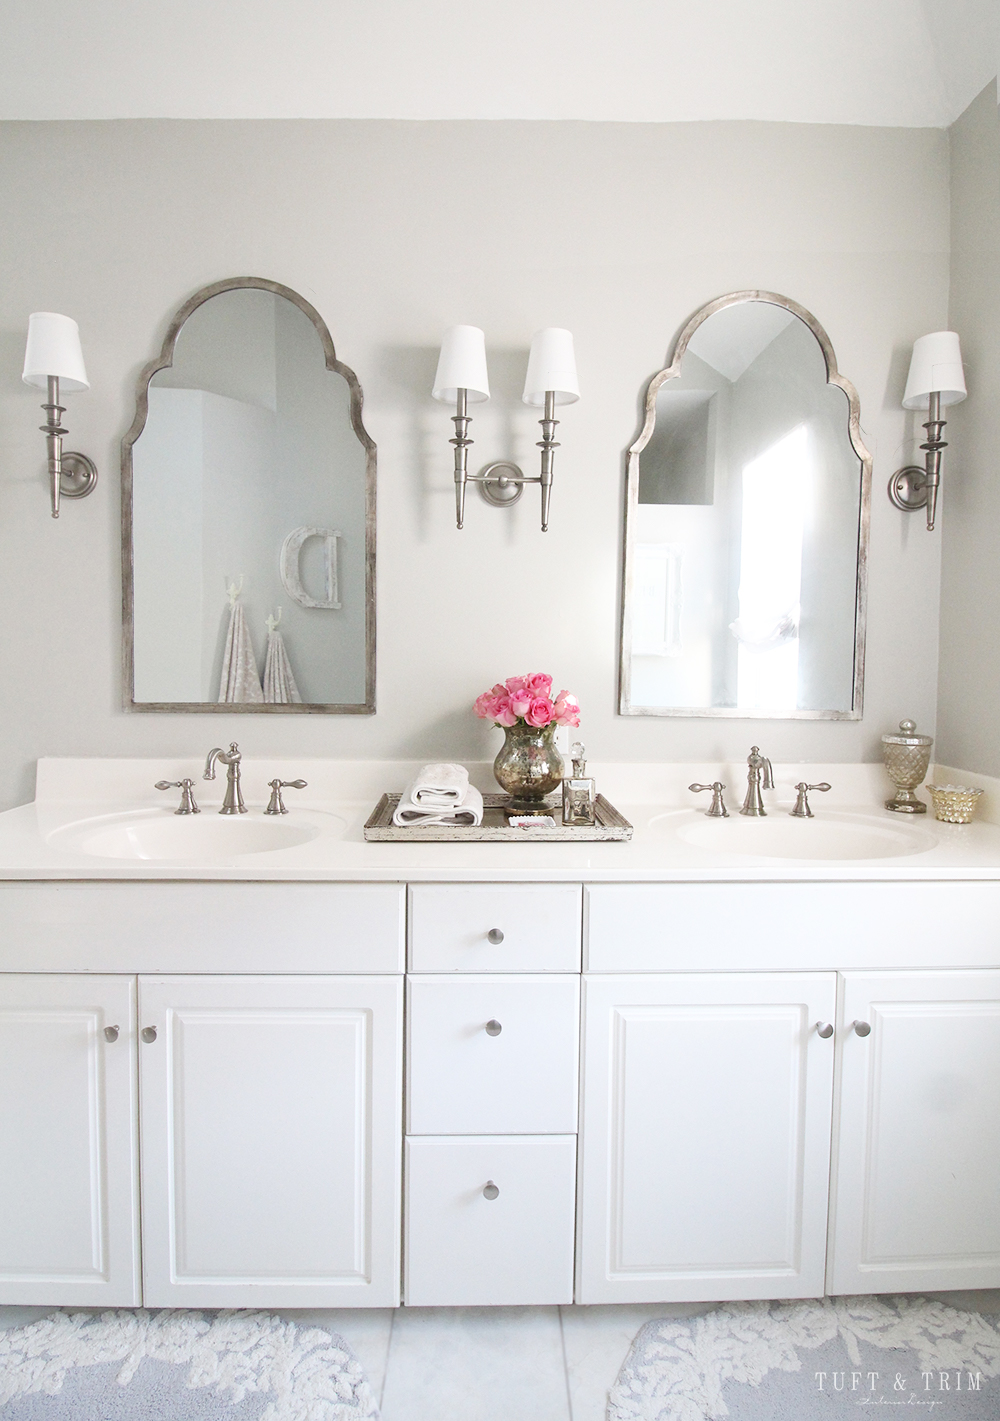
The arched mirrors were the design’s starting point. They have an antiqued silver frame that worked perfectly with my mercury glass obsession and set an elegant tone. The classic sconces worked great next to the mirrors with their antique nickel finish. I needed one that came in a single and double light sconce so I could have a double in the center. These sconces have just enough personality, but not too much to compete with the mirrors.
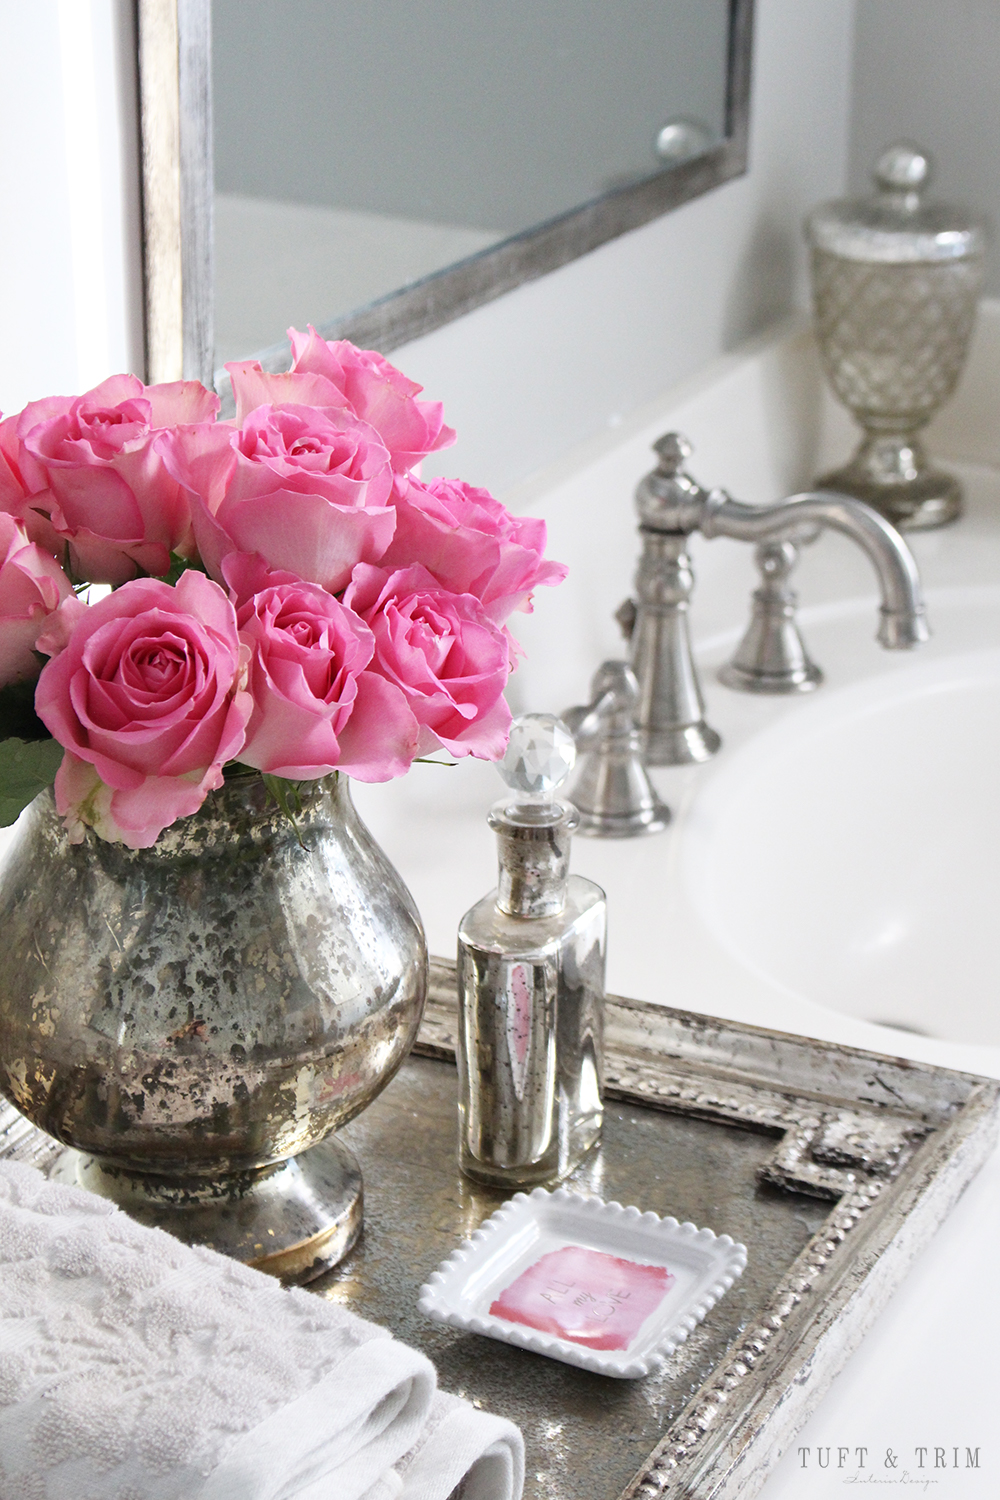
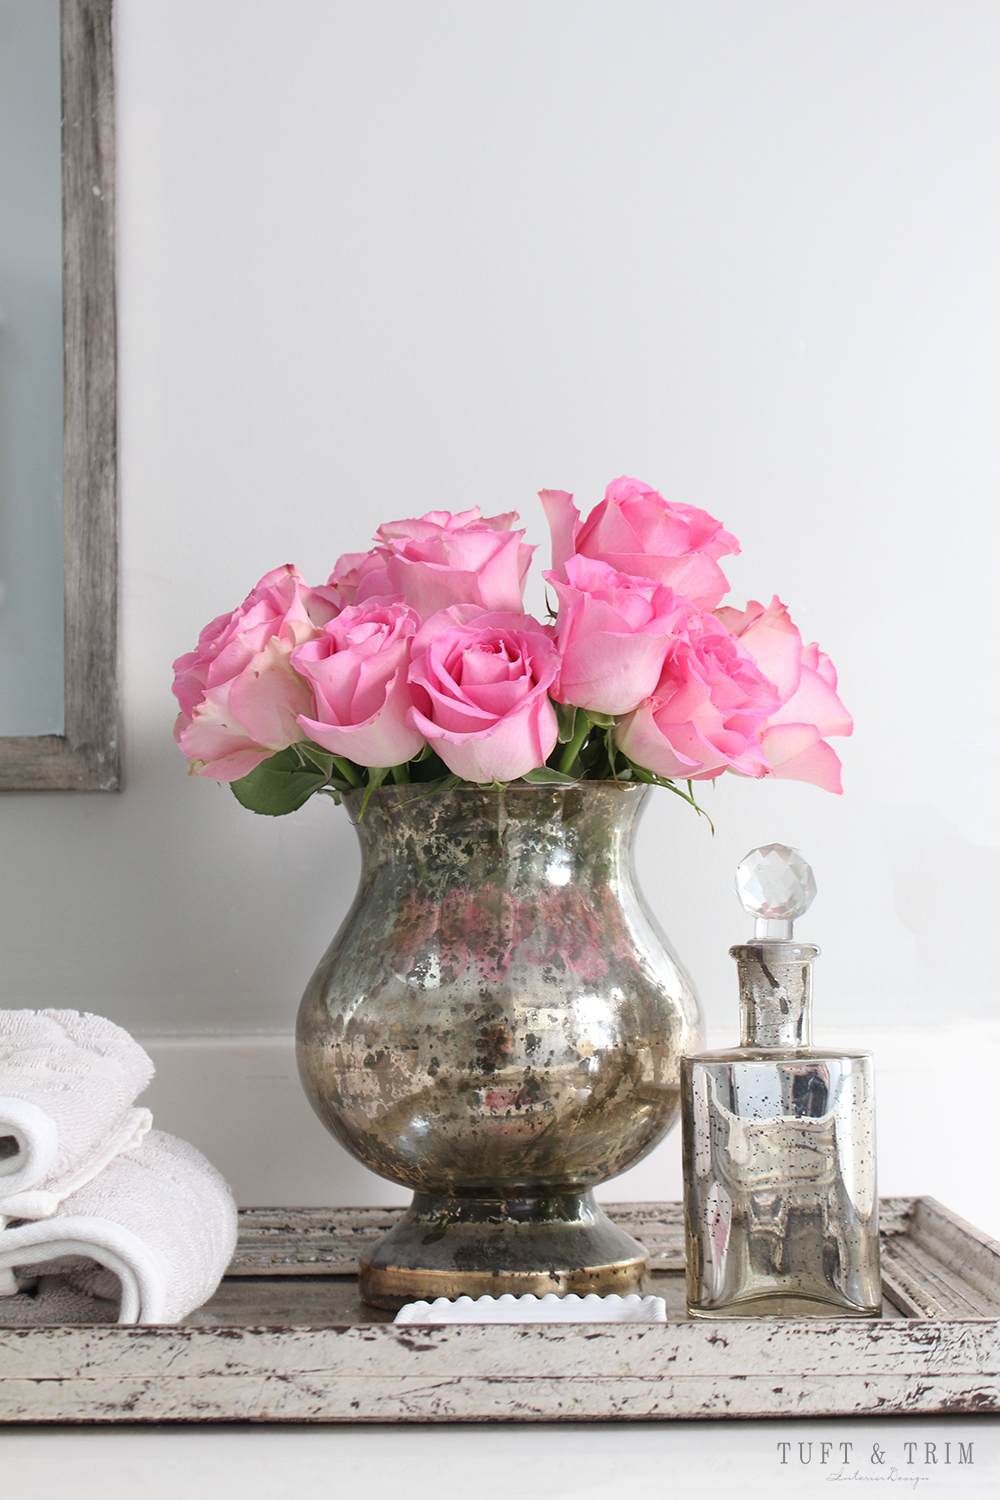
I added pops of pink in the flowers and accents to bring in some femininity.

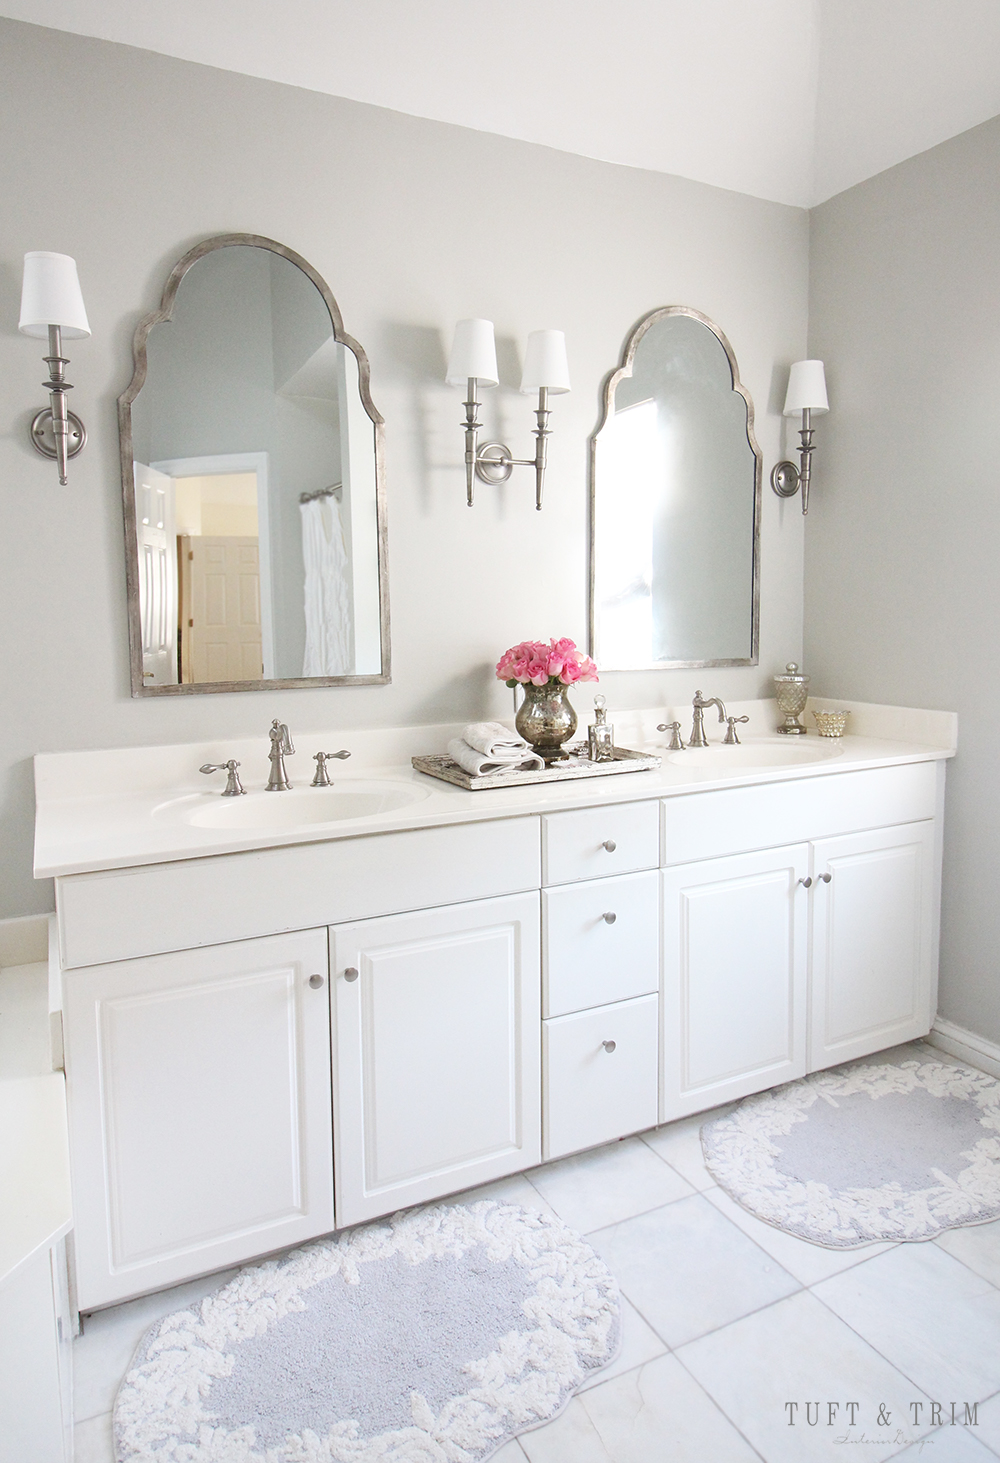
These adorable bath mats are from Anthropologie. I wanted rugs that were fun and also elegant and these were exactly what I was looking for.
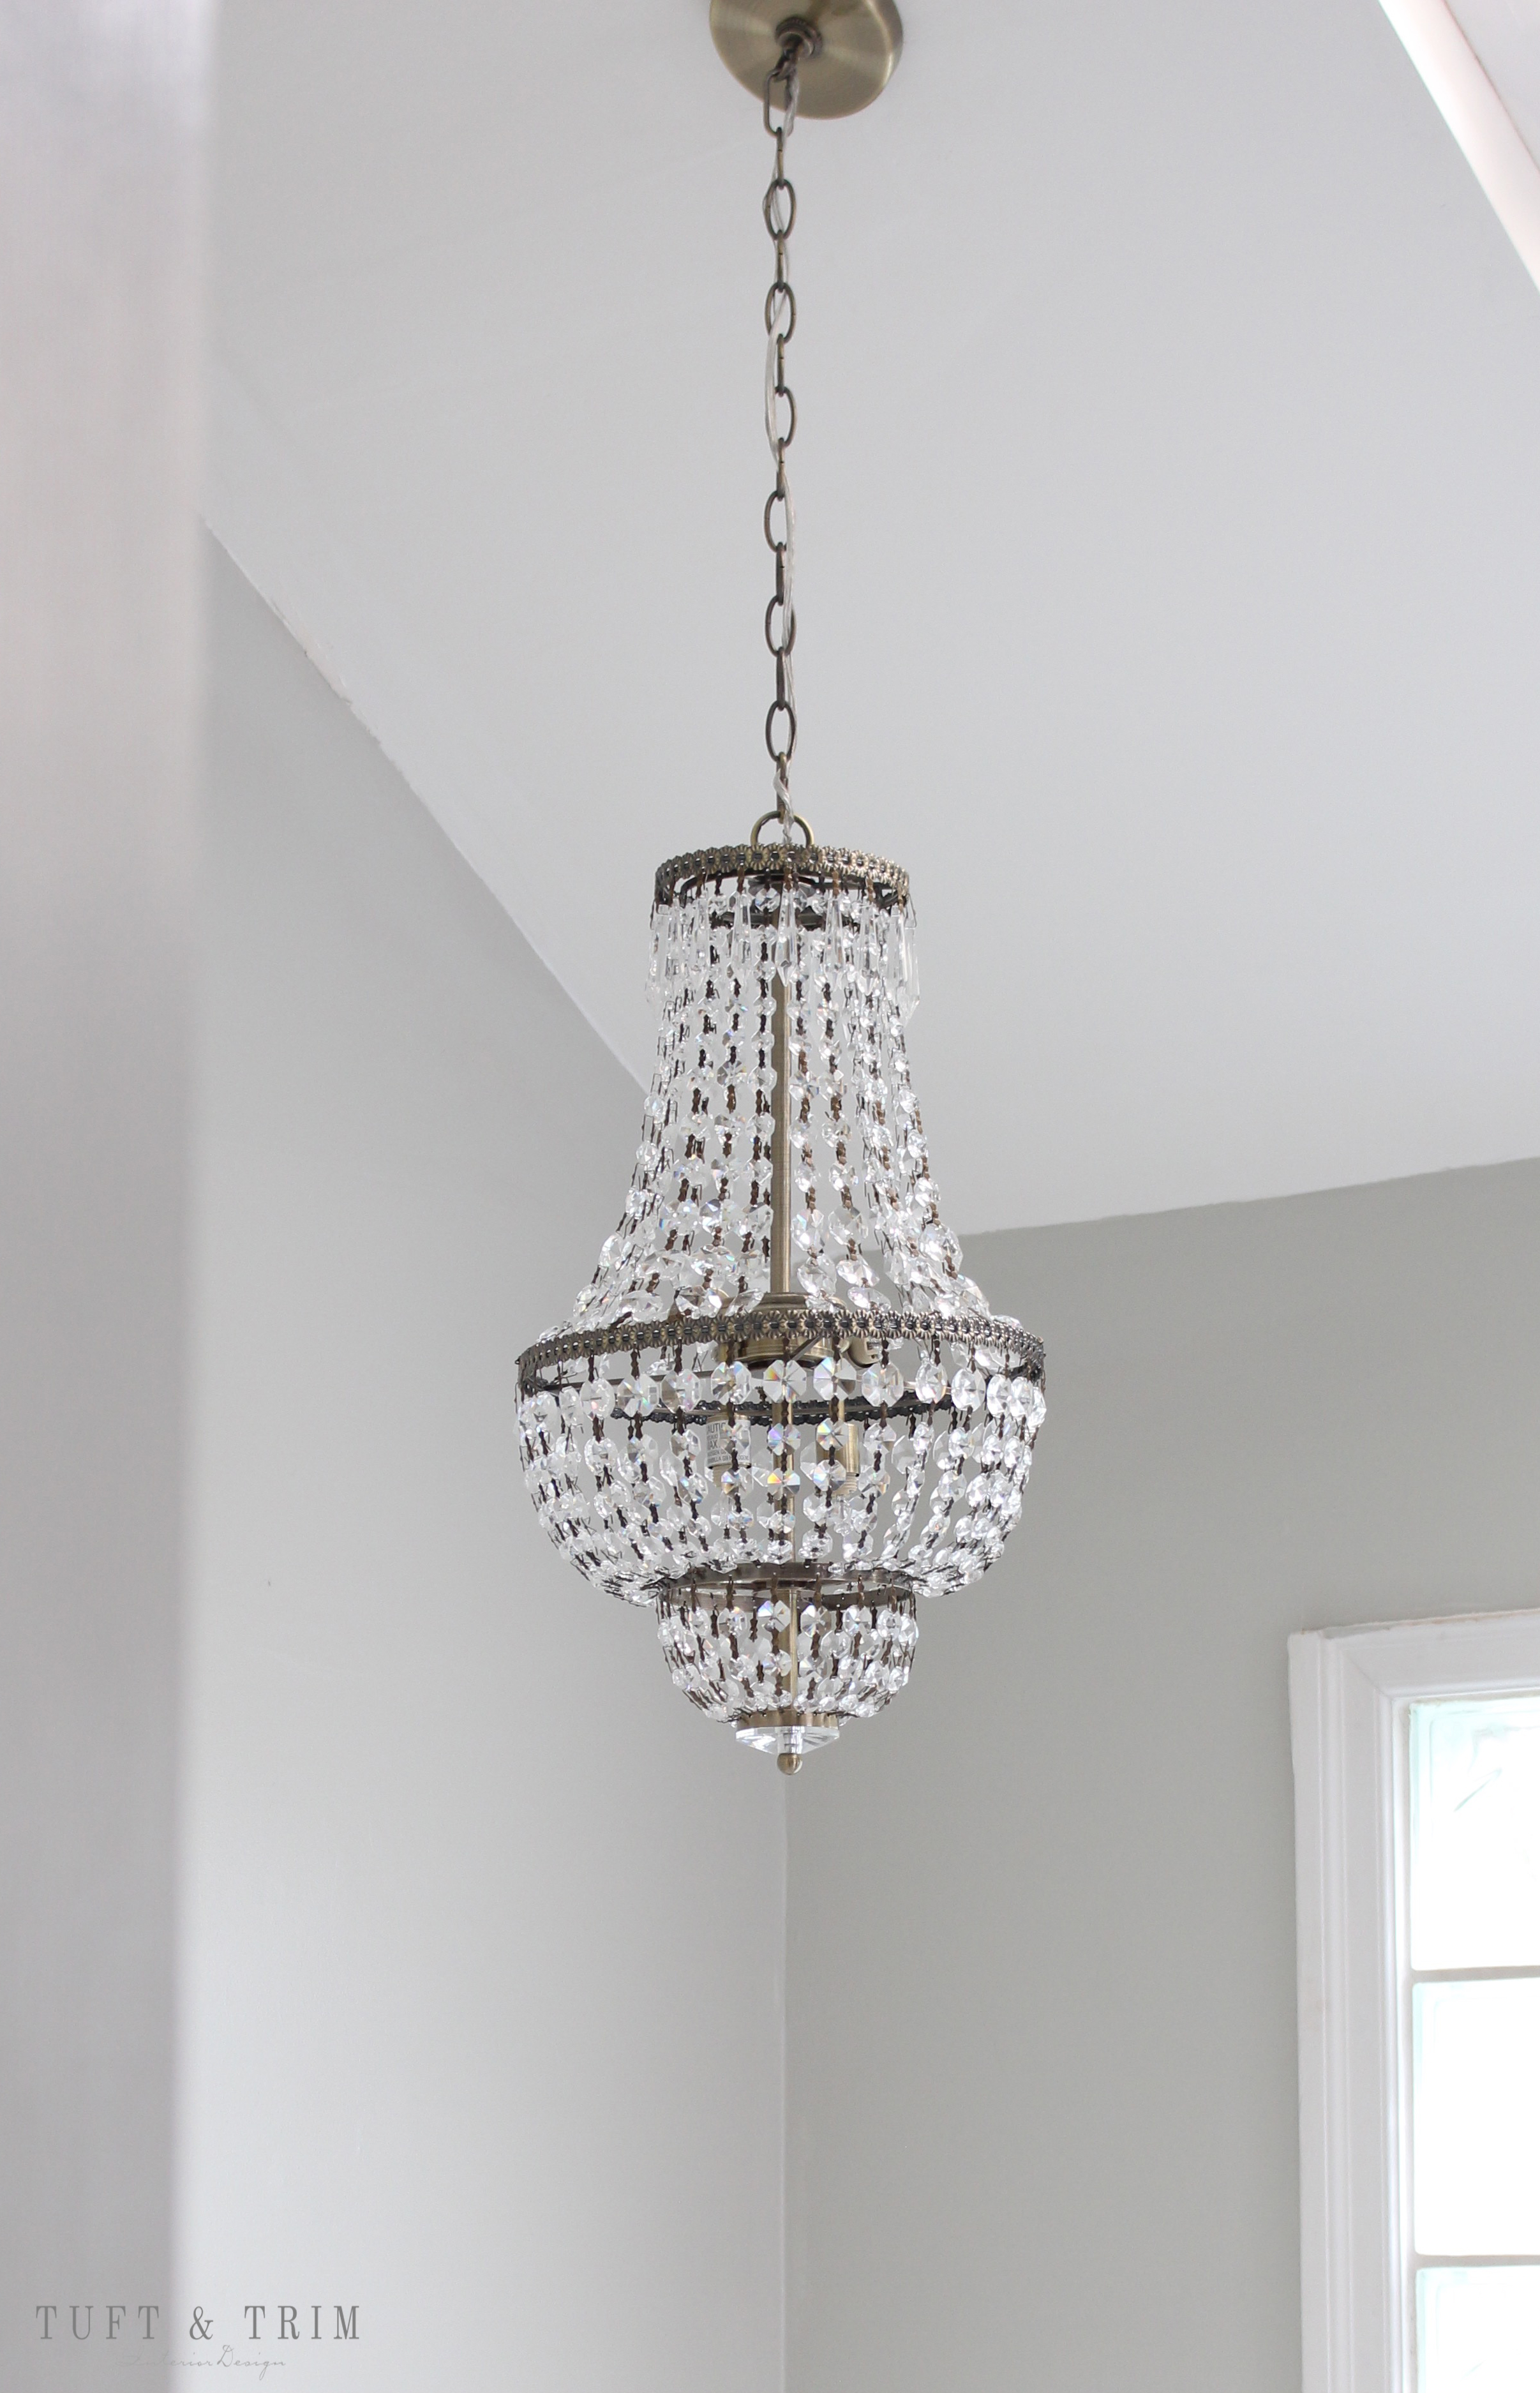
The classic style continues with this gorgeous chandelier. I was looking for a crystal chandelier, but had such a hard time finding something that I could afford. This one was so affordable, I couldn’t pass it up!
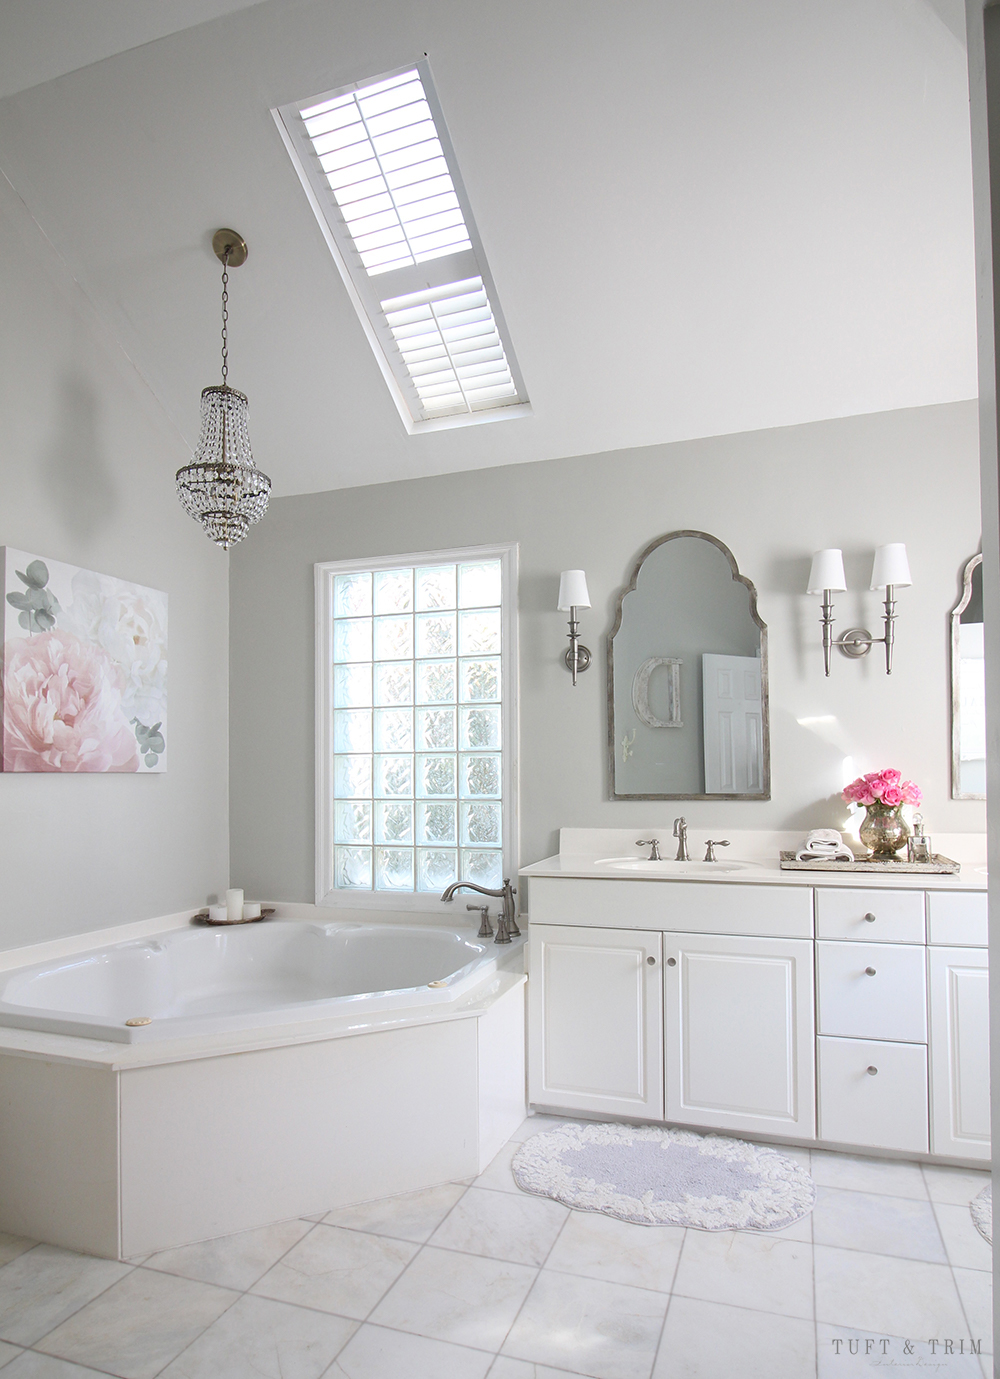
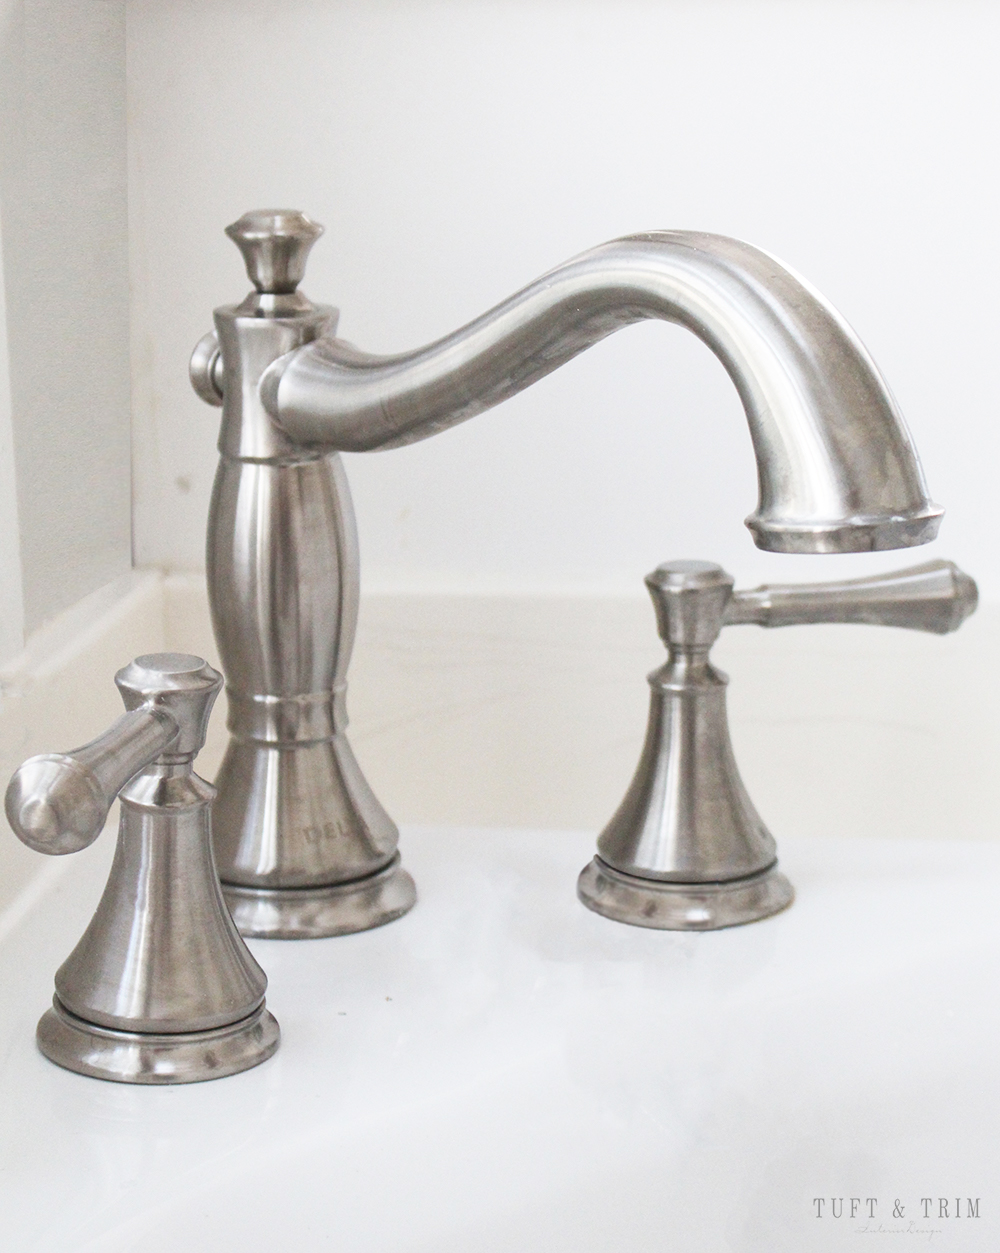
We were also able to update our bathtub faucet, thanks to efaucets. In exchange for being a part of my bathroom design, they provided this awesome Delta bath faucet in a brushed nickel finish. I picked it to match the existing sink faucets and was thrilled with the look and quality.
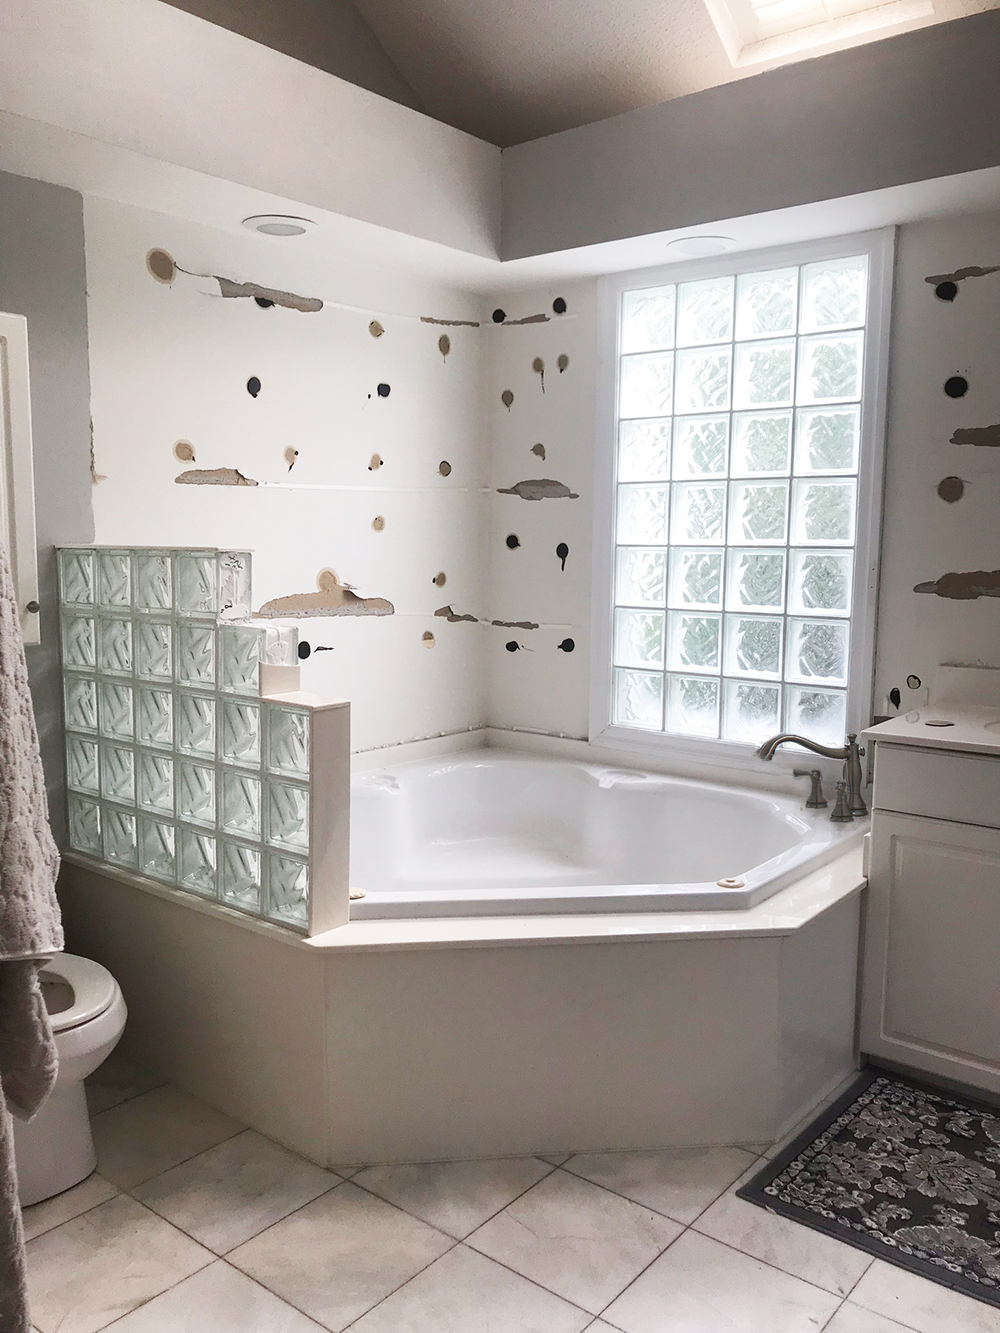
Here’s a little flashback of the bathroom before the update:


Now I’ll walk you through the process…

Removing the mirrors made a huge impact on the space. This task was not a DIY project though. We hired ppl to come tear them down and after watching them, I’m so thankful we did! This is not a project you want to take on yourself and it’s pretty affordable to hire someone who knows what their doing.
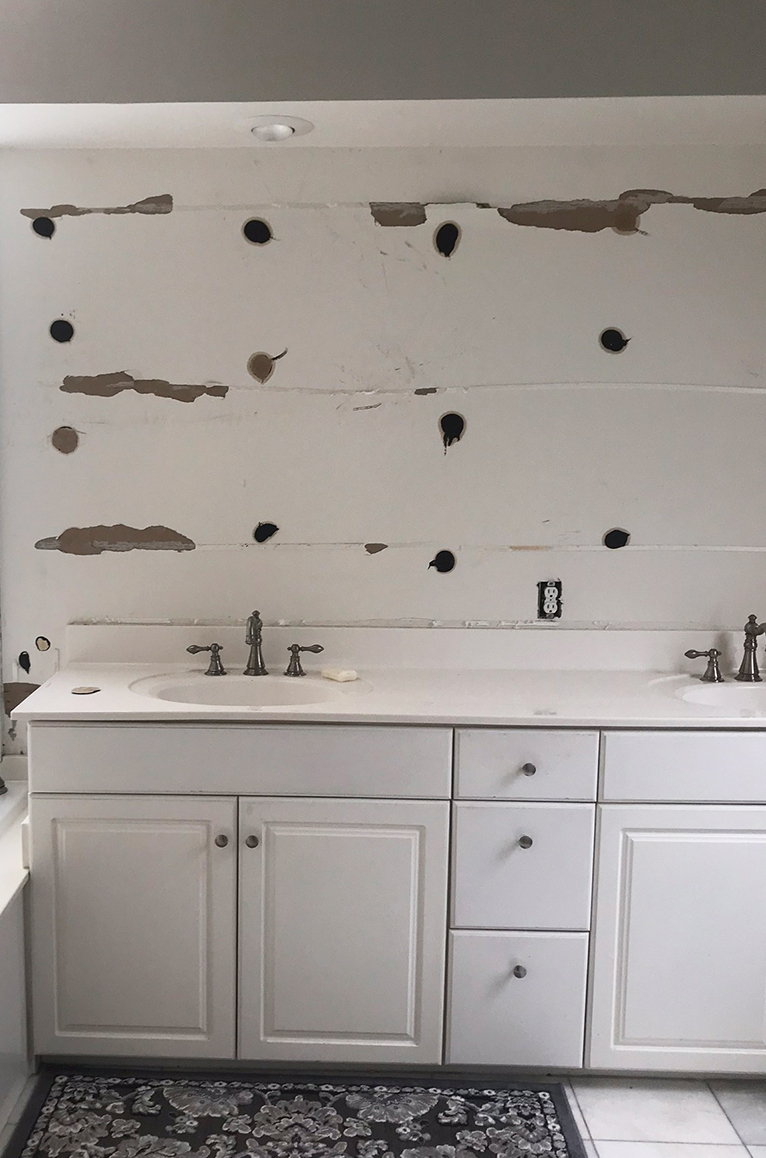

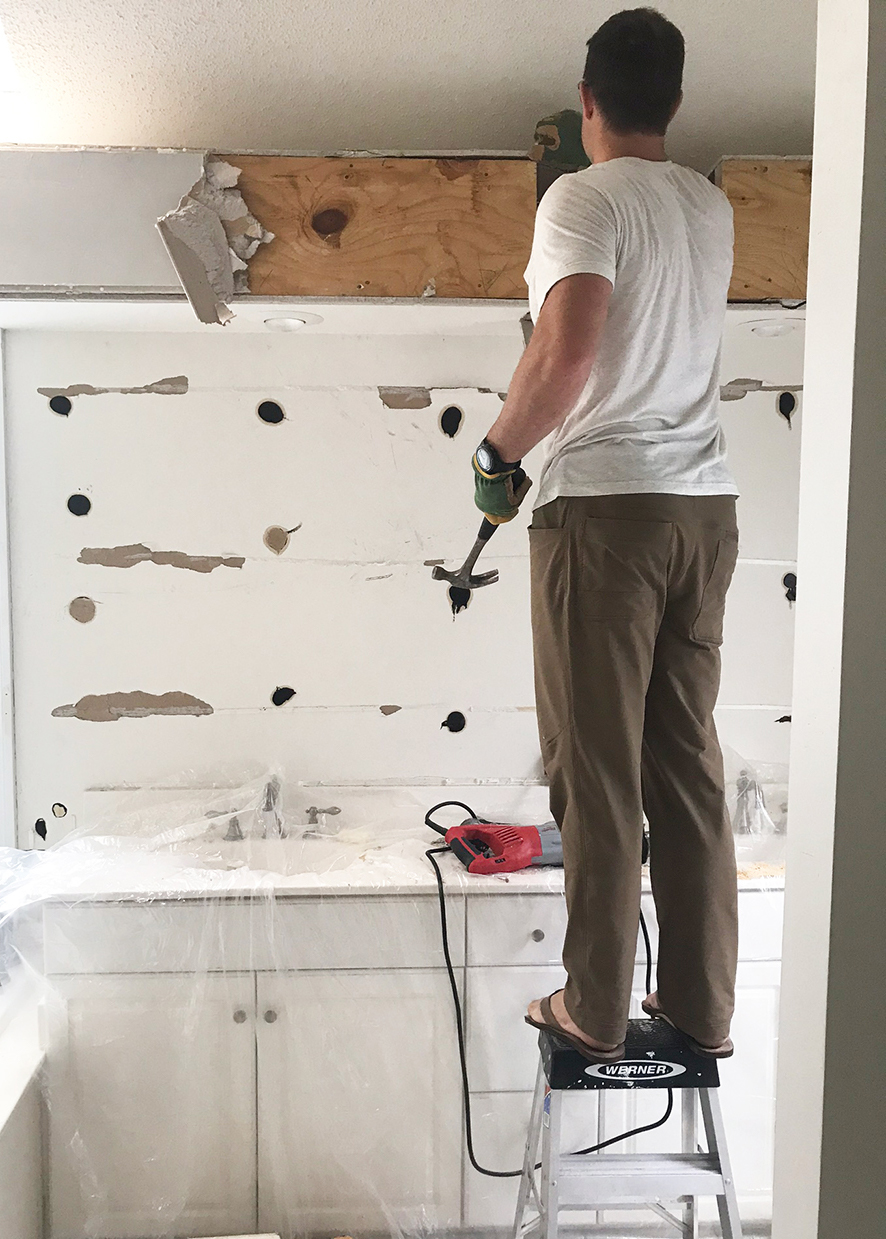
Tearing down the soffit was not easy, but I’m pretty sure Nathan enjoyed the challenge. I mean, what guy doesn’t like a little demolition?
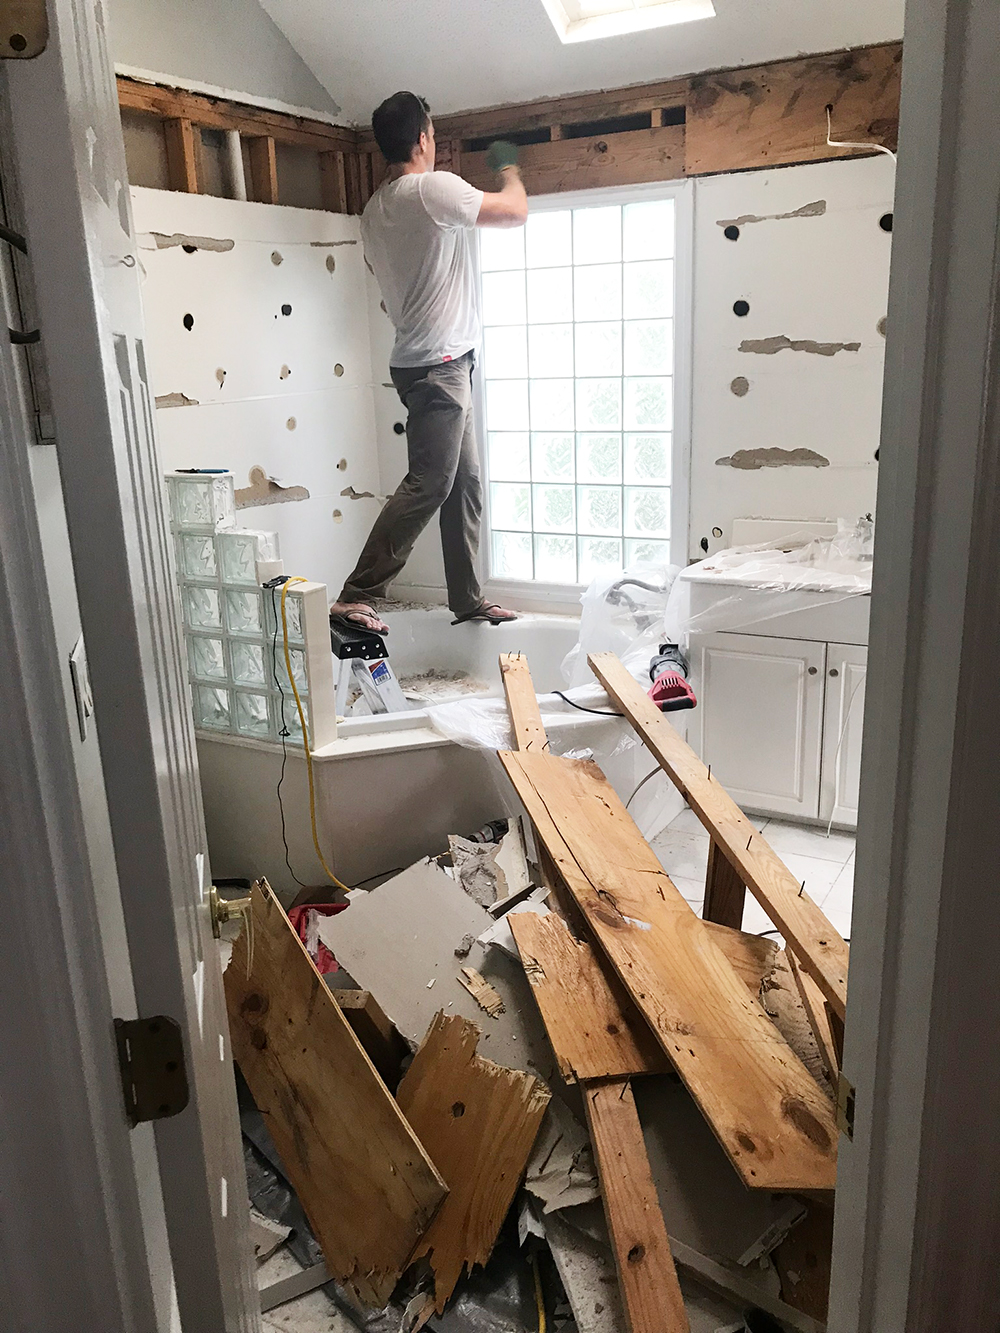

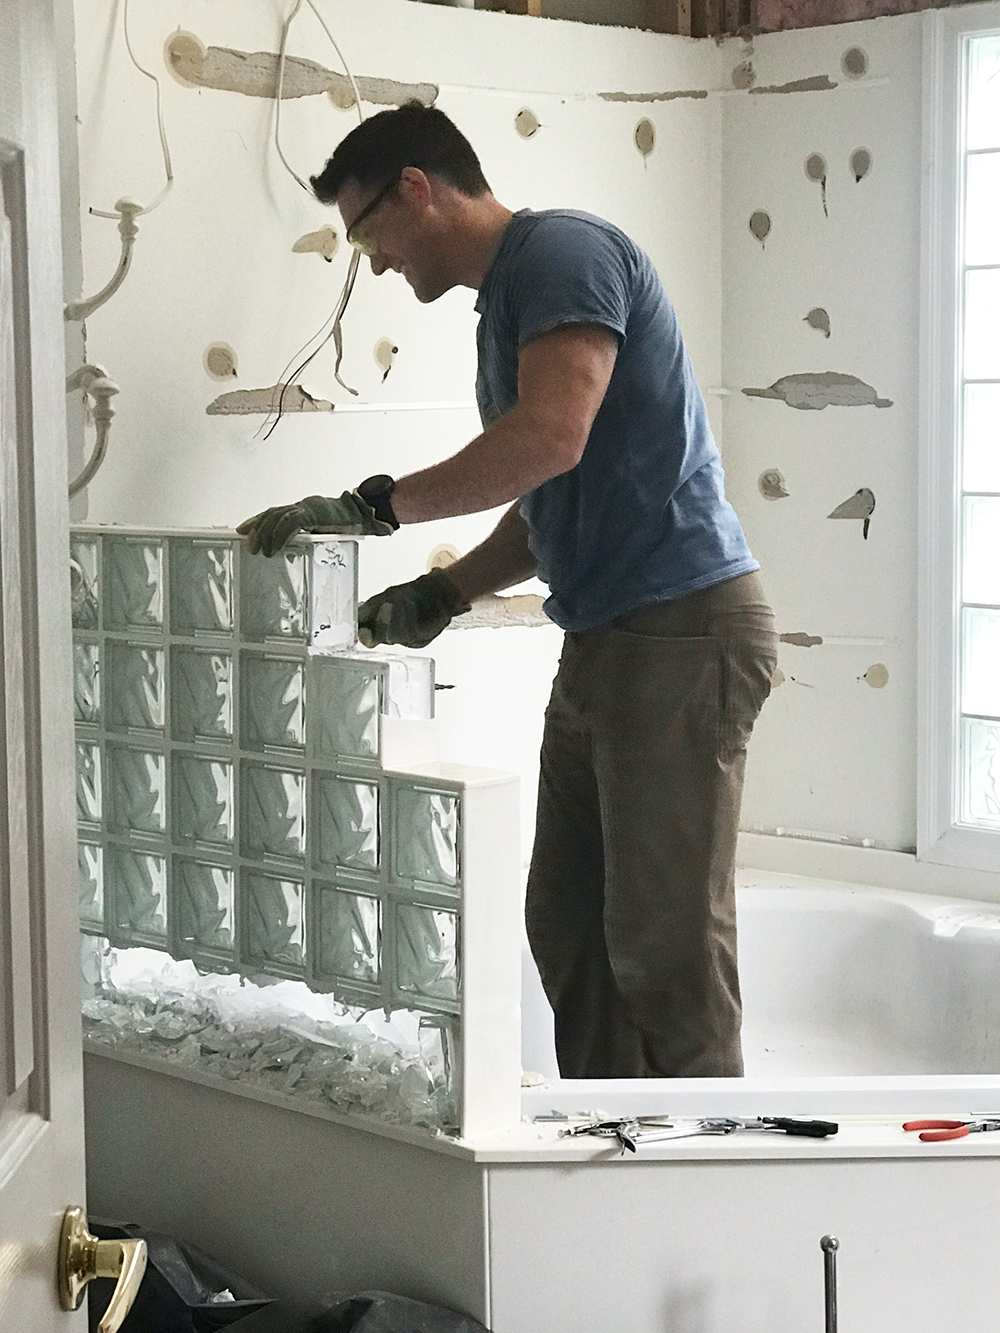
There’s not much I despise more than the ice blocks in our bathroom. I called this the igloo wall and I took great pleasure in watching it being hammered to pieces… good bye ice blocks! (next step: the igloo window)


This part was harder than we anticipated. I wouldn’t recommend this as a DIY project unless you know what your doing or have someone with experience to help. Nathan likes a good challenge so he decided to take it on himself, which resulted in weeks of frustration. First, he began with cutting drywall to fit the open gaps where soffits once were. Once those were nailed in place, he taped the edges and covered with plaster. After the plaster dried, he sanded it down and repeated the step until the wall was smooth. I lost count at the number of times he had to plaster and sand…but it was a lot.


Once the walls were repaired, we covered them with a fresh layer of paint (Repose Gray by Sherwin Williams) and installed the lighting. We also scraped off the popcorn ceiling and refinished it which made a world of difference. I don’t understand why popcorn ceiling was ever a thing? It’s all over our home and it’s on our to-do list to get rid of it! But for now, we’ll take it one room at a time.

The second phase of our bathroom update is complete and I’m in love! Although it was a lot of work, I think the changes made such a difference and added character to the space. Don’t you think? And doing it ourselves saved us so much money, I’d like to think it was worth the hard work!
Thanks so much for stopping by! I hope you enjoyed watching our bathroom transform and hopefully it’s inspired you to tackle your own home projects. For more design projects and home inspiration, follow me on Pinterest and Instagram!


[…] Image Source […]