It’s been almost a year since we moved into our home and I’ve had projects piled up, just waiting to share with you. The laundry room is one of them and today I’m excited to show you how it turned out!
Come scroll through our laundry room makeover and see what it used to look like, along with a quick look at the folding counter DIY project. l’m also sharing all the decorating details like paint colors, where to find the countertop, and more!

*This post contains affiliate links.

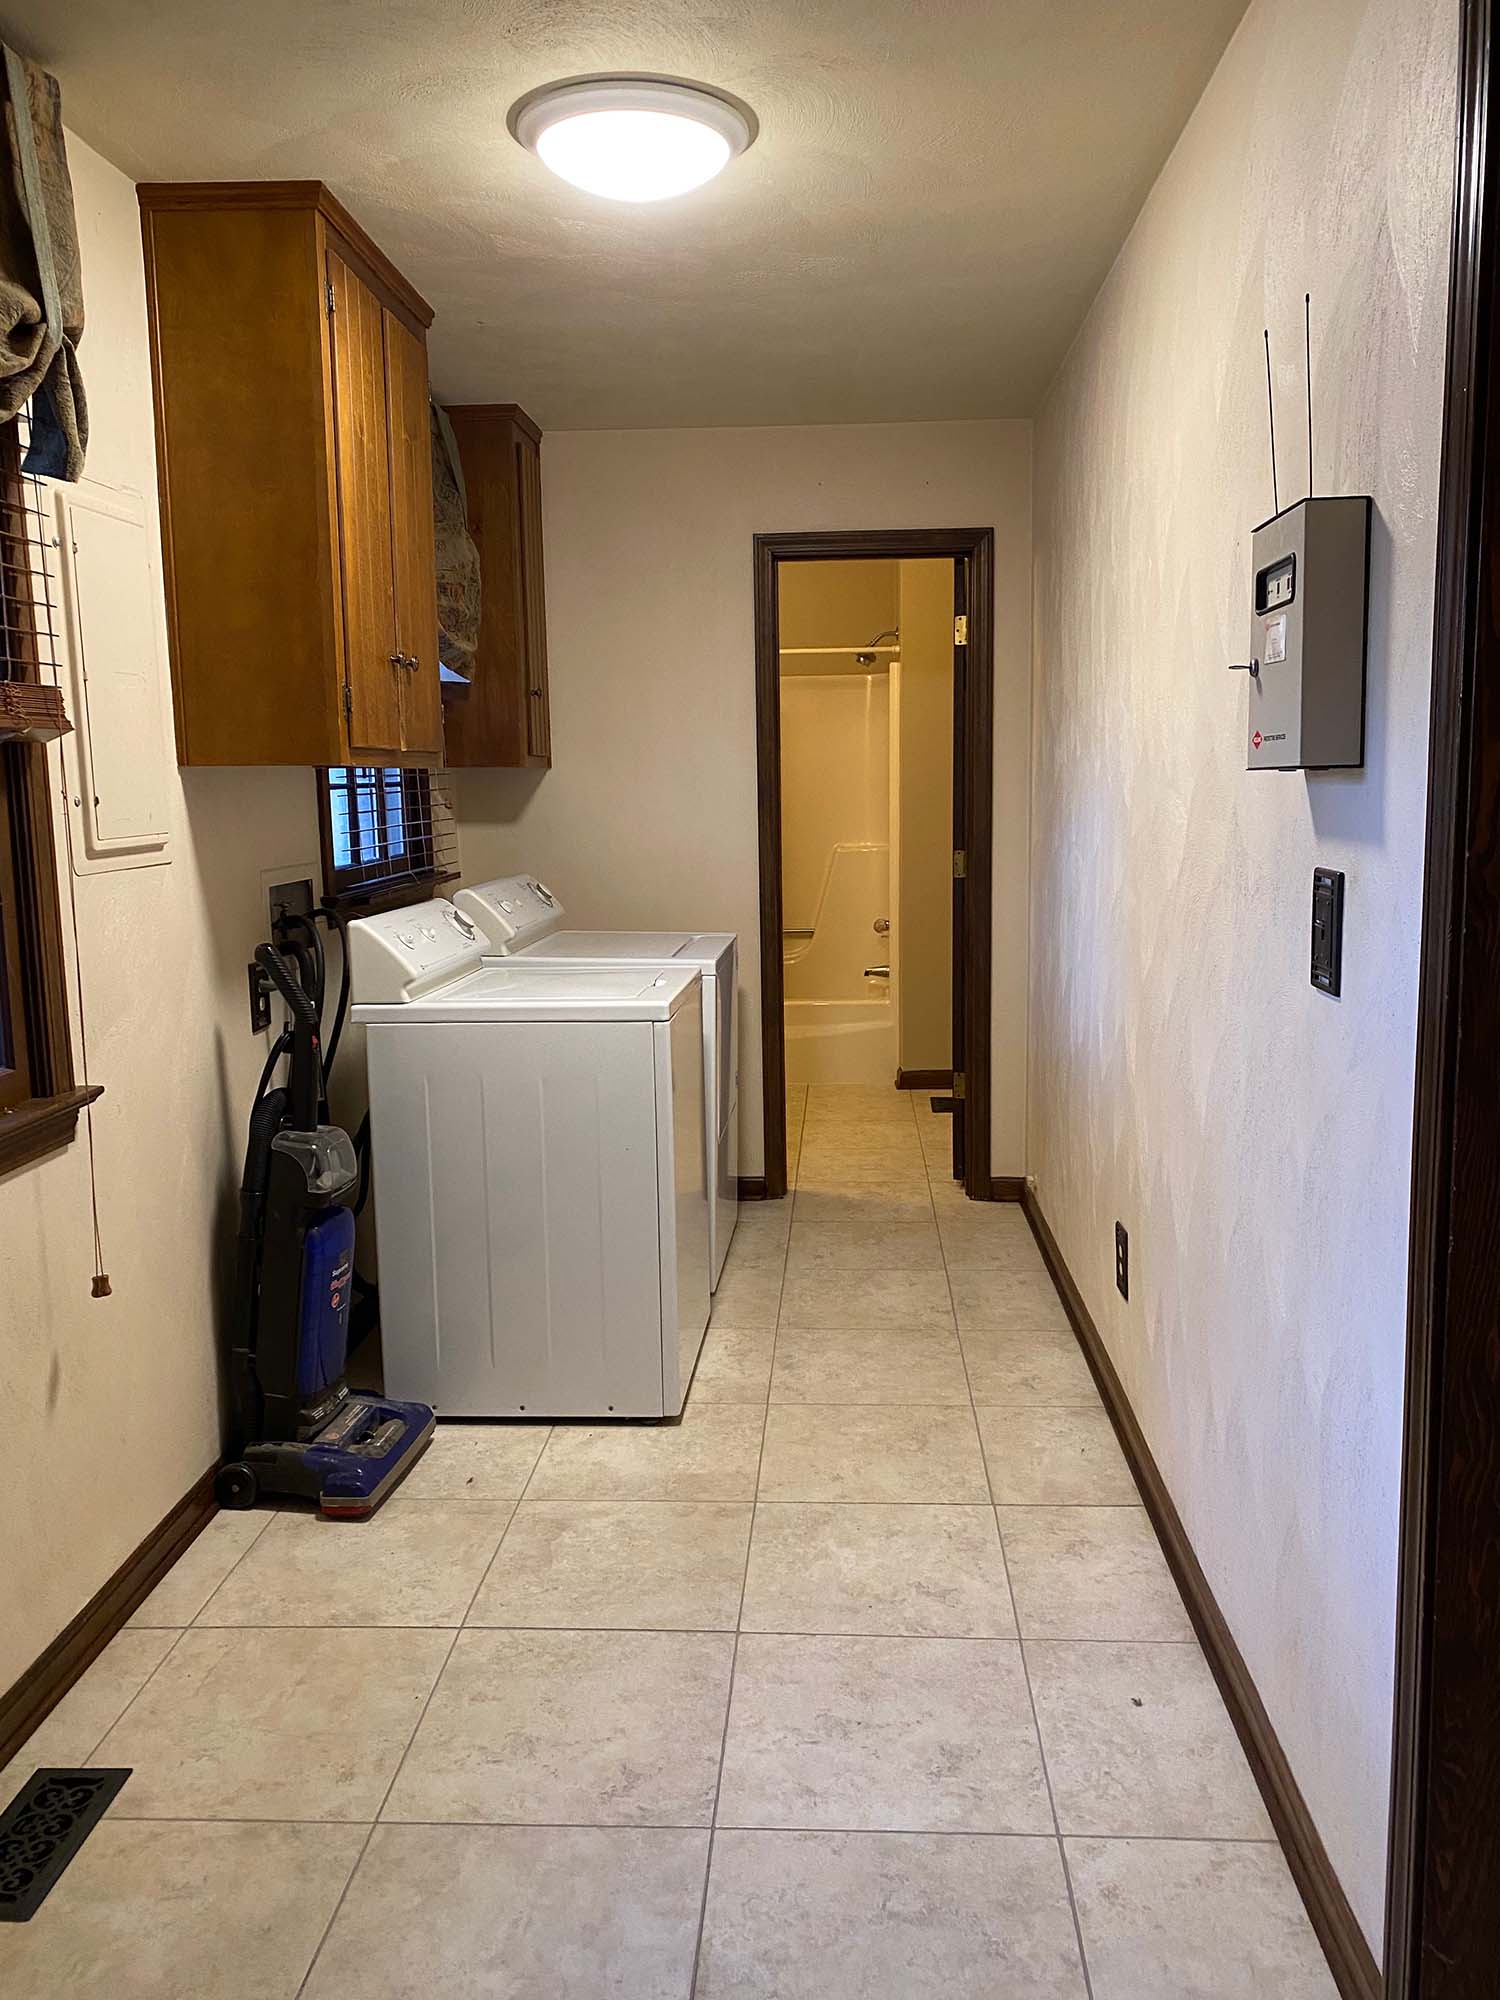
The laundry room layout is not ideal because you have to walk through it in order to get to the downstairs bathroom. I don’t know about you, but my laundry room is rarely in order and it stressed me out knowing that guests have to see it every time they use the restroom. That being said, we did our best to come up with a storage solution that’s functional, but still pretty.
BEFORE

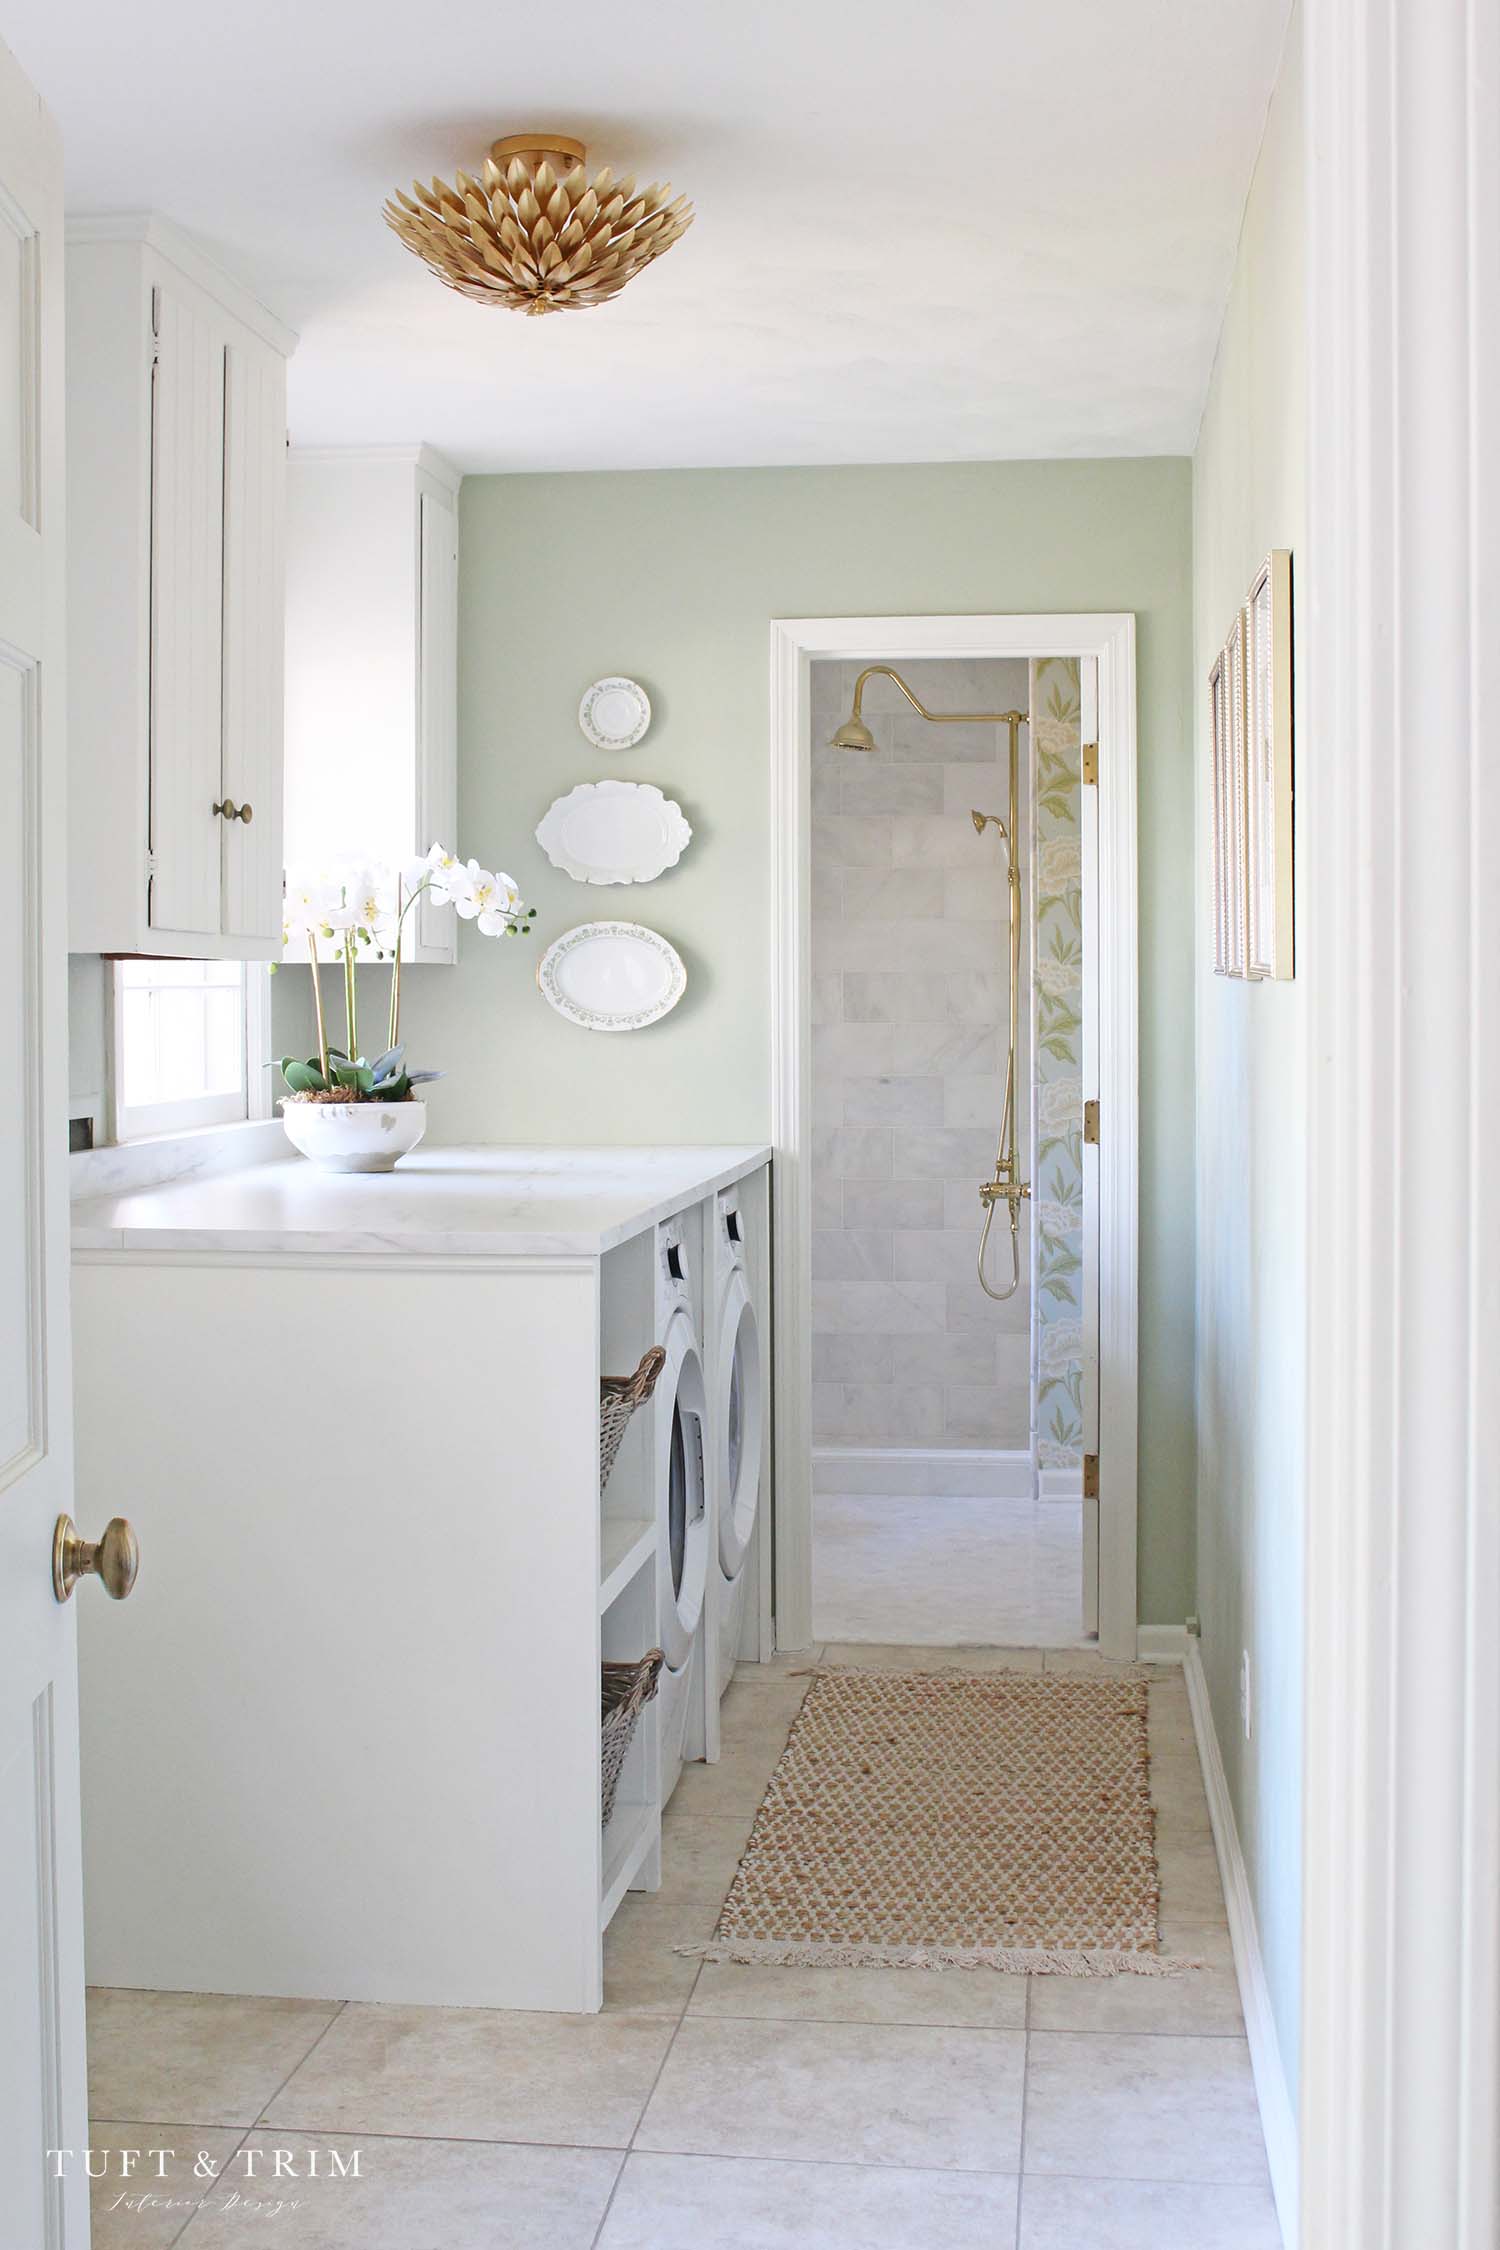
The before… where to even begin.. The first step was paint. We painted all the trim, windows, and doors in Alabaster by Sherwin Williams. Next, I painted the cabinets in a creamy white chalk paint and changed the hardware to brass knobs. The walls are painted with a custom color of 50% Sherwin Williams Softened Green and 50% Liveable Green. I loved the light sage tone and how it brought in color, while still keeping the space feeling soft.
AFTER

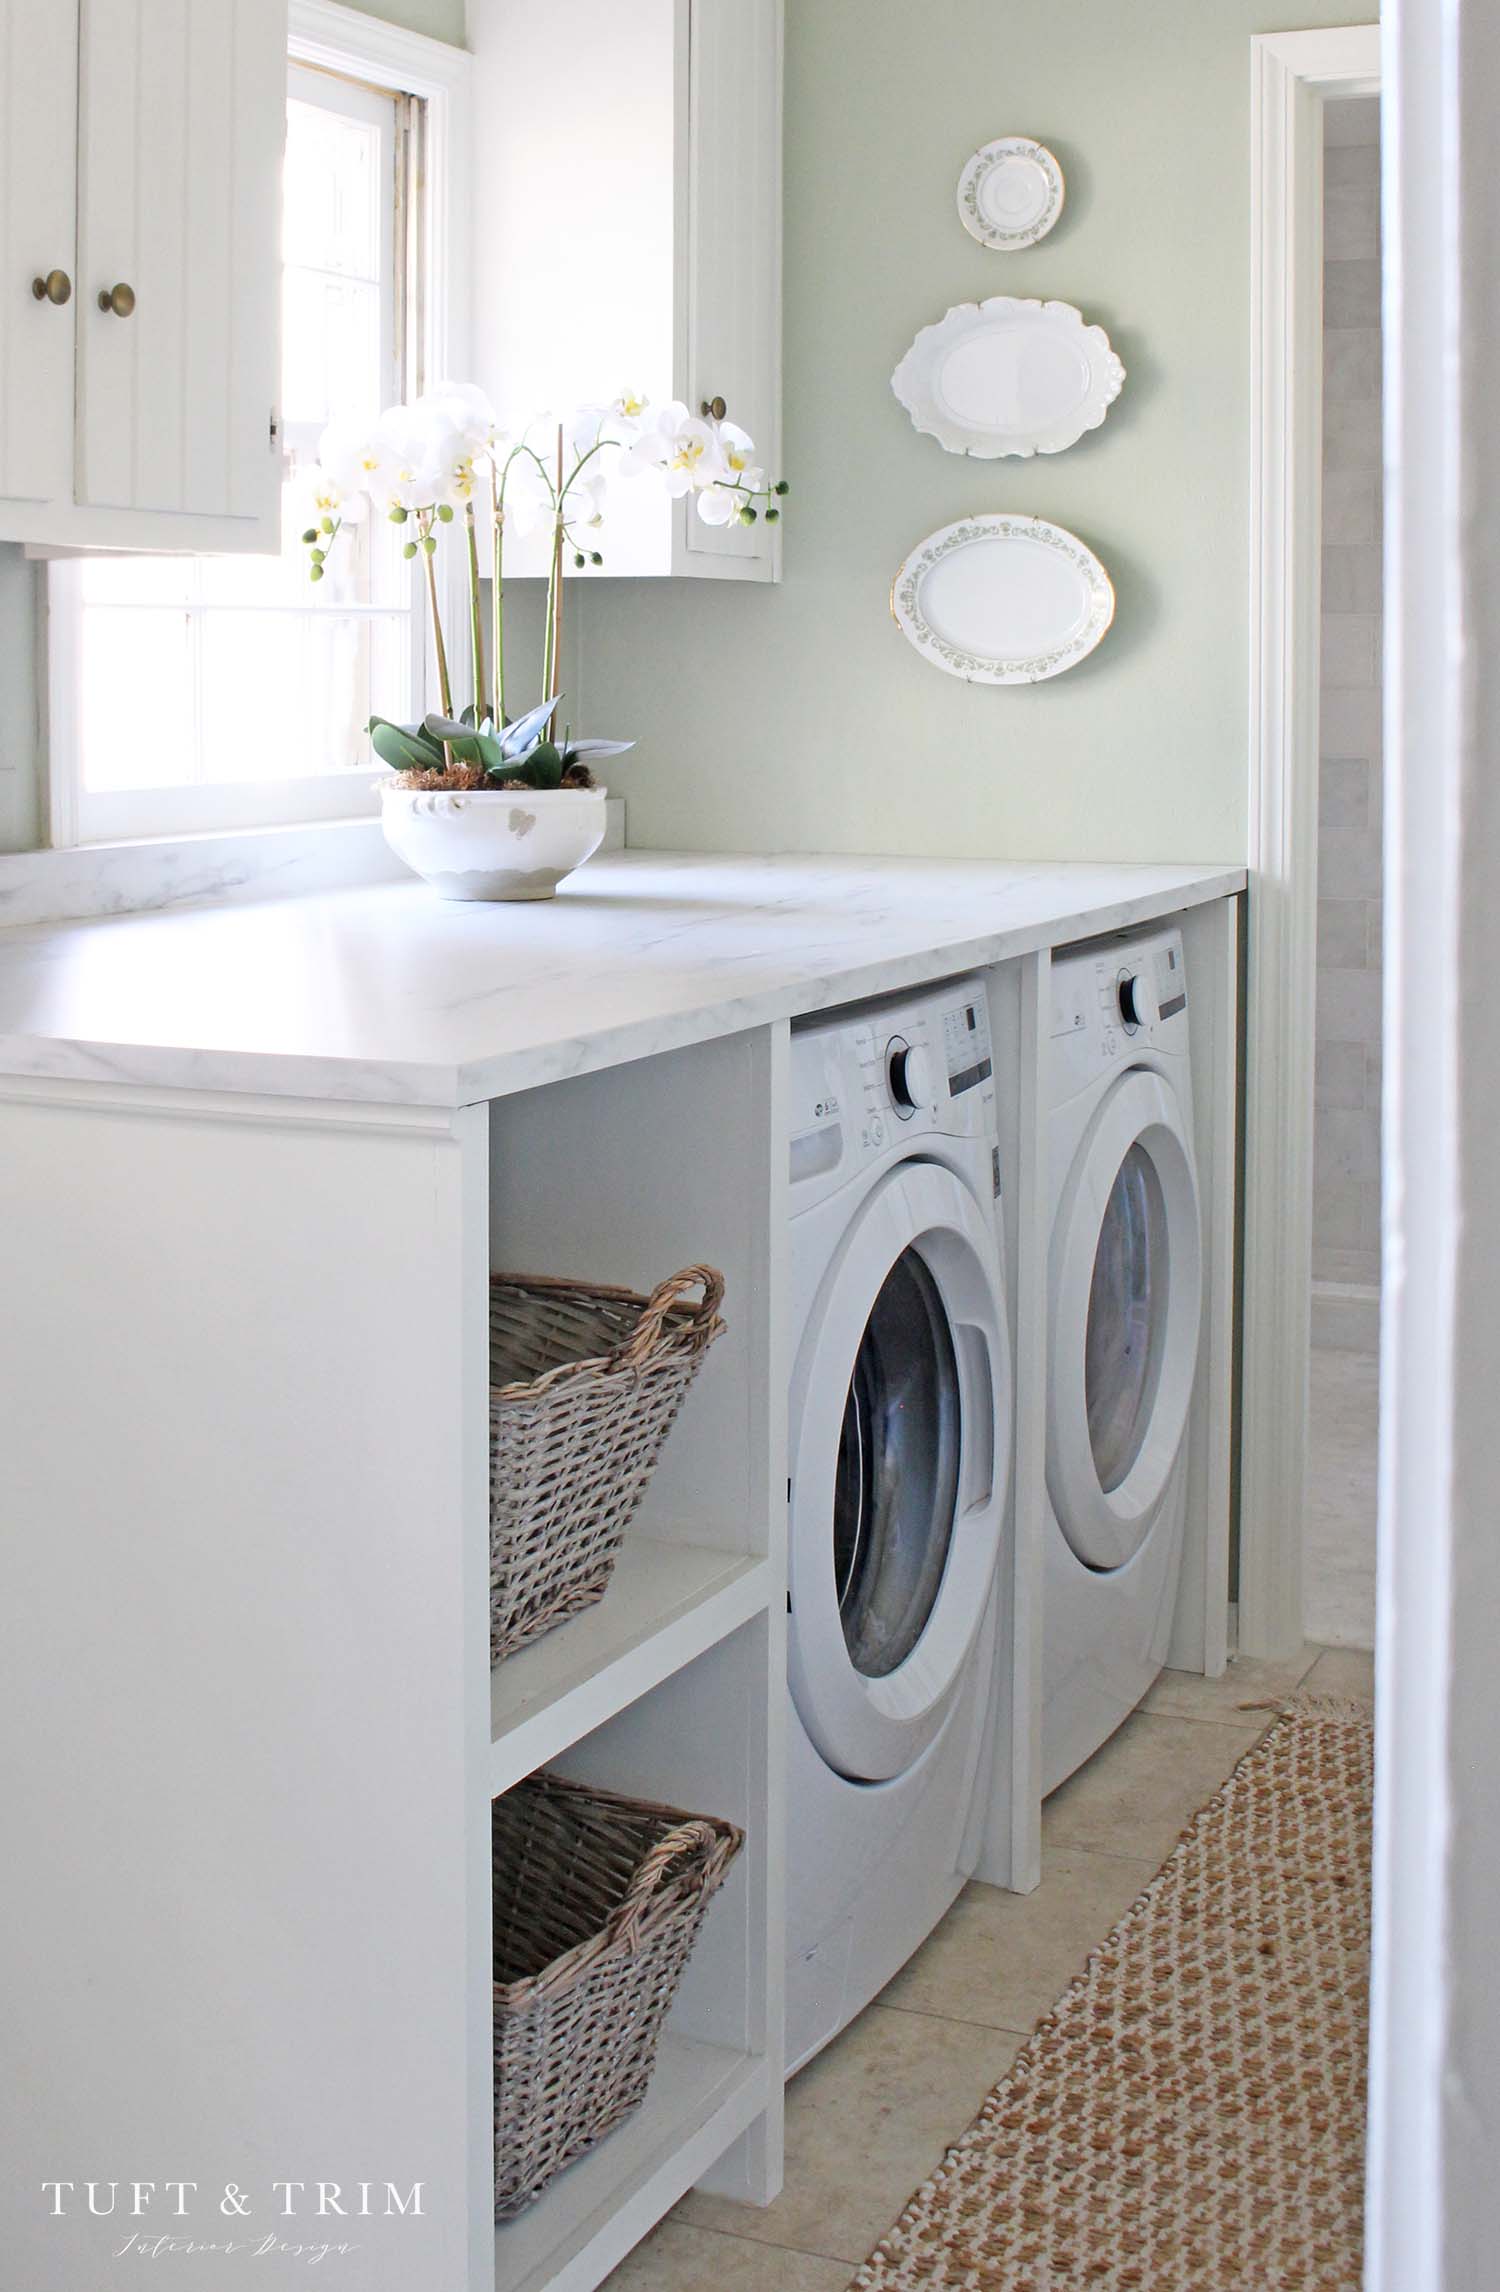
Next step was new washer and dryer. The original ones were over 20 years old and I knew I wanted front loading so we could build a folding table above it. Once we changed those out, my husband was put to work building the shelving and counter. You can see a glimpse of the process below. I drew out the design and he made it- big shout out to my hubby for making my vision come to life!

The countertop is from Ikea and is a laminate surface that looks like marble. Super affordable and easy to work with. You can shop it here. We got two of them and merged them together and cut a portion for the backsplash. The shelving is made of melamine board from Home Depot. Between the countertops and wood, this project cost a small fraction of what it might cost had we hired out. That being said, I wouldn’t attempt a project this size unless you have some experience in woodworking.


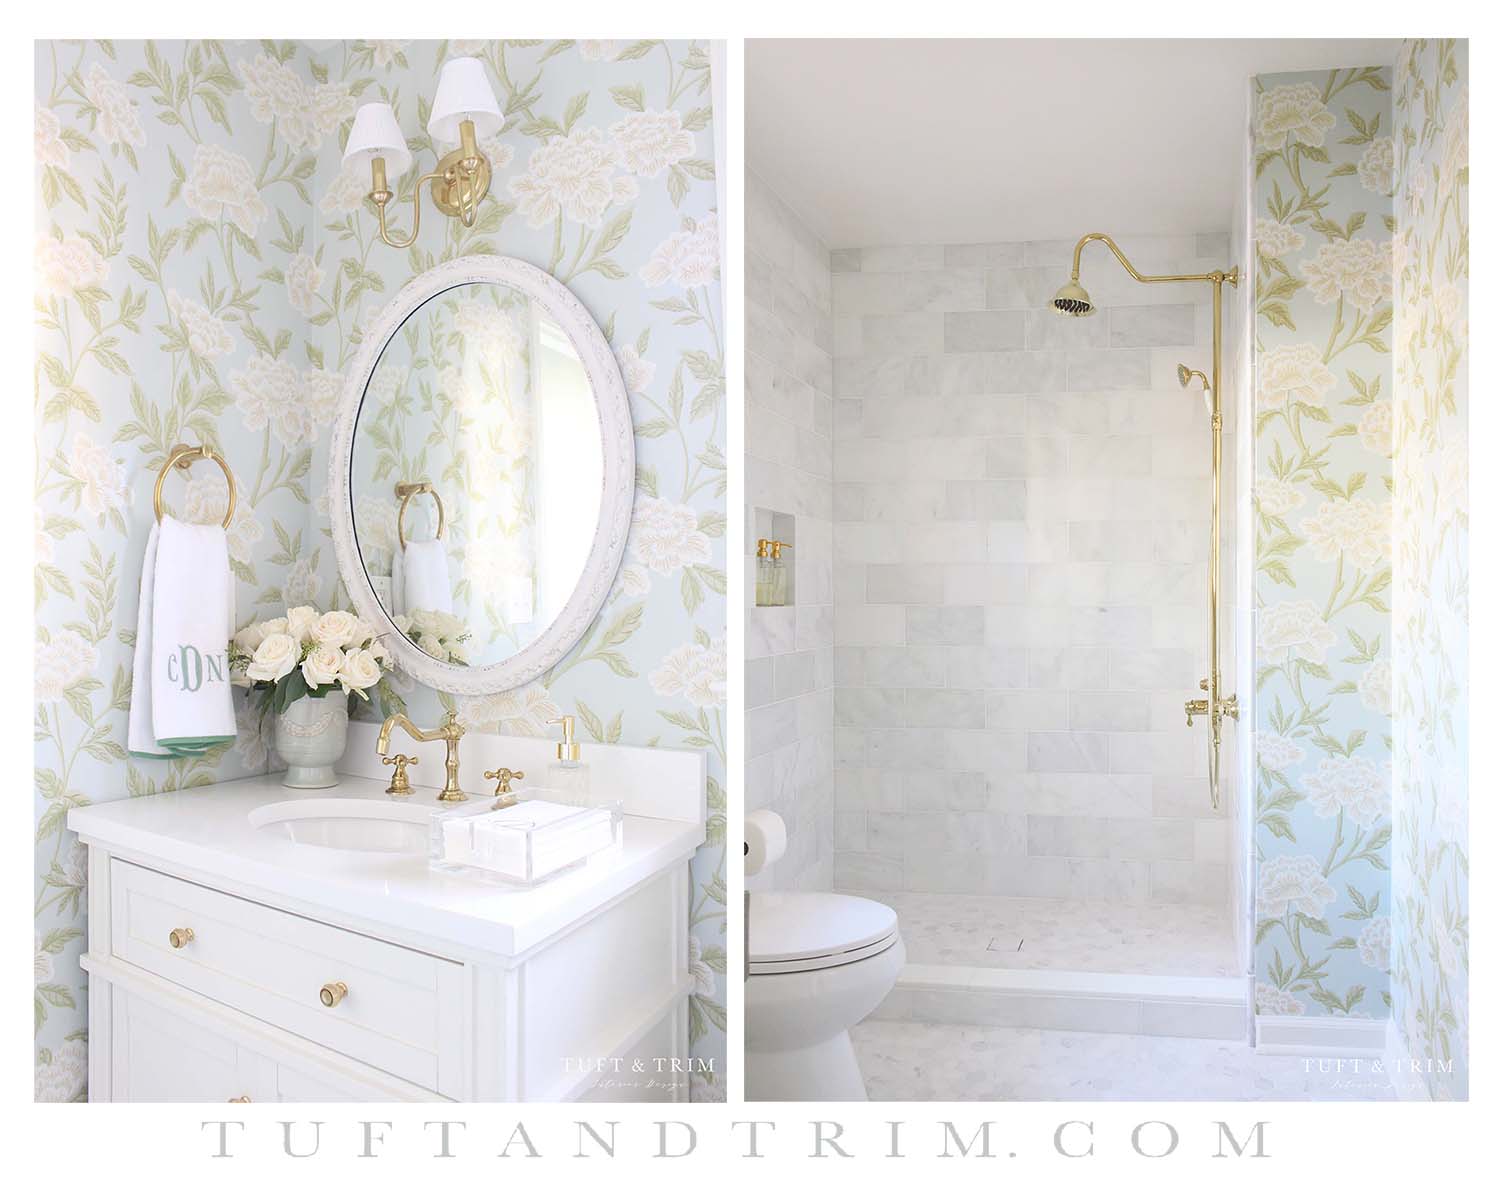
I wanted the paint to coordinate with the bathroom wallpaper so the spaces felt connected. My hope is that you’ll see the pretty bathroom and not notice all the laundry on your way there!


Overall, I’m so excited with how it turned out! While it seems complete, I am now working on a storage bench design and window treatments. Stay tuned to see what I come up with! And if you missed the bathroom renovation, you can get the full tour and details here. You won’t believe the transformation!
Thank you so much for joining me today! I’m so grateful you’re here and hope that this space is inspiring some fun ideas for your own home. Feel free to follow along on social media below and subscribe to my newsletter so you don’t miss any upcoming posts!
Instagram / Facebook / Pinterest


It looks beautiful!
Thank you Elizabeth! So glad you stopped on by!
xx, Courtney
Wow! So impressive what you did.
Beautiful space.
Wishes I would of thought cubbies for baskets when we added cabinetry and countertop.
Hi Cheryl,
I would love cabinets also, but yes, the storage for baskets have been great! Thanks for stopping by!
xx, Courtney
Beautiful work as always by both of you. I love the bathroom wallpaper. Gorgeous colors.
Thank you so much, Claudia! You are so sweet.
xx, Courtney
I love the soft colors throughout. It’s really pretty!
Thank you so much Anita! Glad you like it!
xxCourtney