It’s been a while since I’ve shared a home project and this one you won’t want to miss!
Join me today as I walk through how we gave our brick fireplace a makeover with a Dreamcast stone mantel surround. I’ll be sharing the entire process; from painting the brick to the installation, along with links to the sources. I think you’re going to enjoy watching this transformation unfold!
A big thank you to my friends at Dreamcast for providing the mantel so I could showcase what a difference this elegant upgrade can make!
Let’s start with the before picture….
*This post is part of a gifted collaboration with Dreamcast. Affiliate links are used.
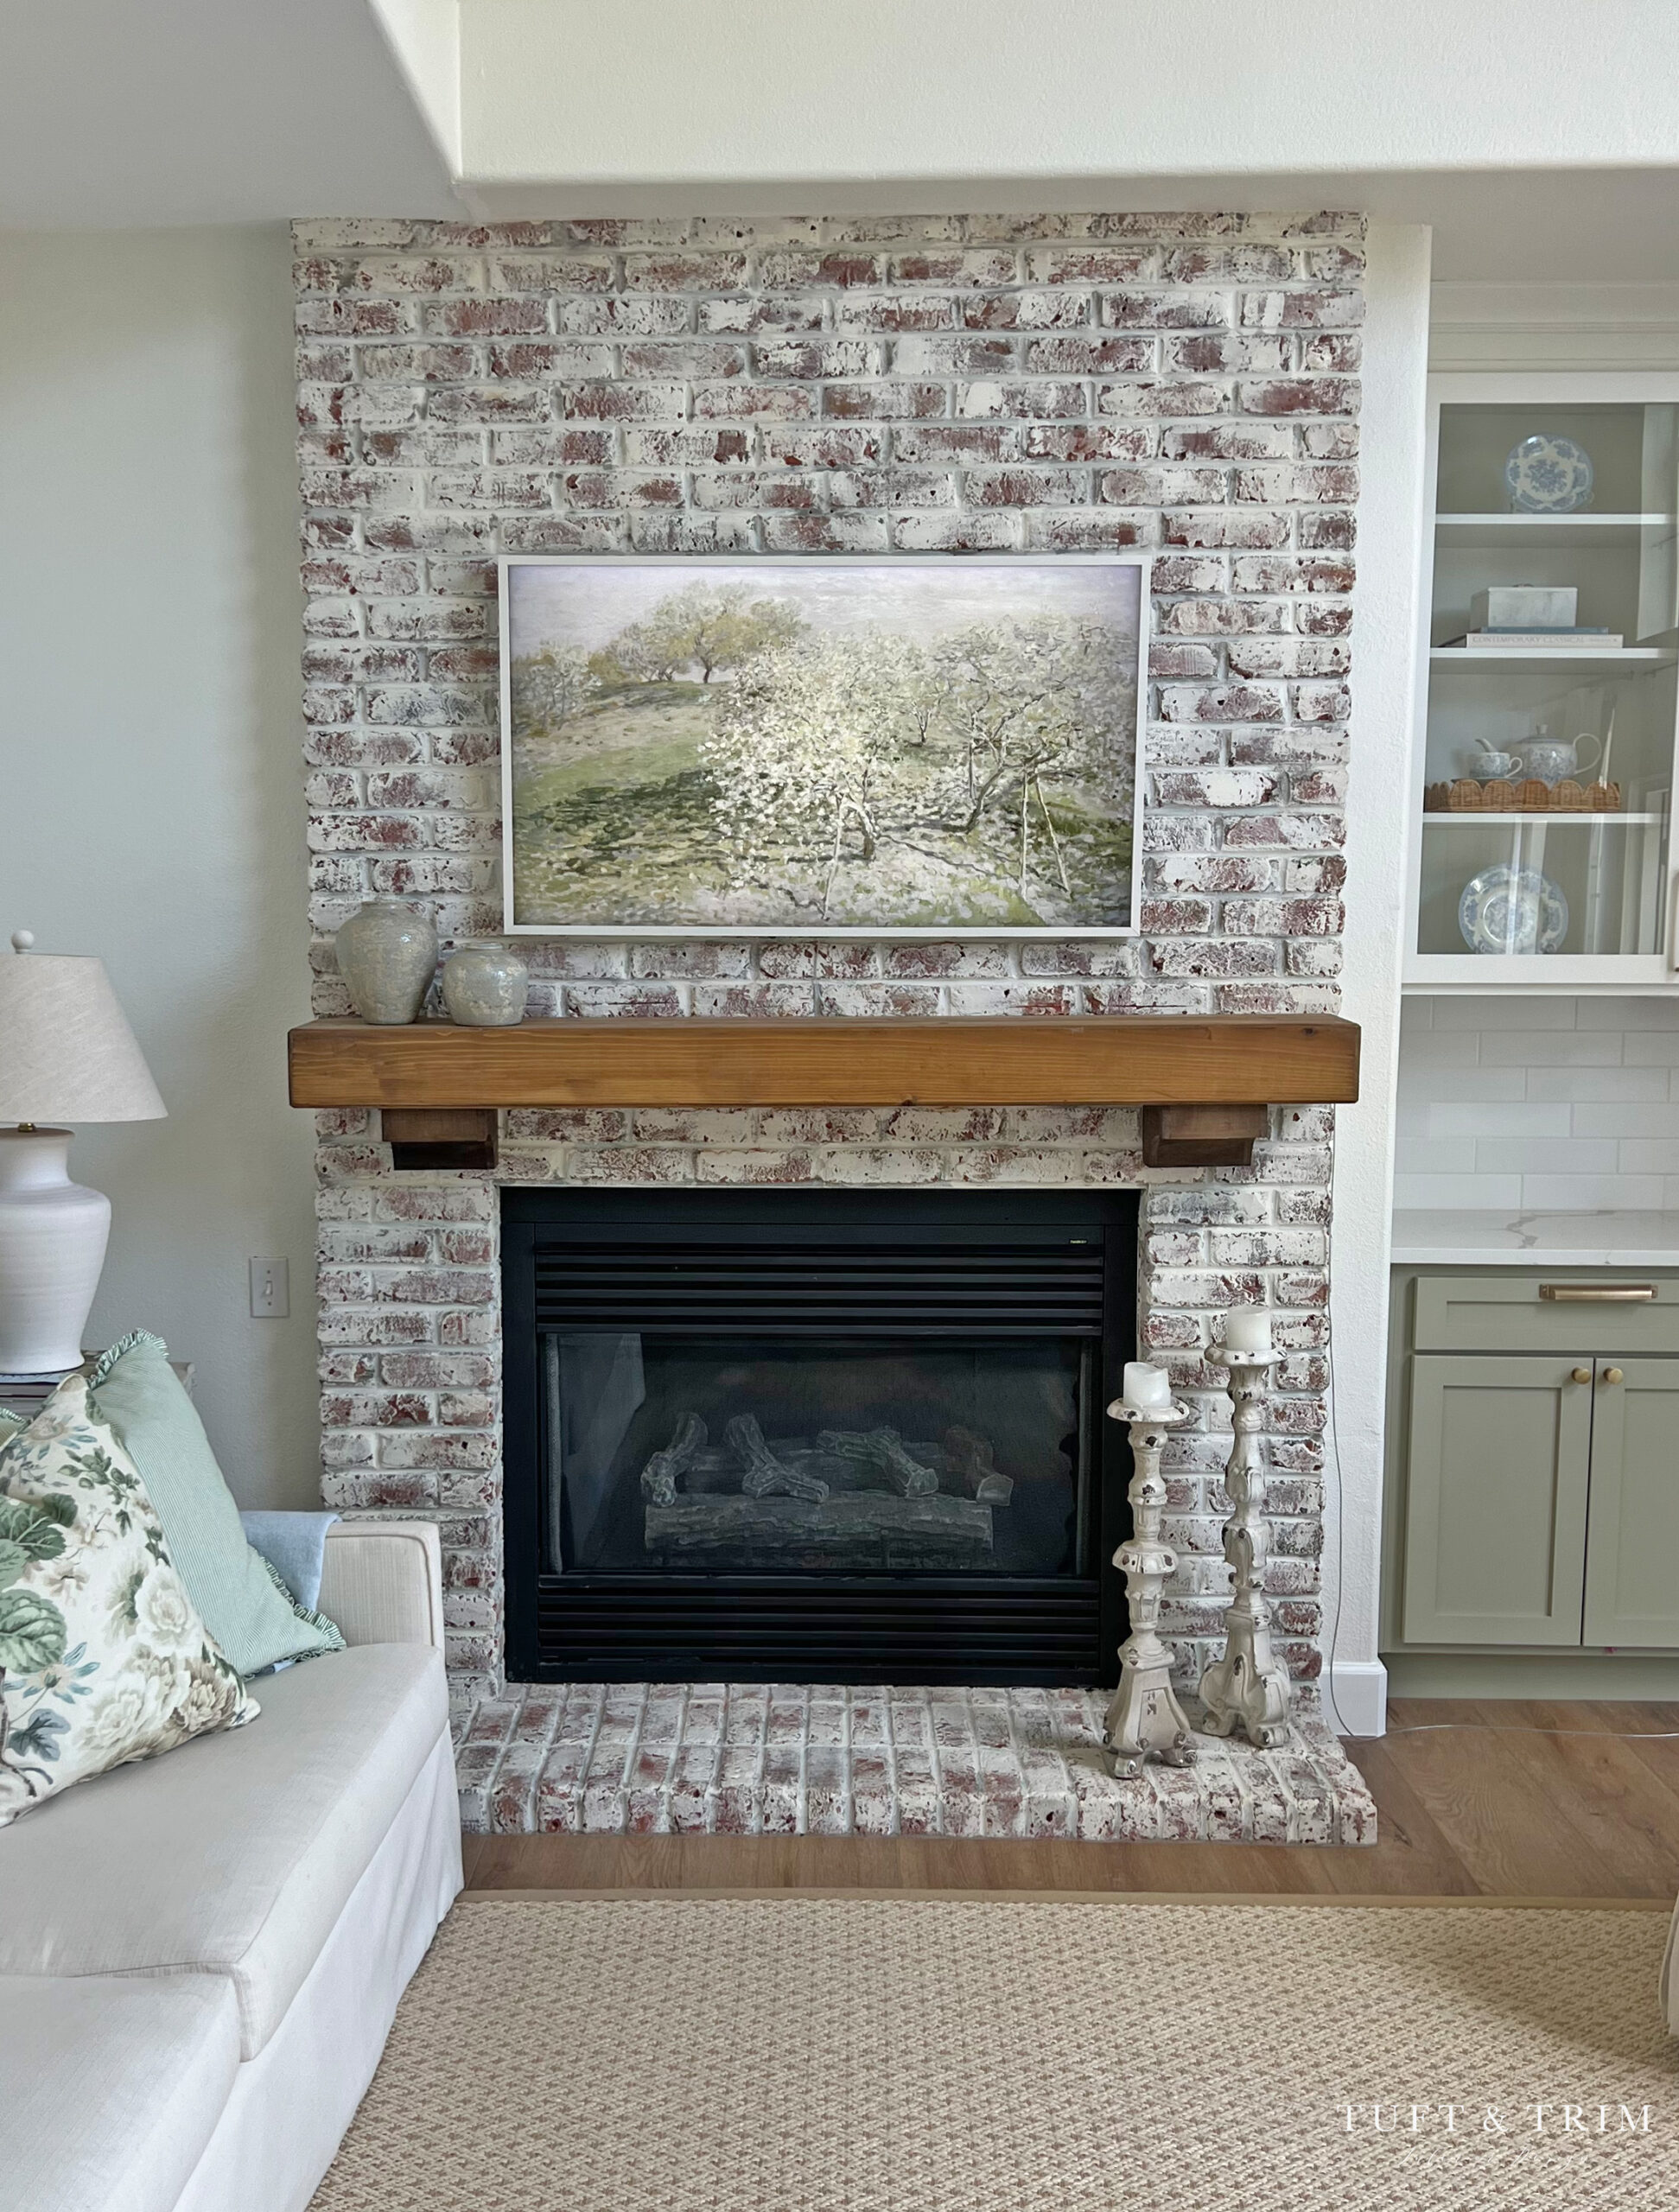
Before
While I do love classic brick, the German smear that covered our fireplace was a bit busy for my taste and I wanted to soften the look. I’ve also always dreamed of having a European style stone fireplace, so I set out to find the perfect one!
Our Fireplace Design
Dreamcast has so many beautiful fireplace designs to choose from! I struggled narrowing down my favorites, but eventually landed on the Torino because I loved it’s timeless European style. They come in a variety of pretty colors and finishes, and have samples available to help you pick the right one. Feeling the textures and seeing how the color looked against the wall paint helped solidify my decision. We went with Simply White in the Limestone finish and was thrilled to see that it blends perfectly with our wall paint (Greek Villa SW).
The Dreamcast team made the process such a breeze. With just a picture of my fireplace and dimensions, they created a detailed design planned specifically for our space. The mantel surround came with very clear and helpful directions with images, along with supplies for installation, eliminating any confusion.
Step 1: Caulk & Paint Brick
I had to caulk all the holes before painting the brick. I definitely underestimated the time it would take to fill every hole. 1.5 tubes of caulk later, the brick was finally ready for some paint. I used Greek Villa by Sherwin Williams (same as walls) but in a matte finish and applied with a brush. It took 2 coats, and between coats I had to add additional caulk. But once the brick was painted, I was thrilled with the difference just the paint had made.
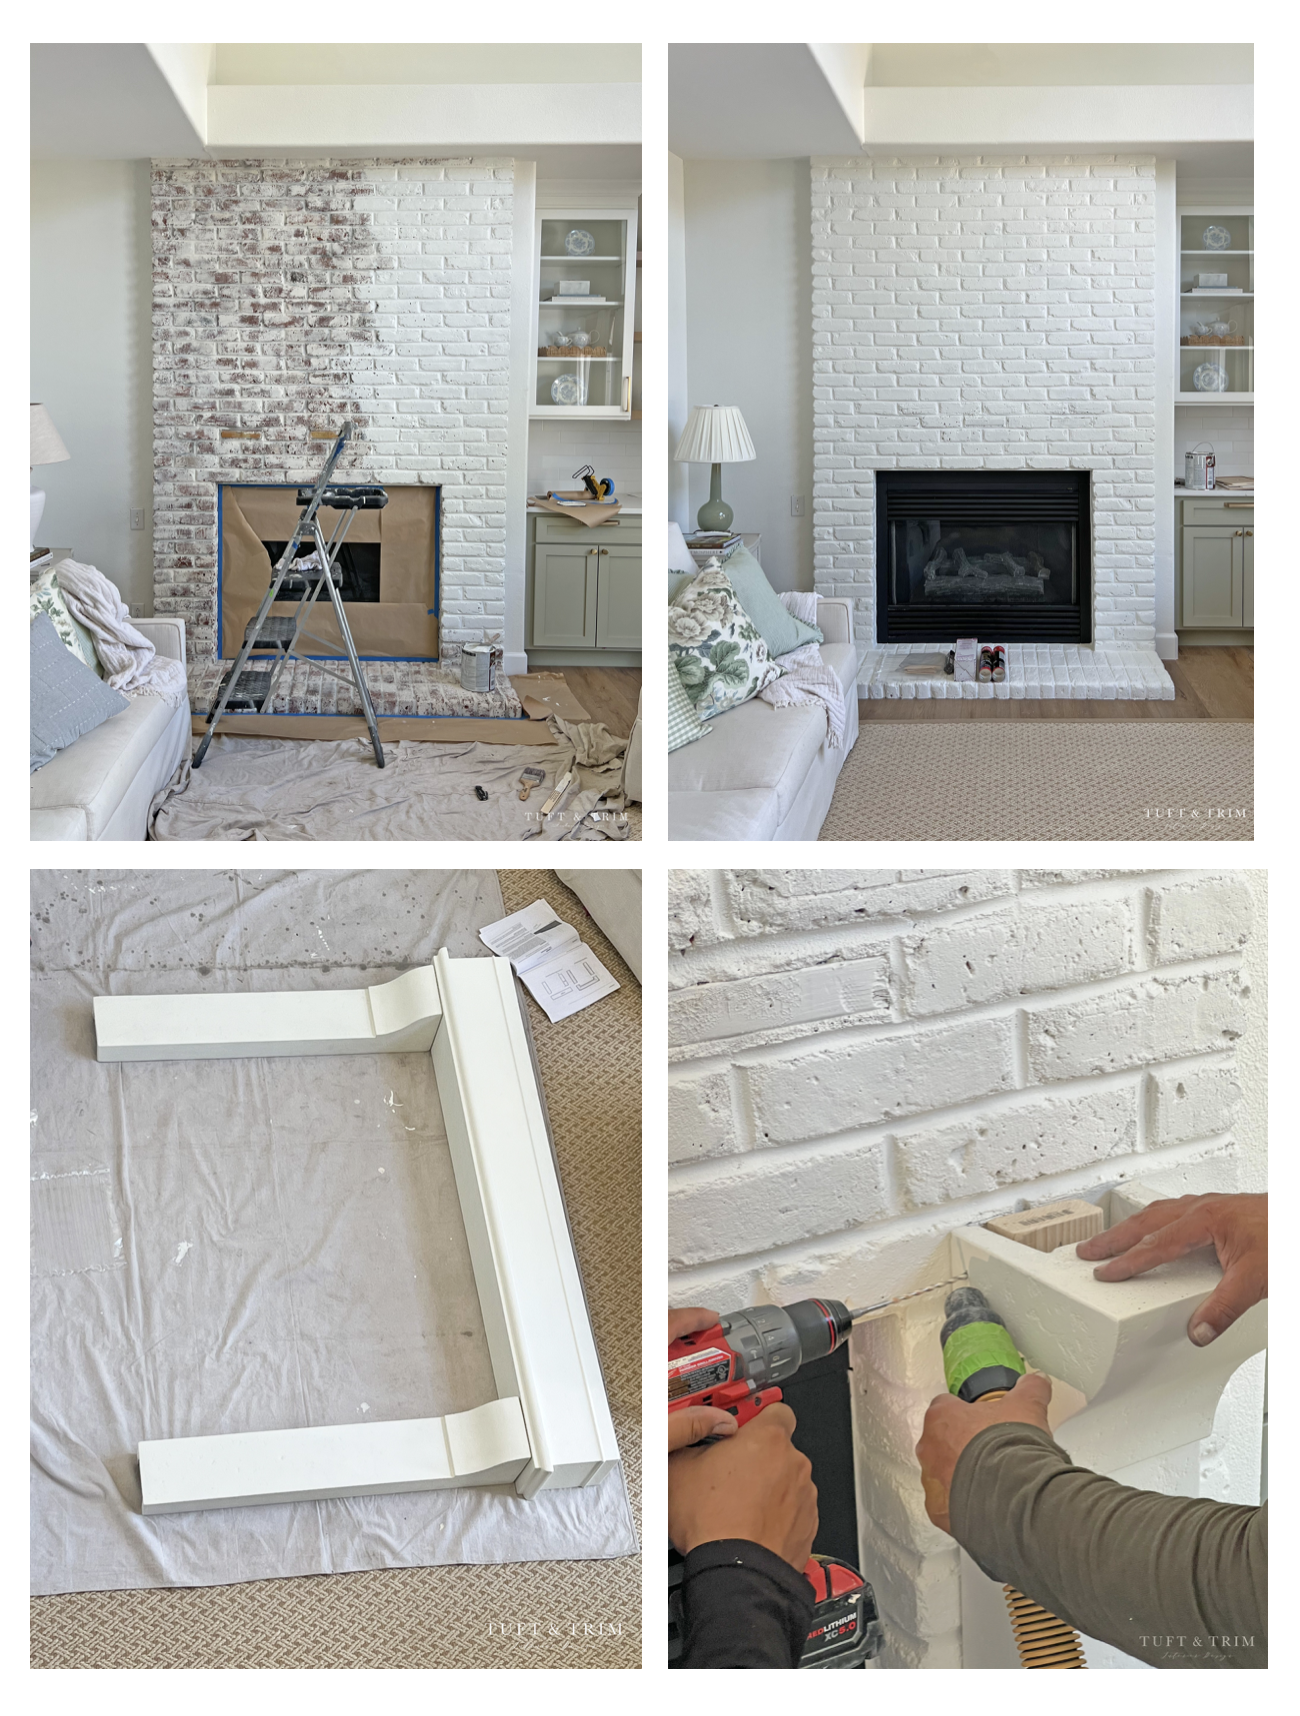
2. Mounting Blocks & Legs
Once the mantel surround dimensions were marked out on the brick, we attached wood mounting blocks to the brick wall with brick screws. We then installed the legs by drilling screws through the stone and into the blocks as shown above. Mounting blocks were used for all 4 pieces of the surround, as you’ll see below.
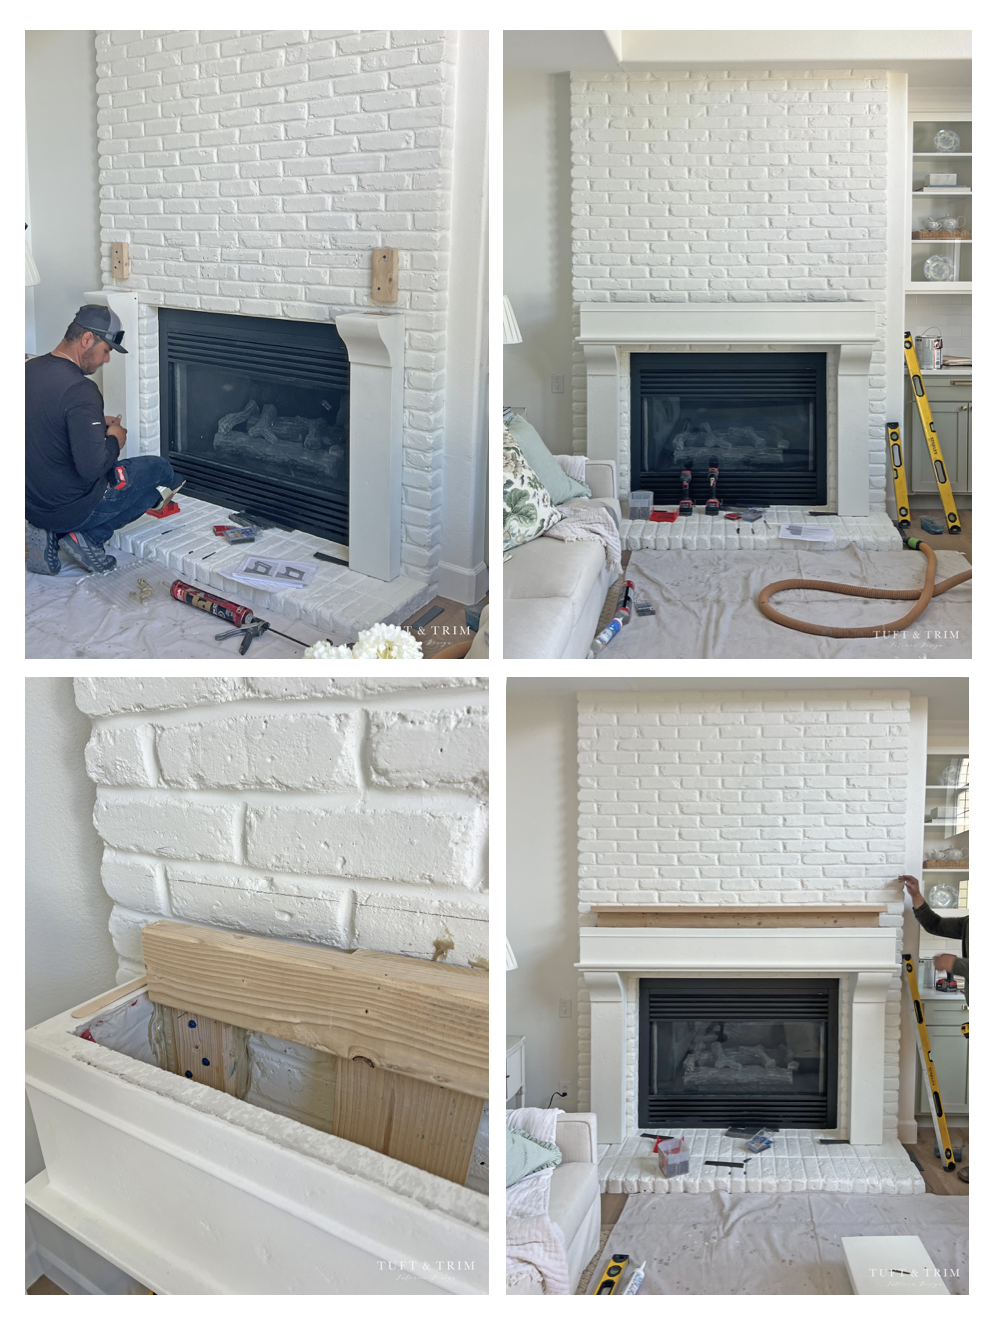
3. Installing the Shelf/Header
Once legs were in place, we installed the mounting blocks for the header and attached the header by screwing it in to the blocks and using adhesive. We added an additional wood shelf across the top for extra support for the final piece and screwed the header to the wood shelf from above. Once everything was in place, we caulked over the screw holes and seams.
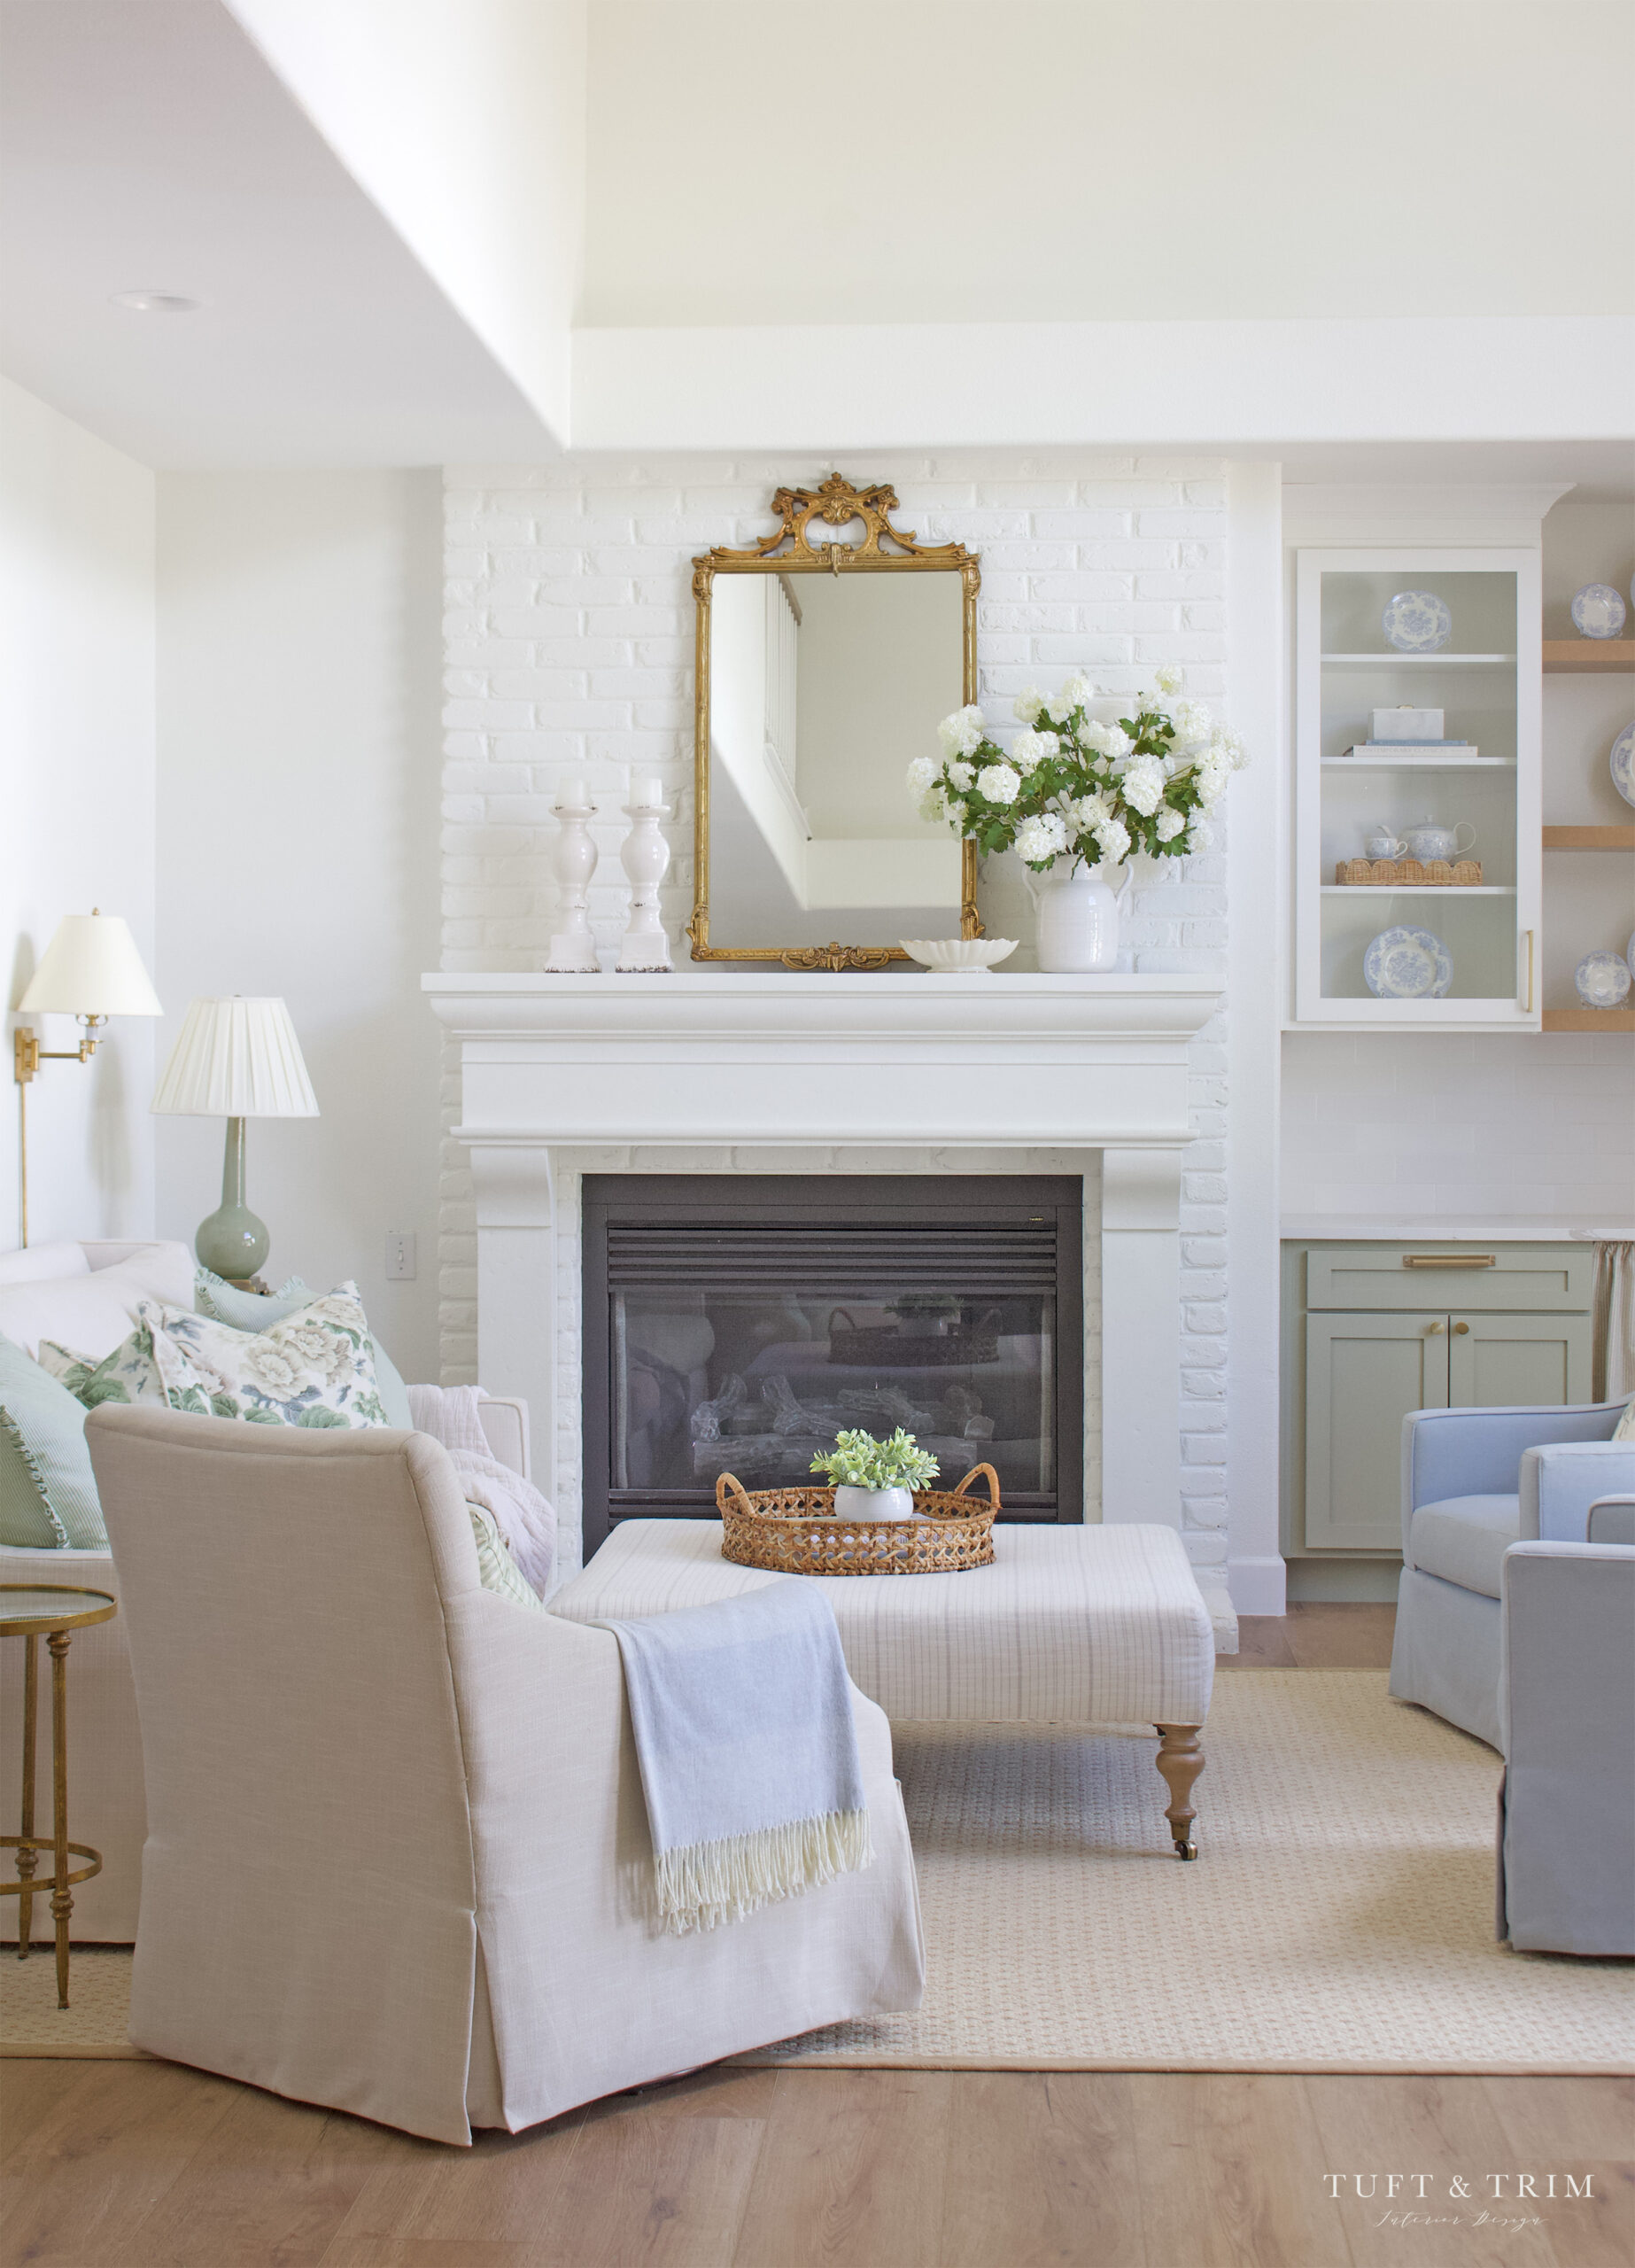 After
After
I’m so thrilled with the new look! It turned out even better than I imagined. The space isn’t too big, so blending the brick with the walls only helped make the room feel larger and the fireplace surround added so much character.
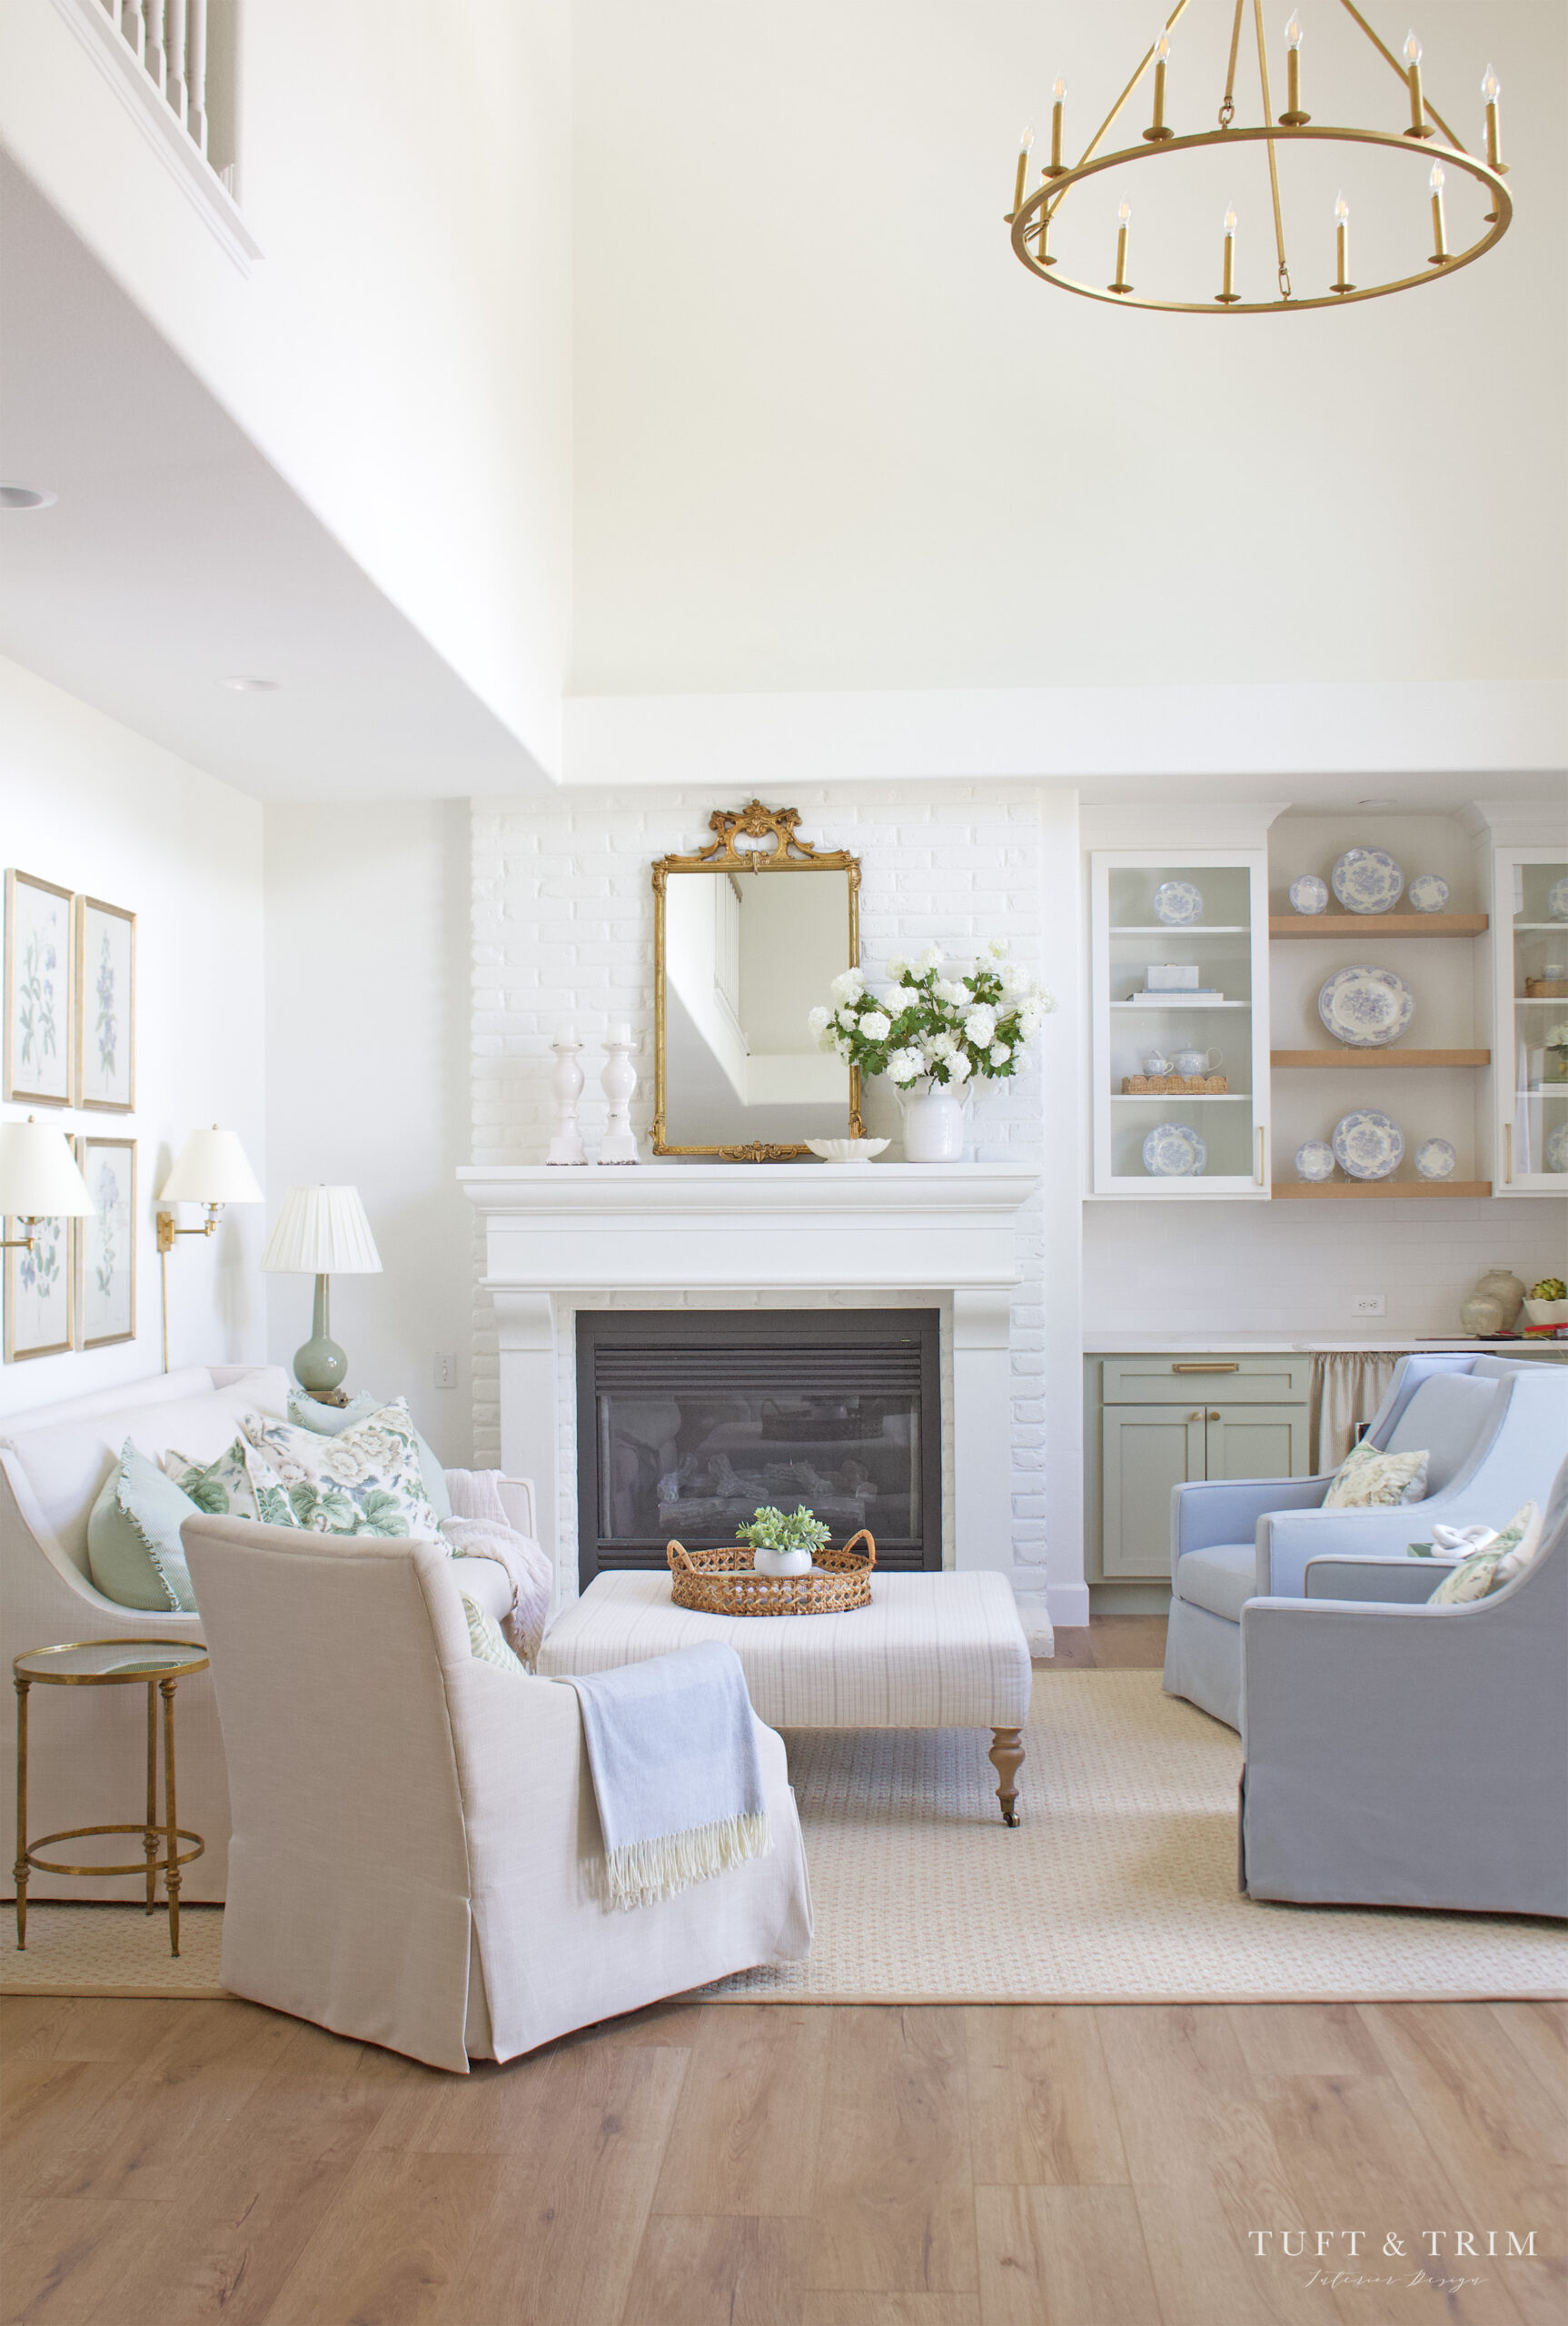
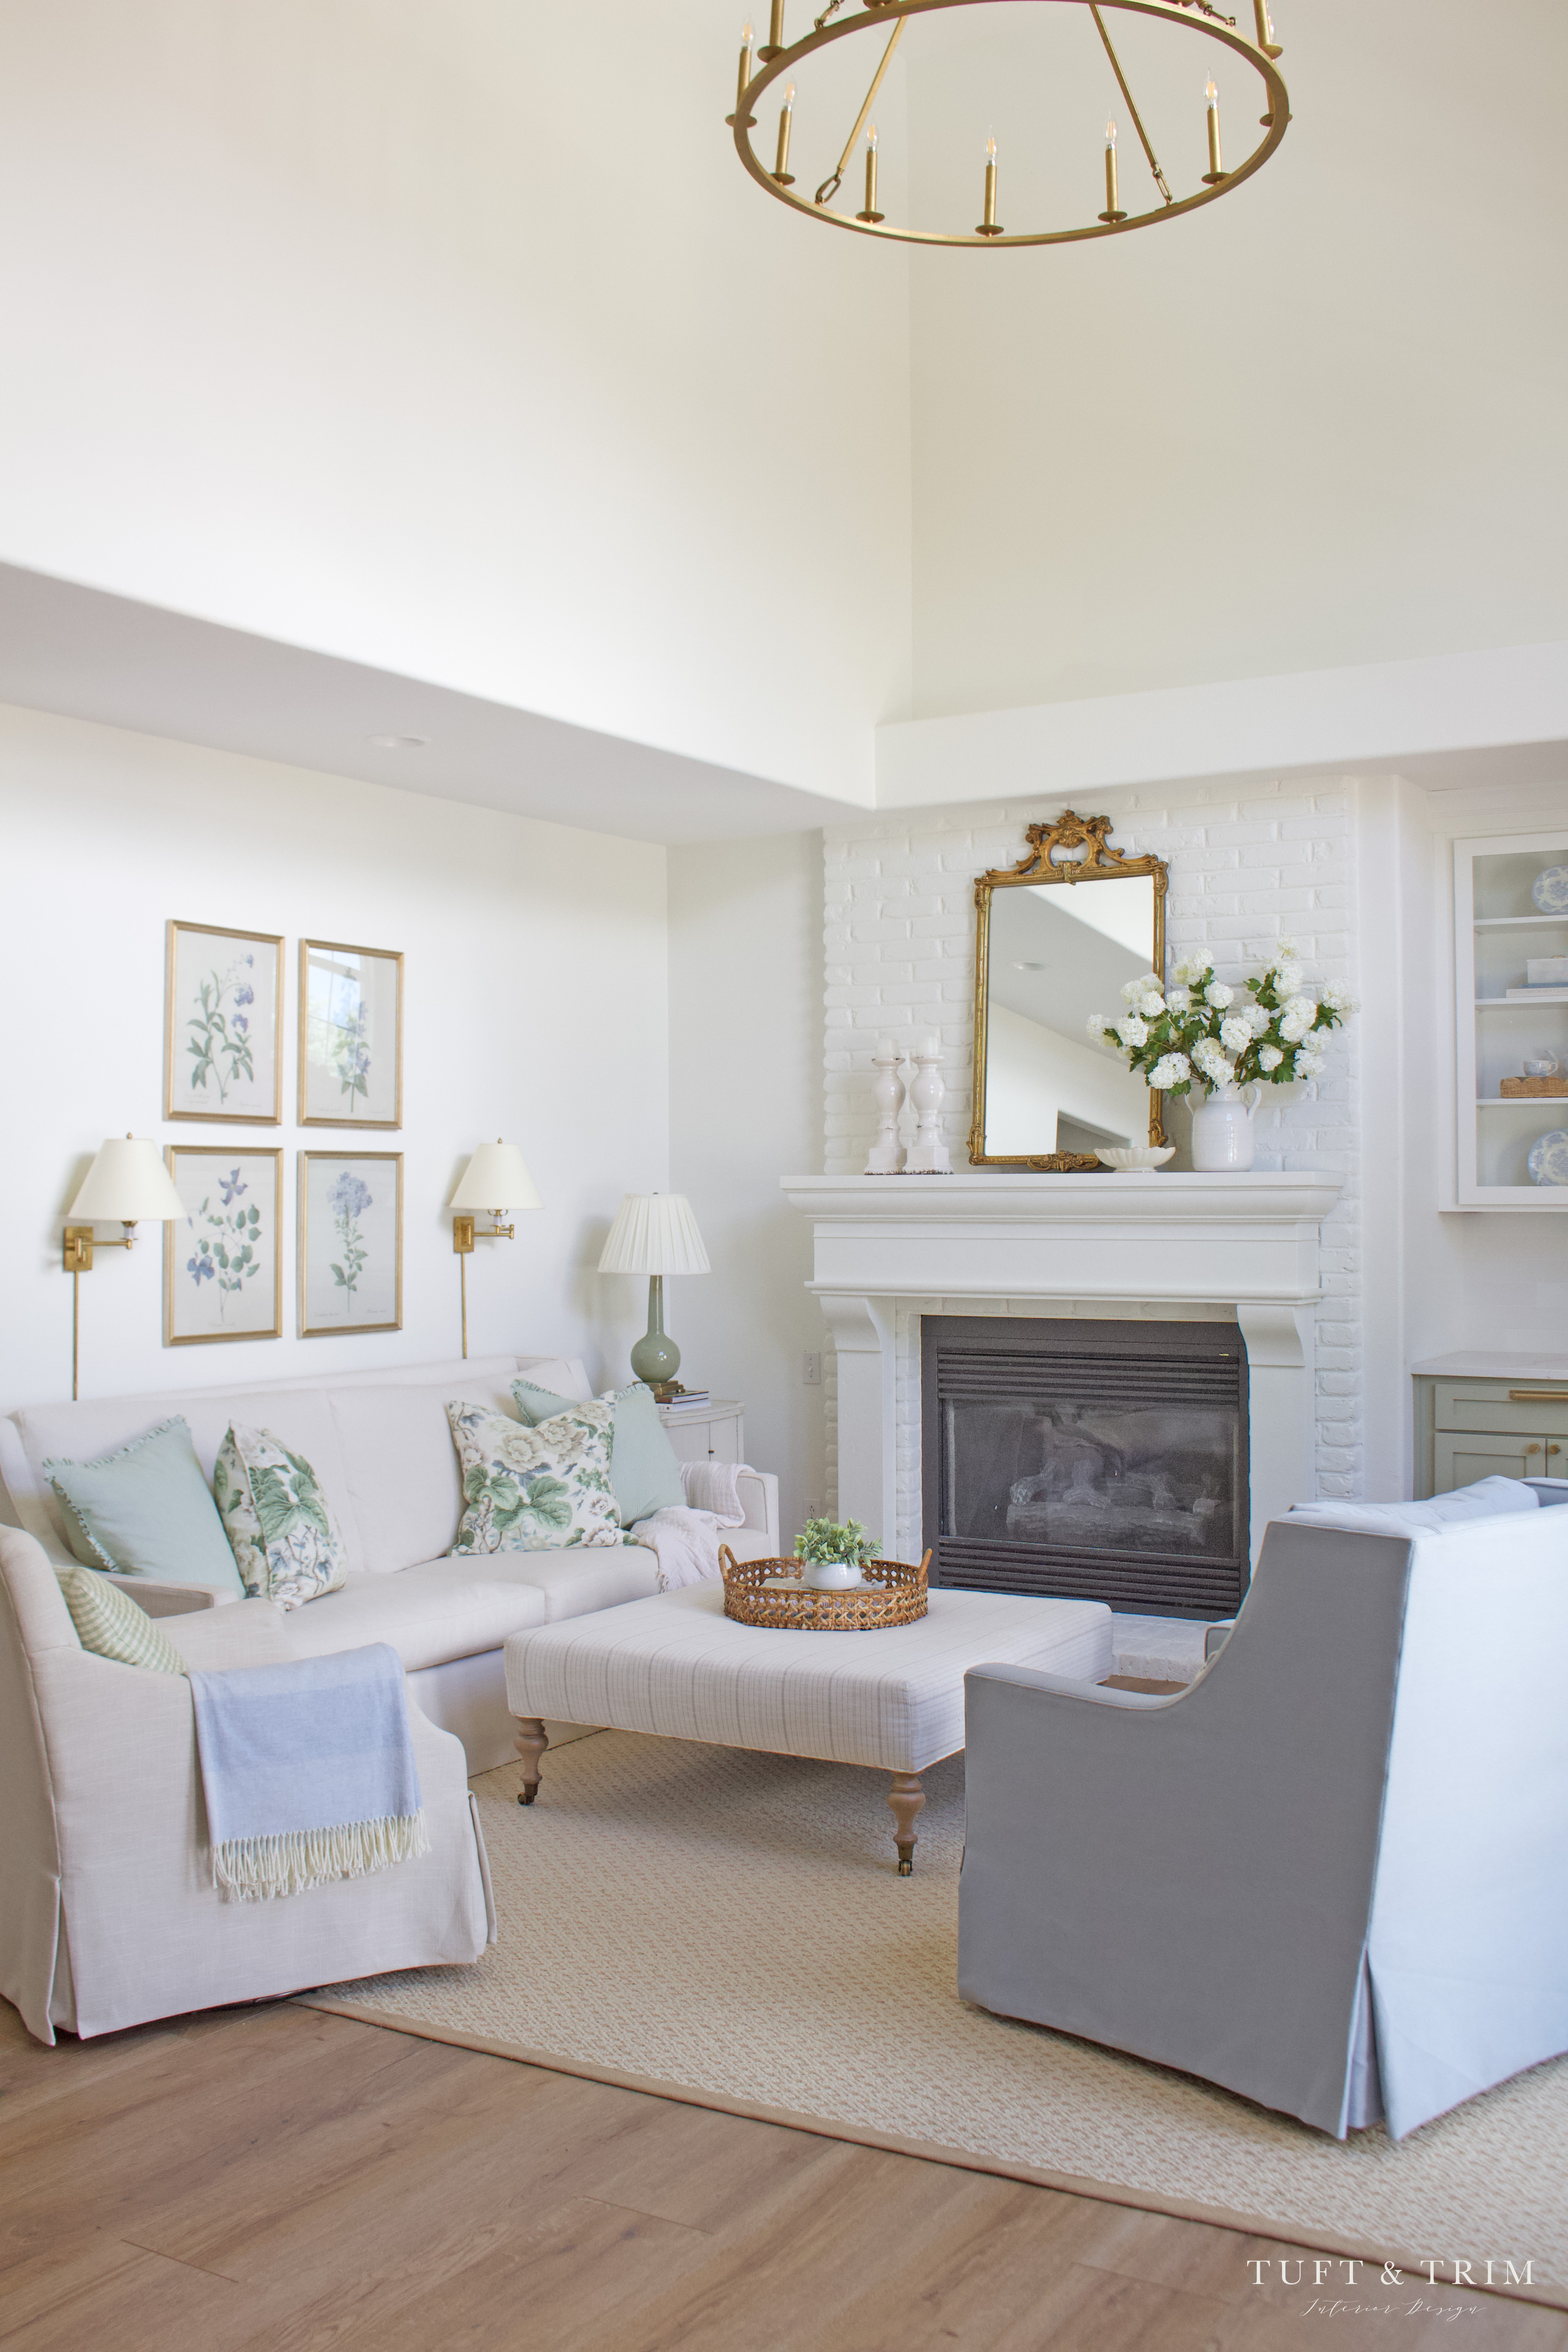
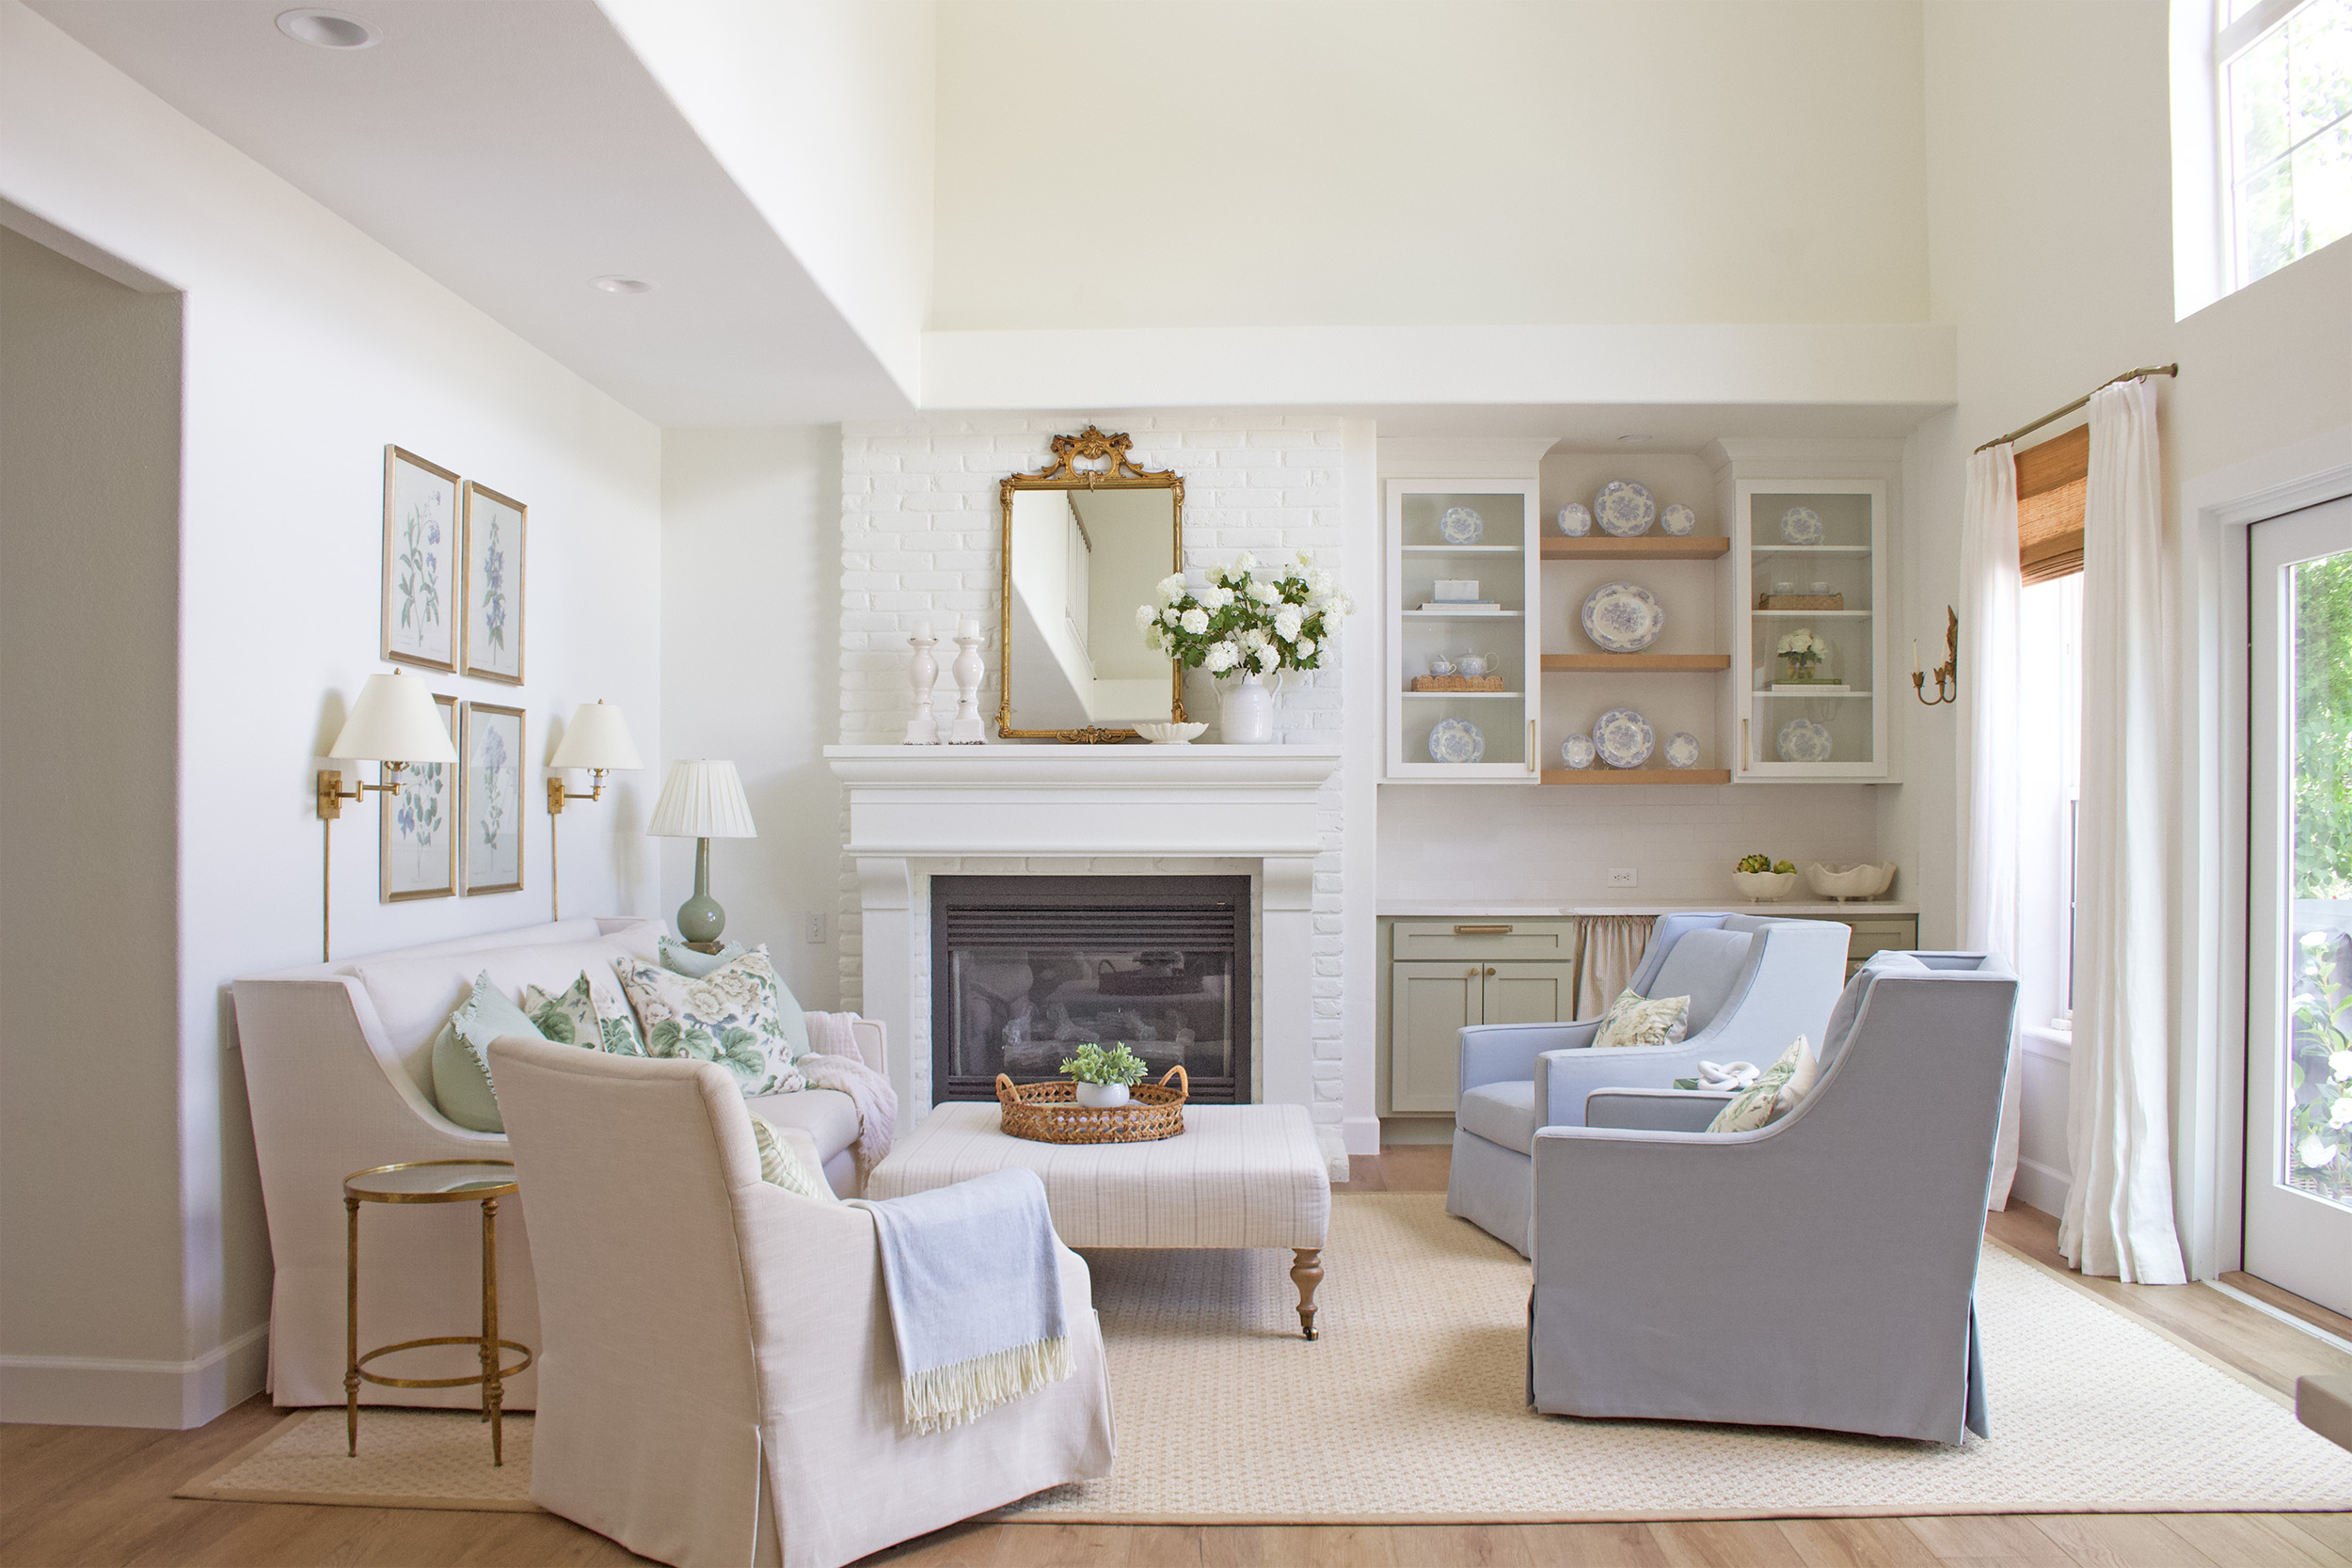

If you’re looking to upgrade your fireplace design, I encourage you to check out Dreamcast! With so many styles to choose from, you’re bound to find one you love!
Thank you so much for stopping by! I hope today’s fireplace makeover inspires you to tackle whatever home project on your to-do list. It can be daunting at first, but always worth it when you see the end result!
If you enjoyed today’s post, please consider following me on social media and subscribing to my newsletter!
Instagram / Facebook / Pinterest


It’s beautiful! Great job.