If you love a good before and after, you’re going to enjoy this weeks tour of our new living room! It’s hard to believe the space went from dark and dated to bright and elegant in just a matter of weeks. It took a ton of paint and a lot of hard work, but in the end, it turned out even better than I hoped. Come see this inspiring renovation for yourself and let me know what you think! And don’t forget to scroll through till the end for the before pictures- you won’t believe it’s the same room!
*This post contains affiliate links.

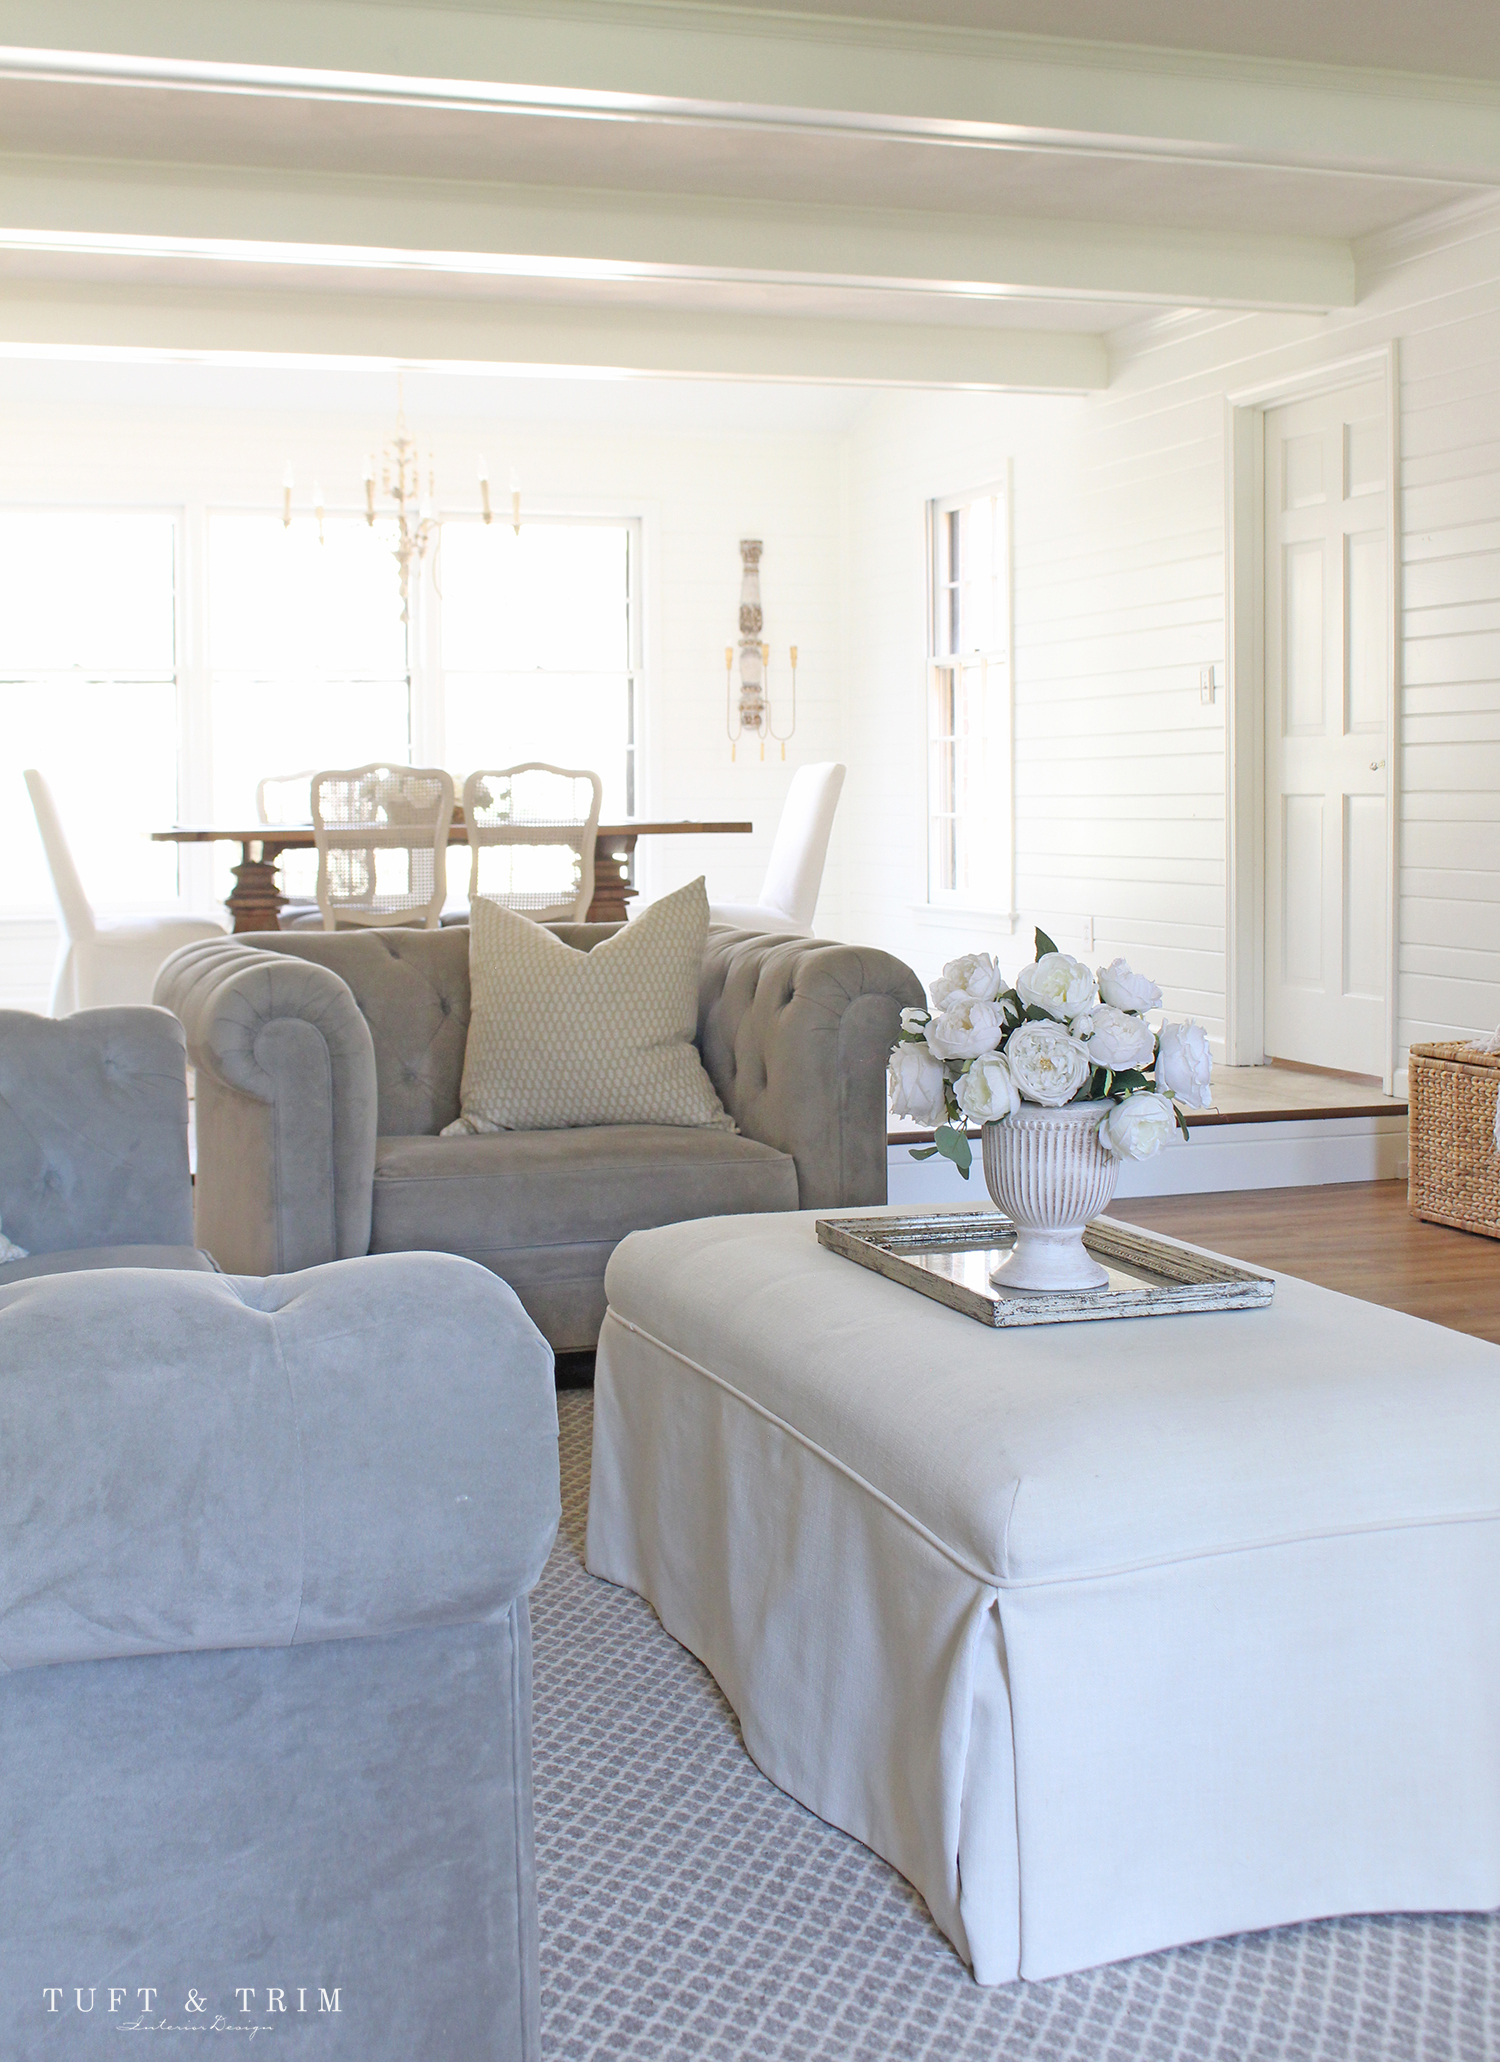
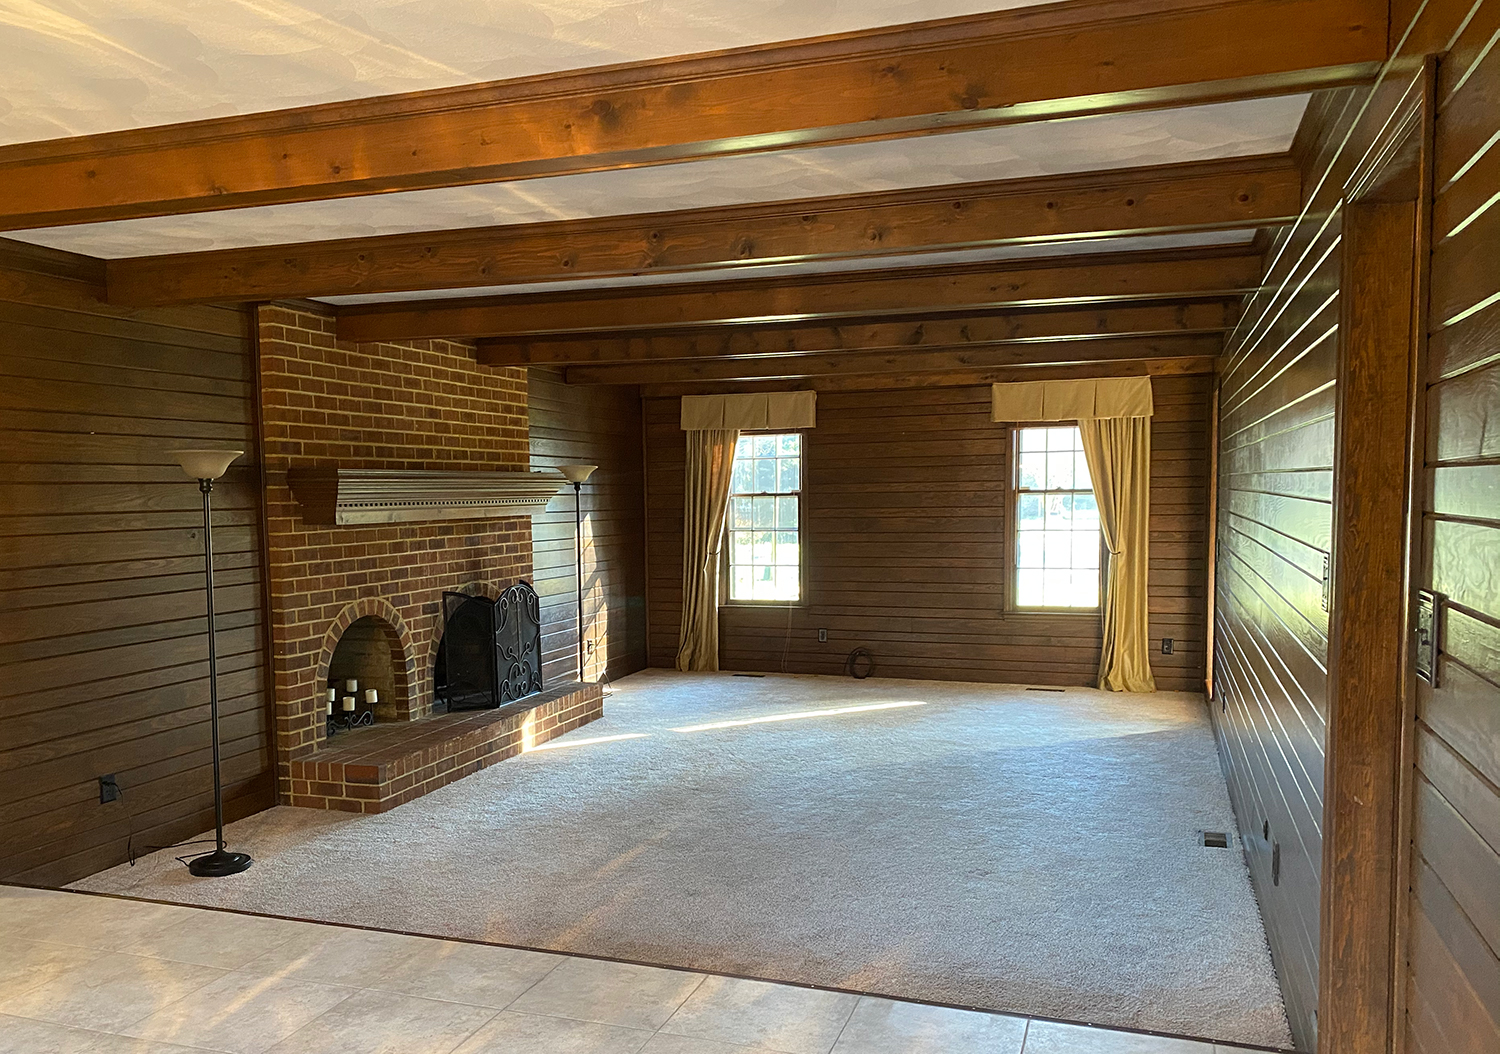
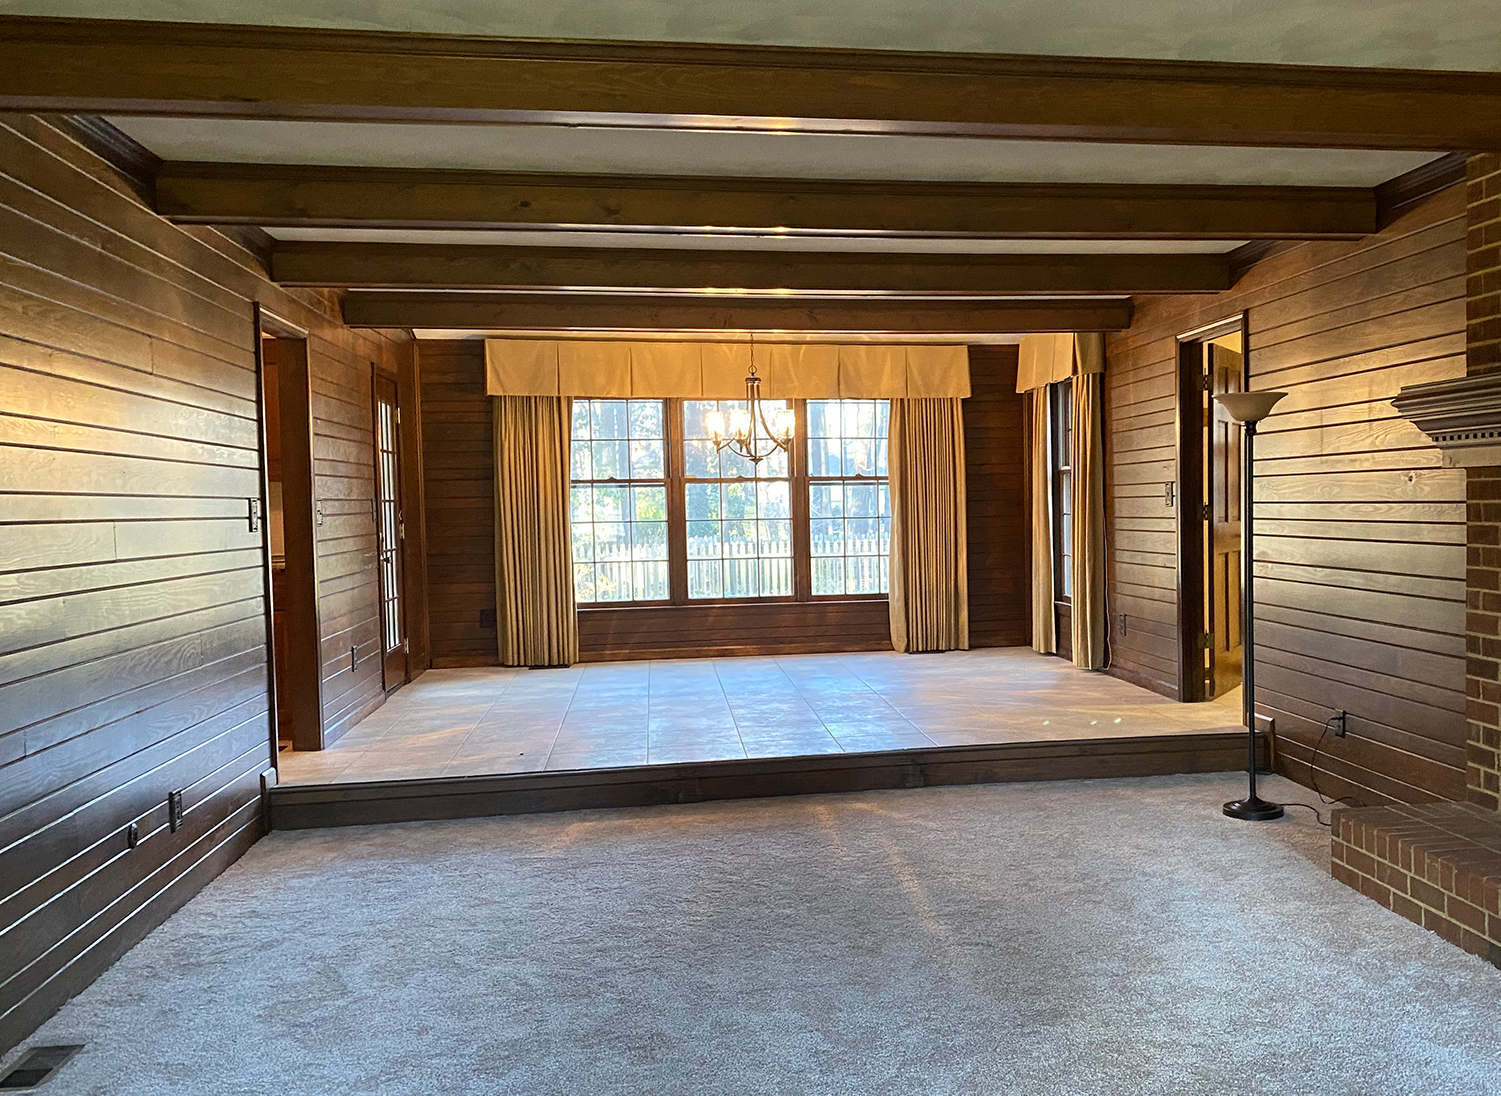
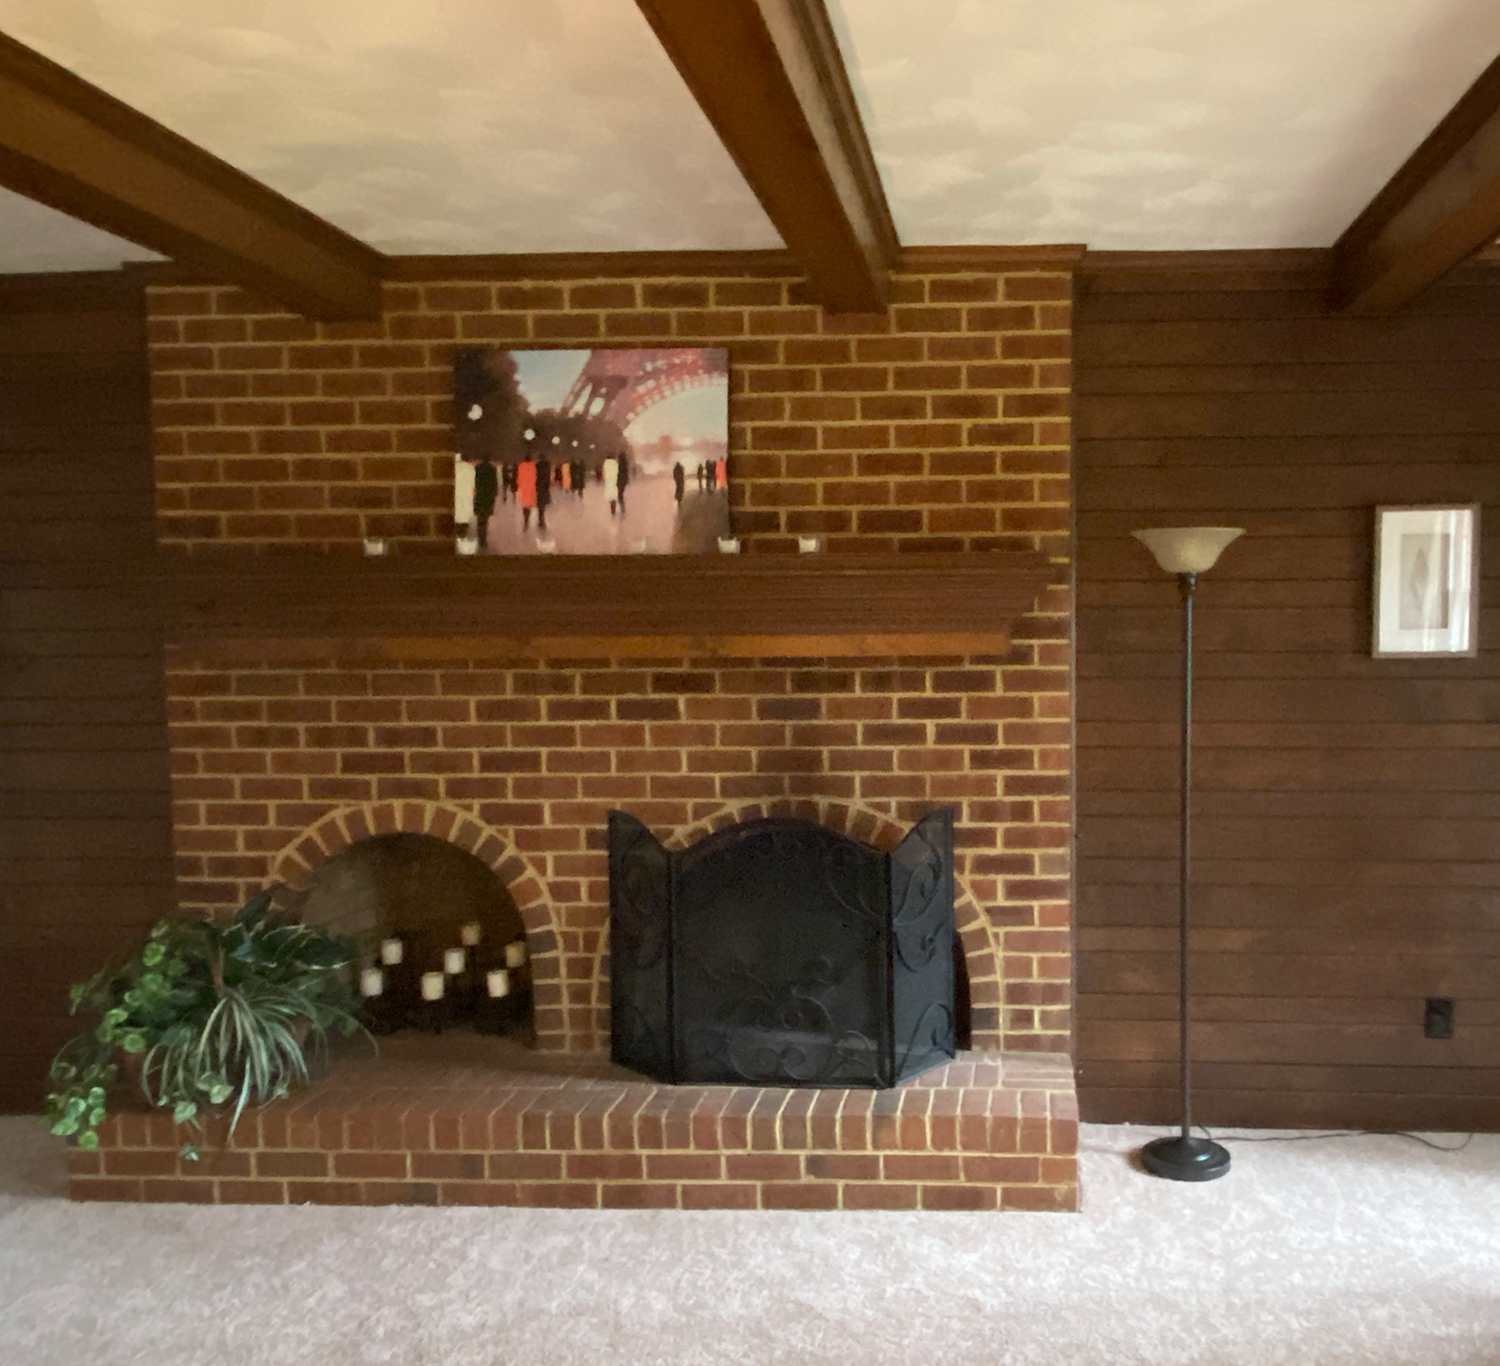
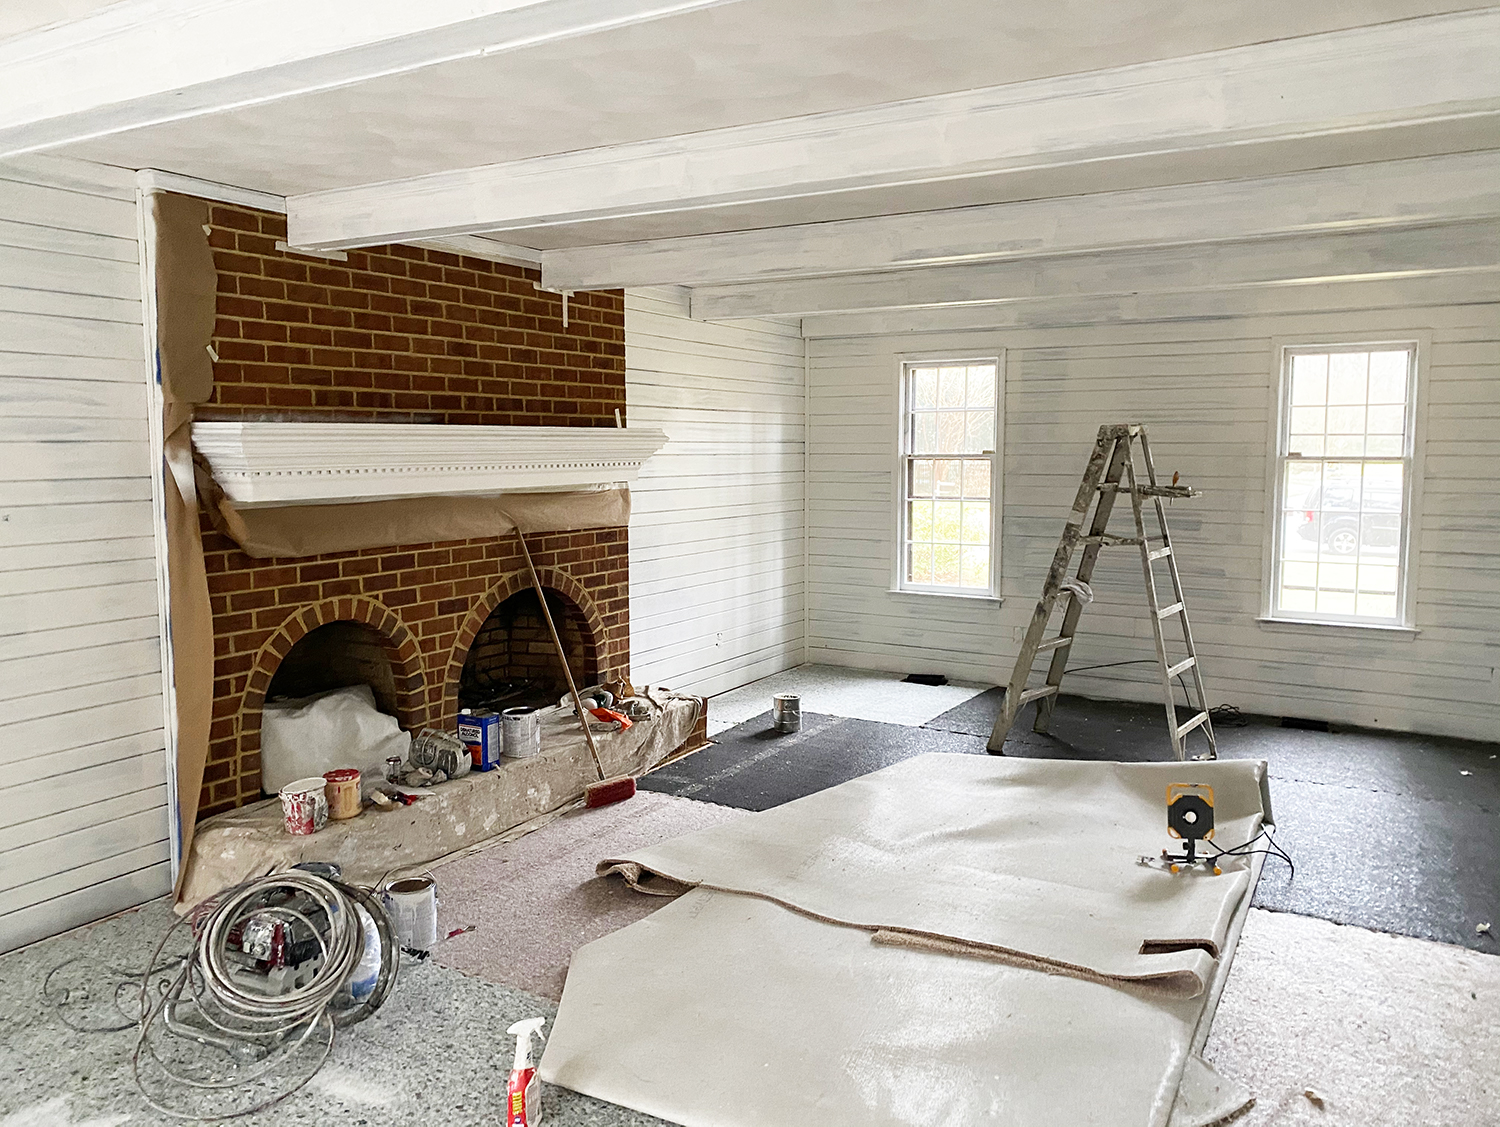
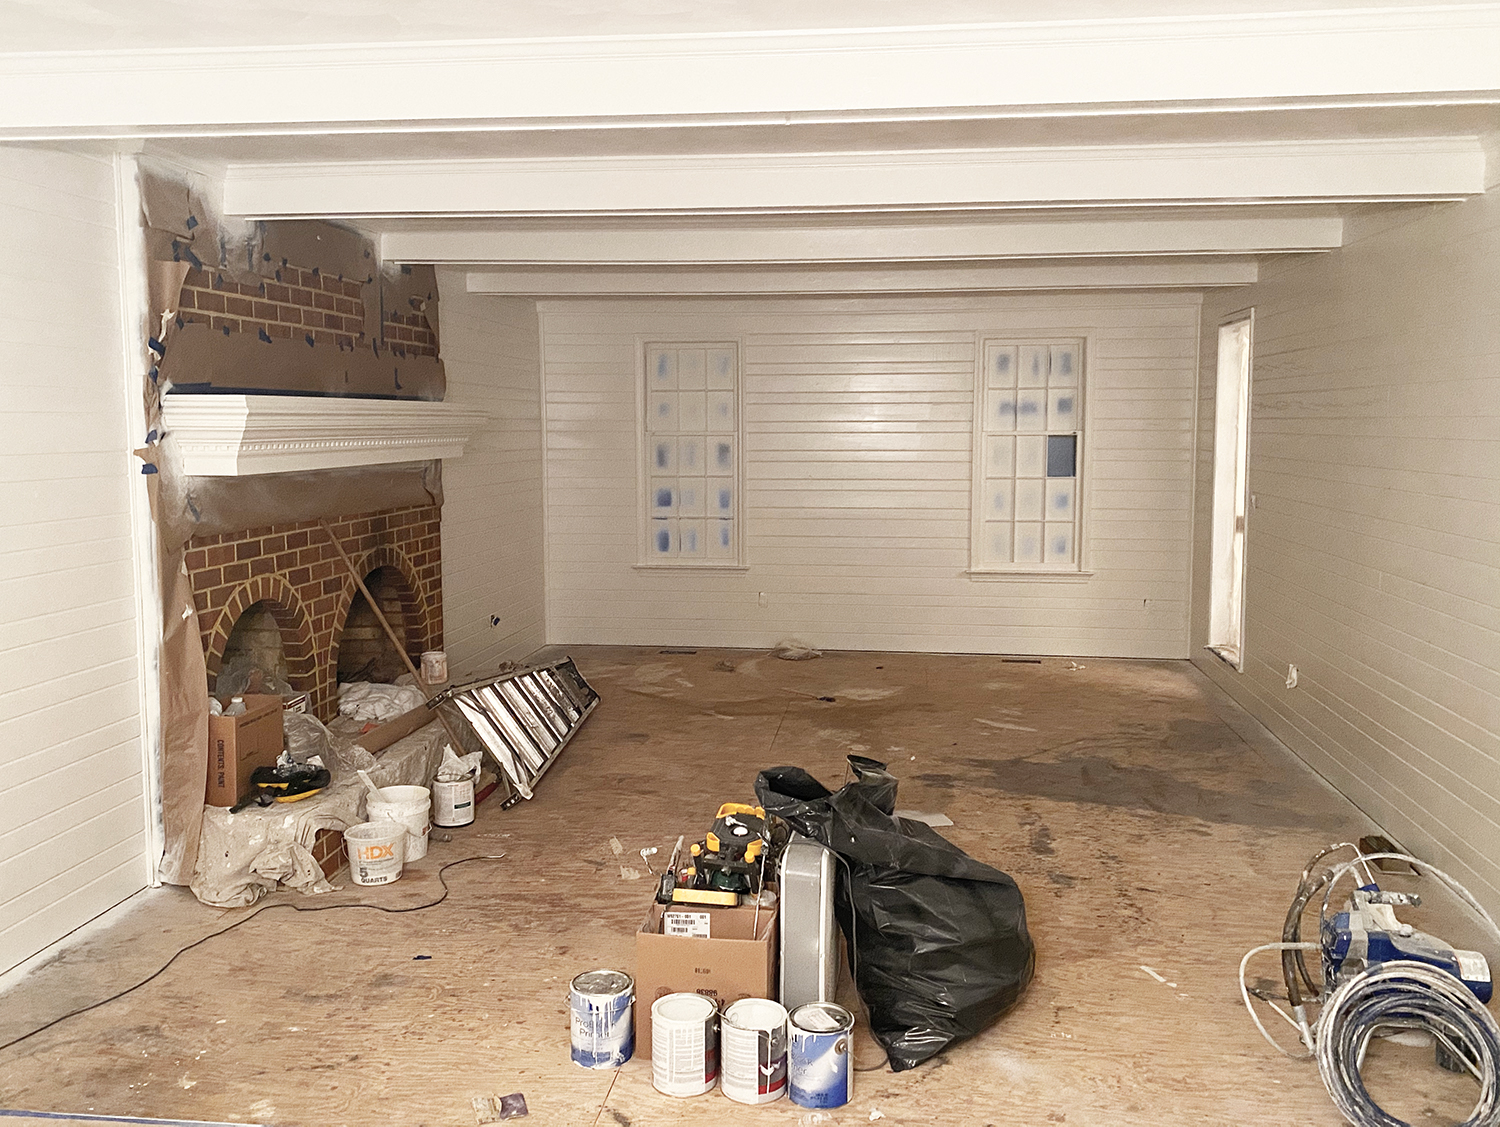
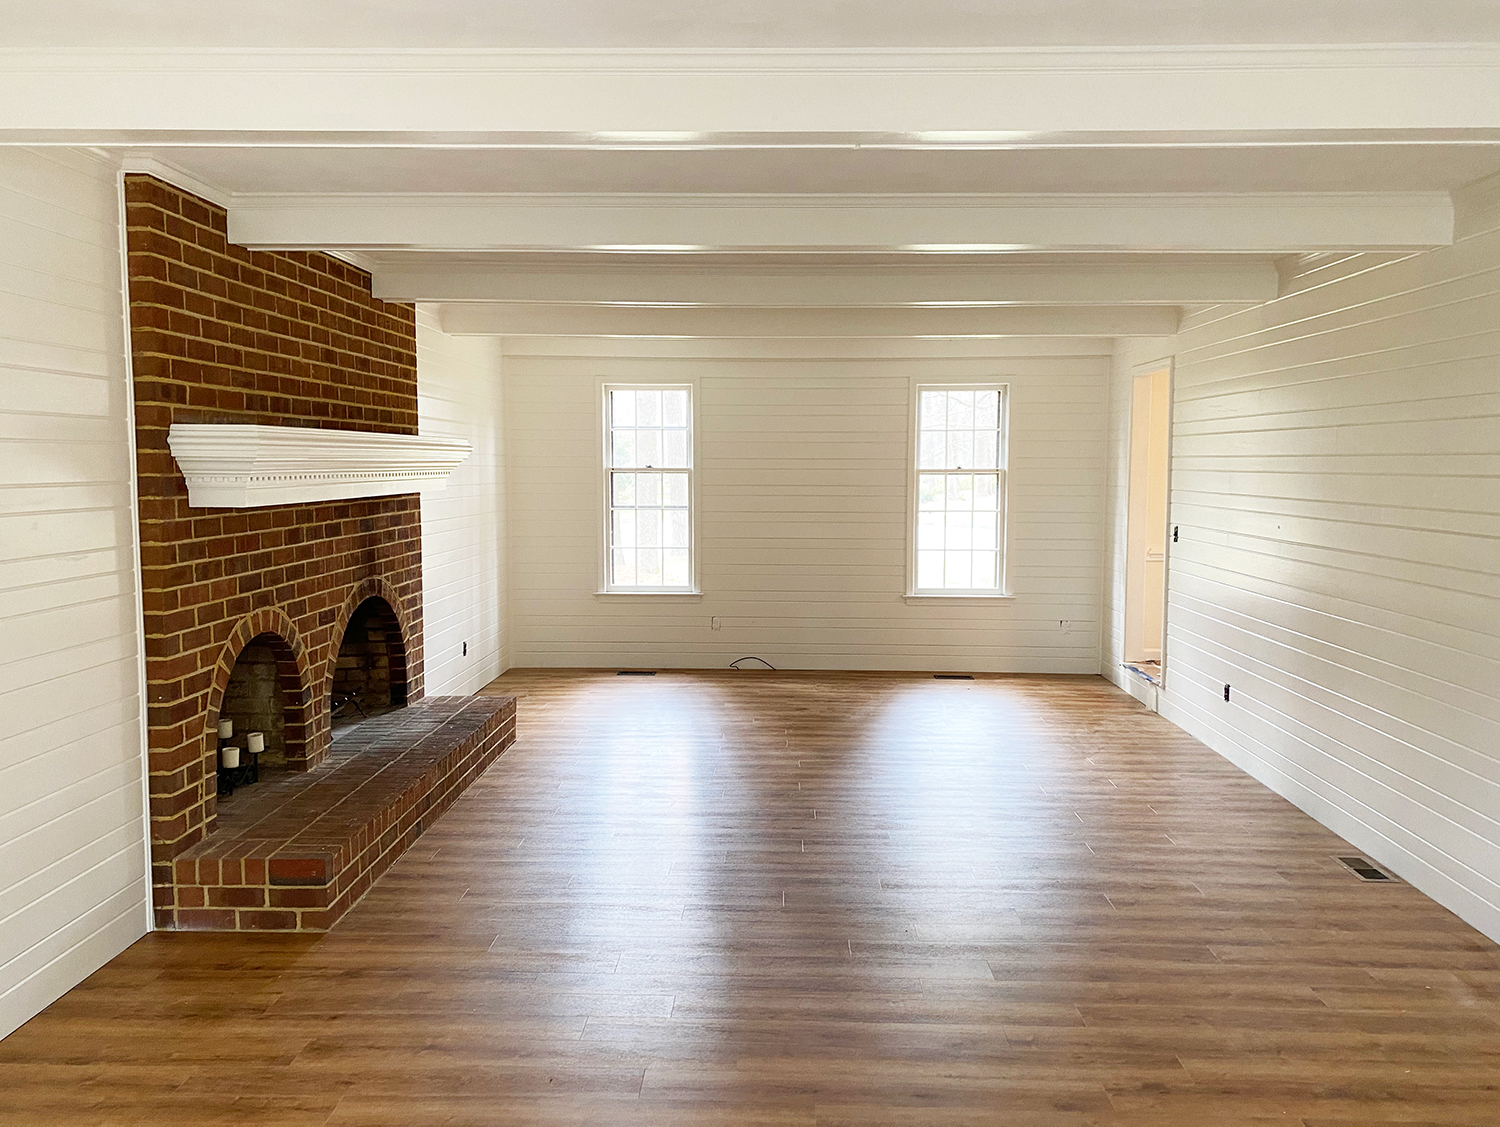
When we first toured this home I was disappointed by how dark and uninviting the living room was. I tried to envision it’s potential with lighter walls and updated flooring, but I wasn’t sure if we could pull this off. Well, those fears were soon laid to rest after we saw the first layer of paint on the walls. Getting rid of all the dark wood immediately changed the feel of the space and totally opened up the room. You’ll see the process unfold in the progress pictures at the end of todays tour.
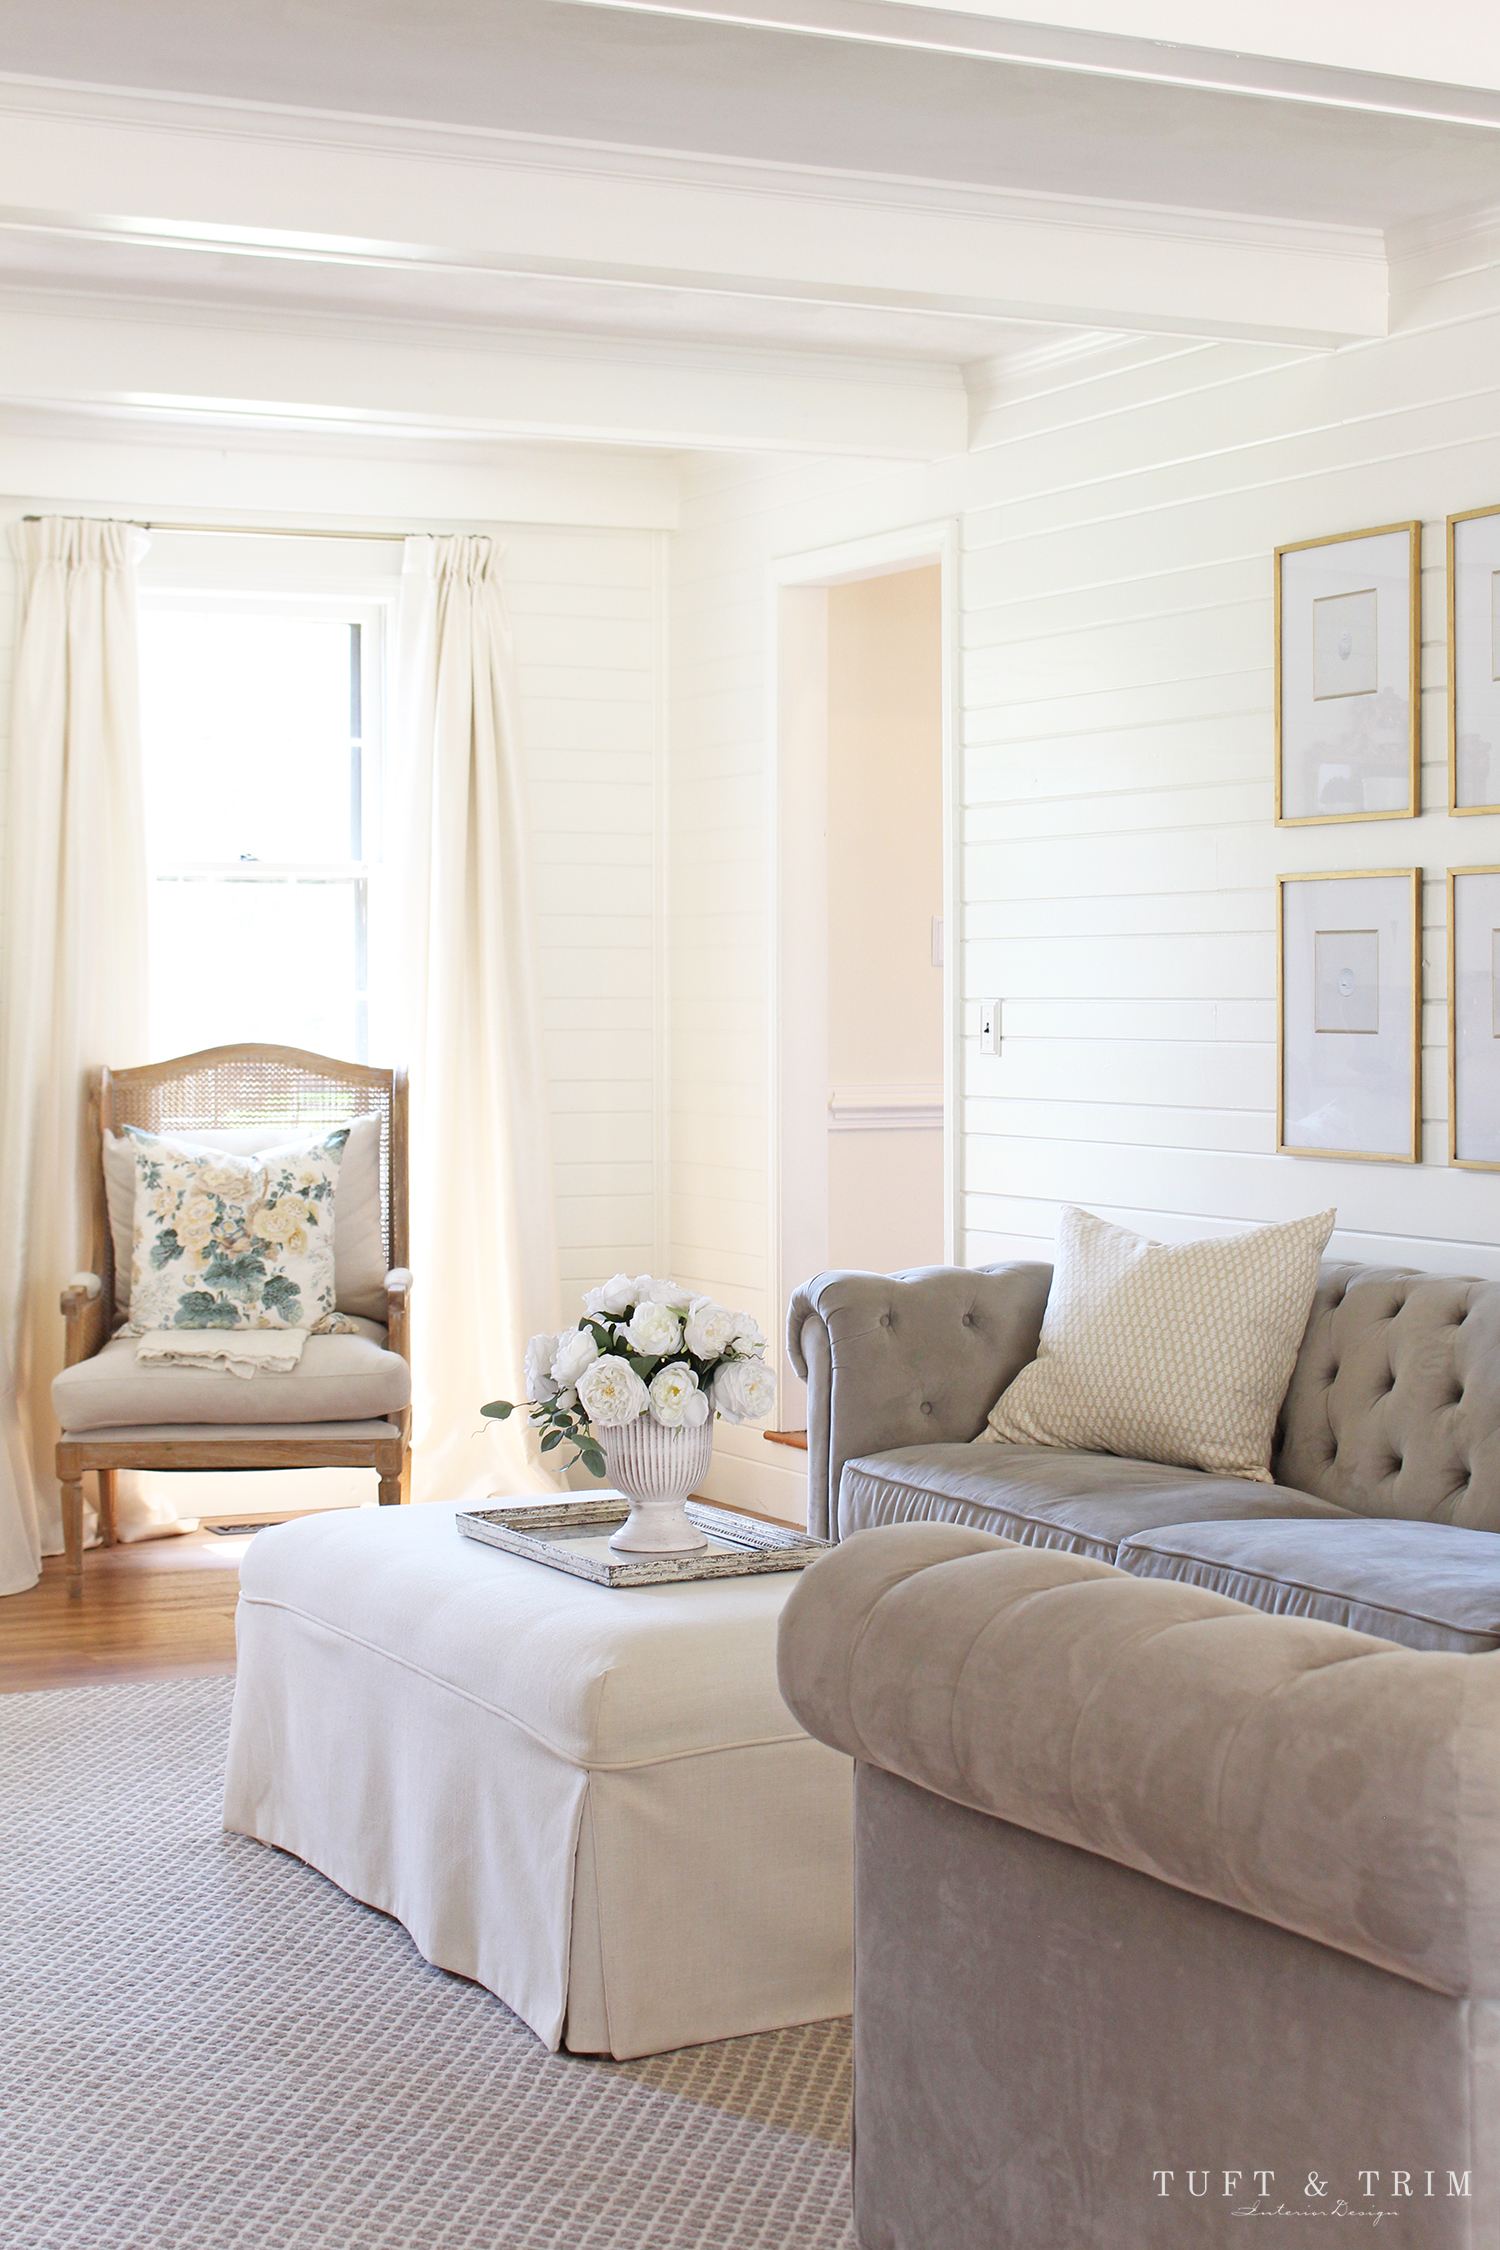
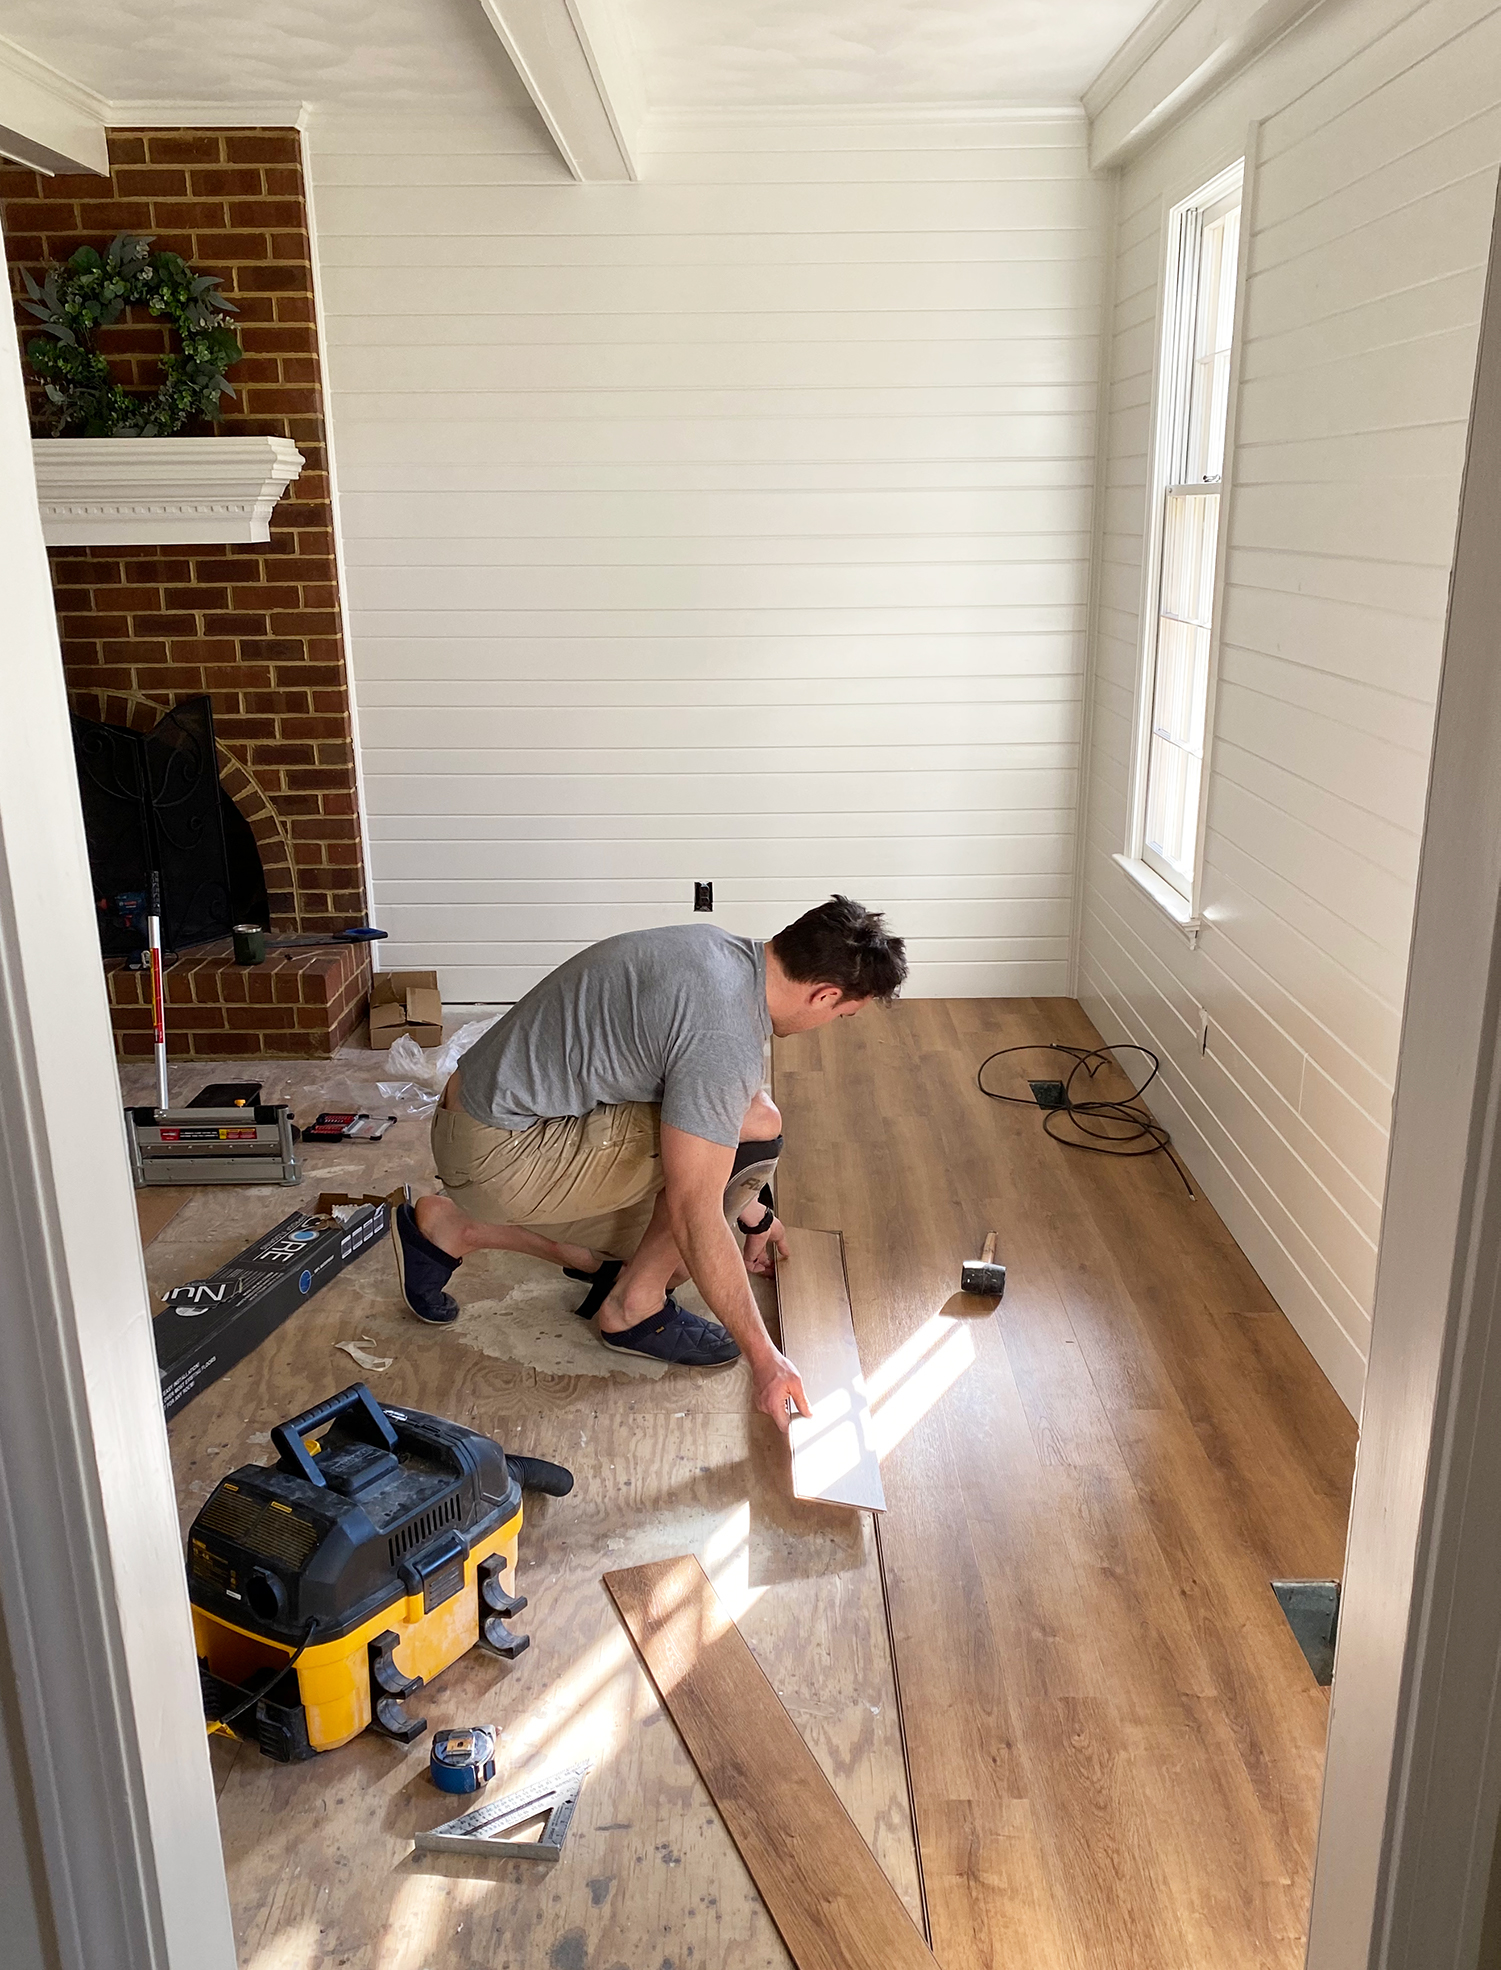
Keeping this project on a budget was a huge priority. We chose this blonde oak vinyl plank flooring from Floor & Decor because it’s easy to install yourself which saves a lot of money. I also love the vinyl because it’s so durable and looks and feels like wood.
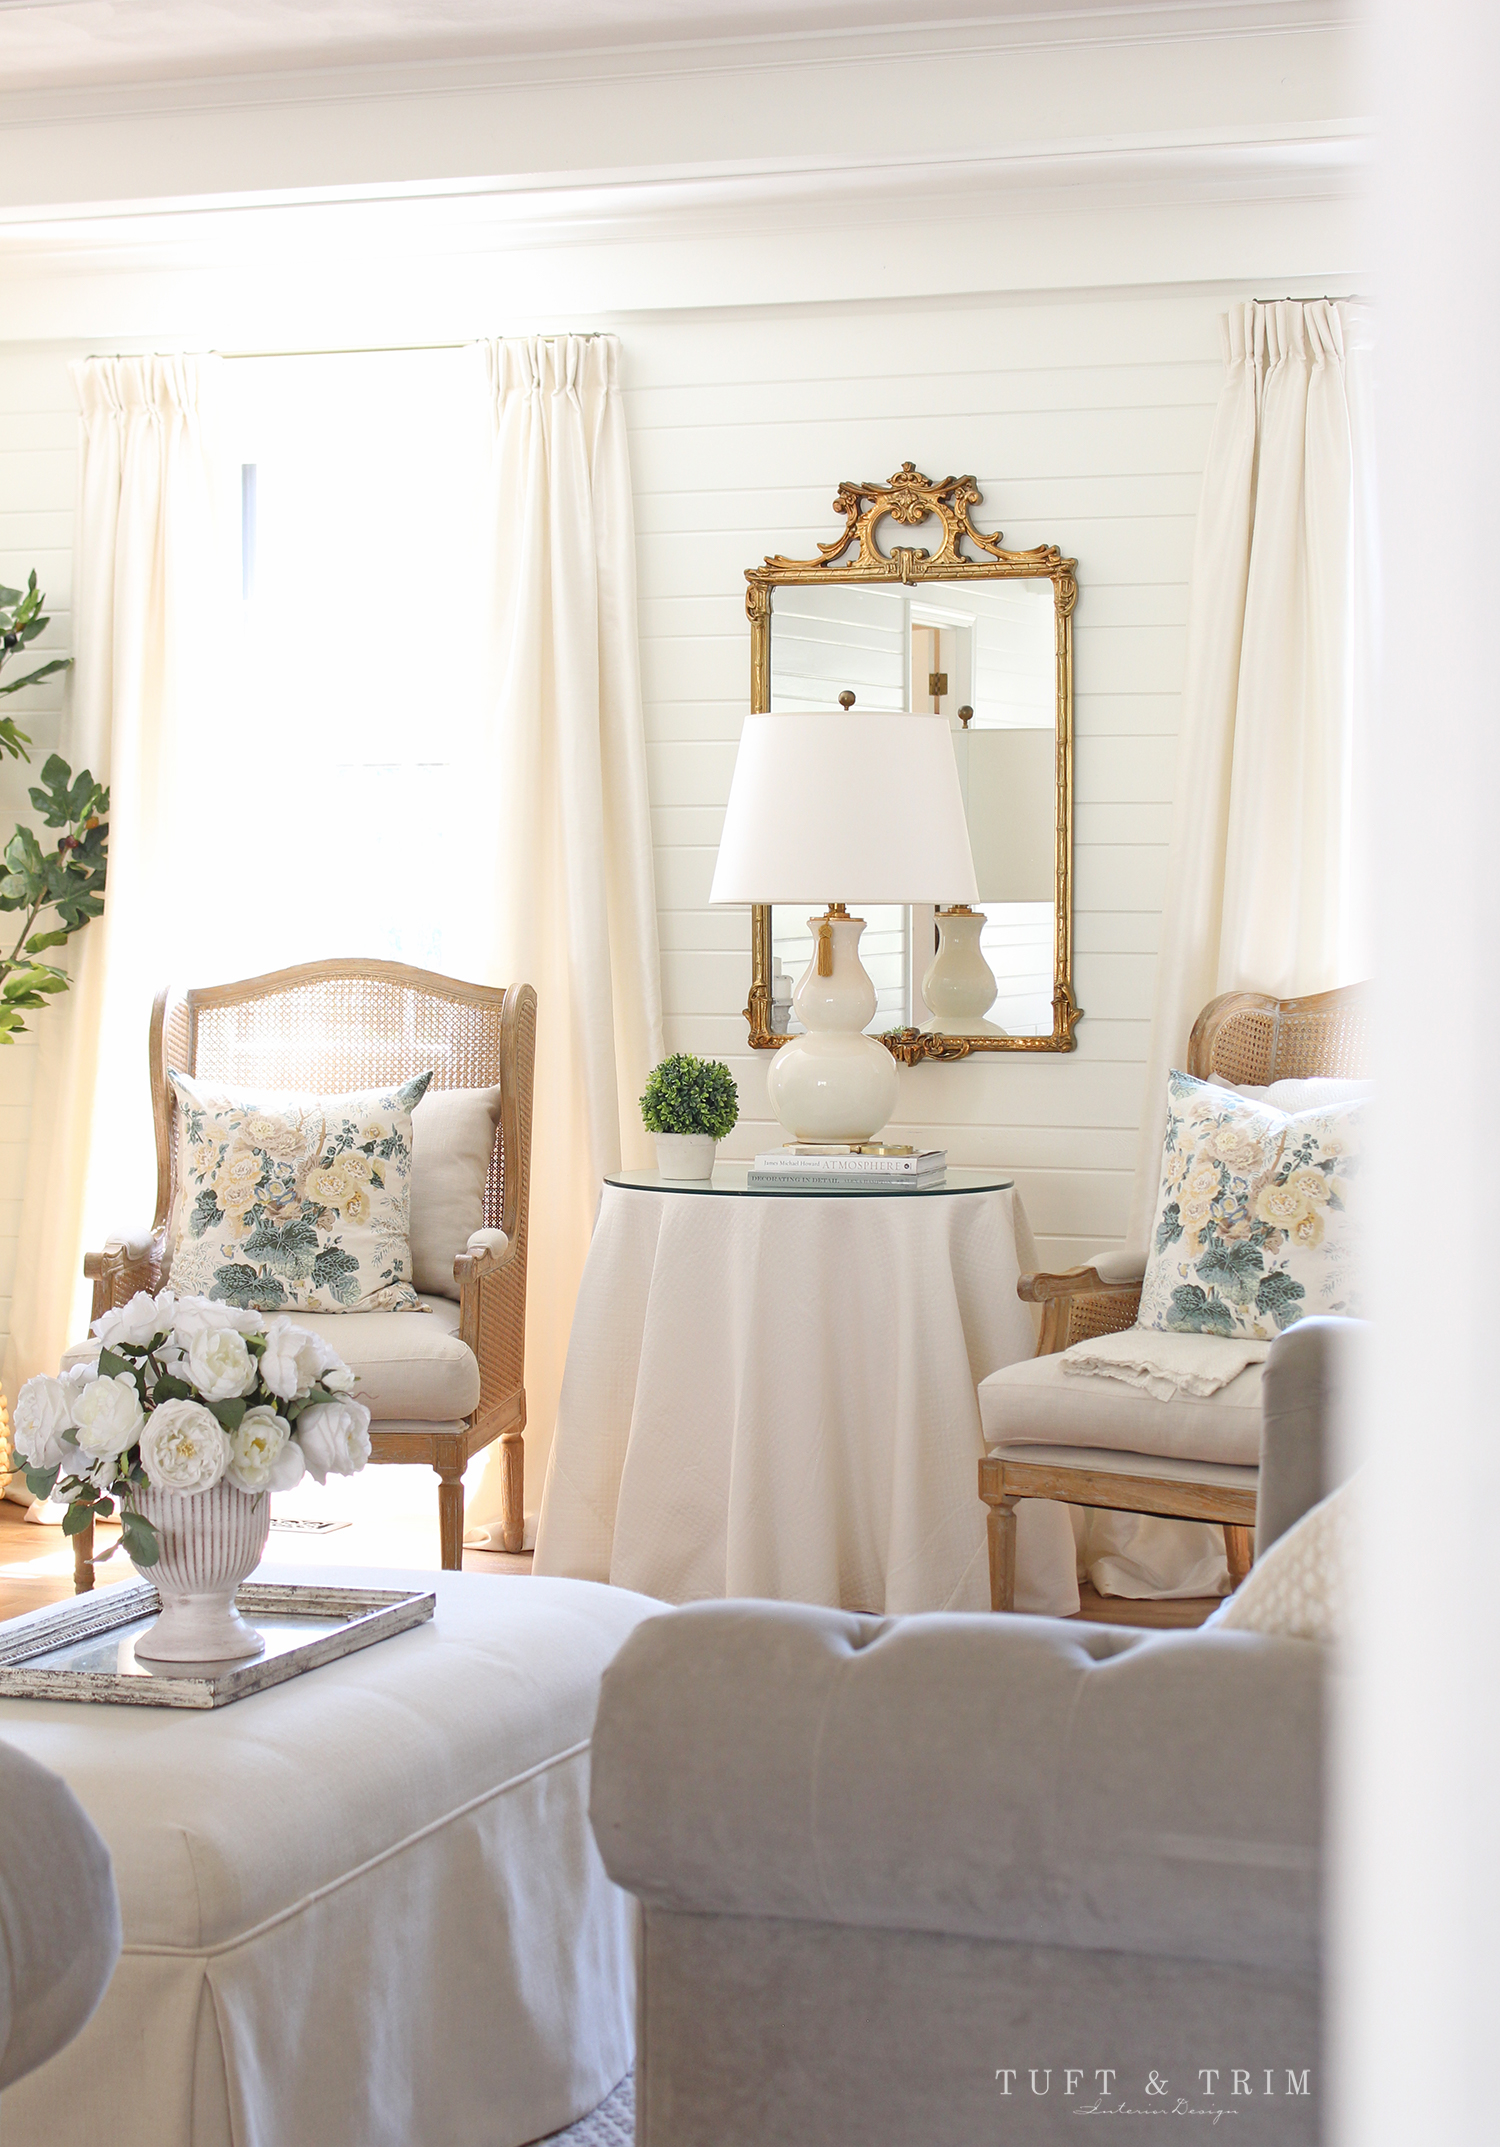


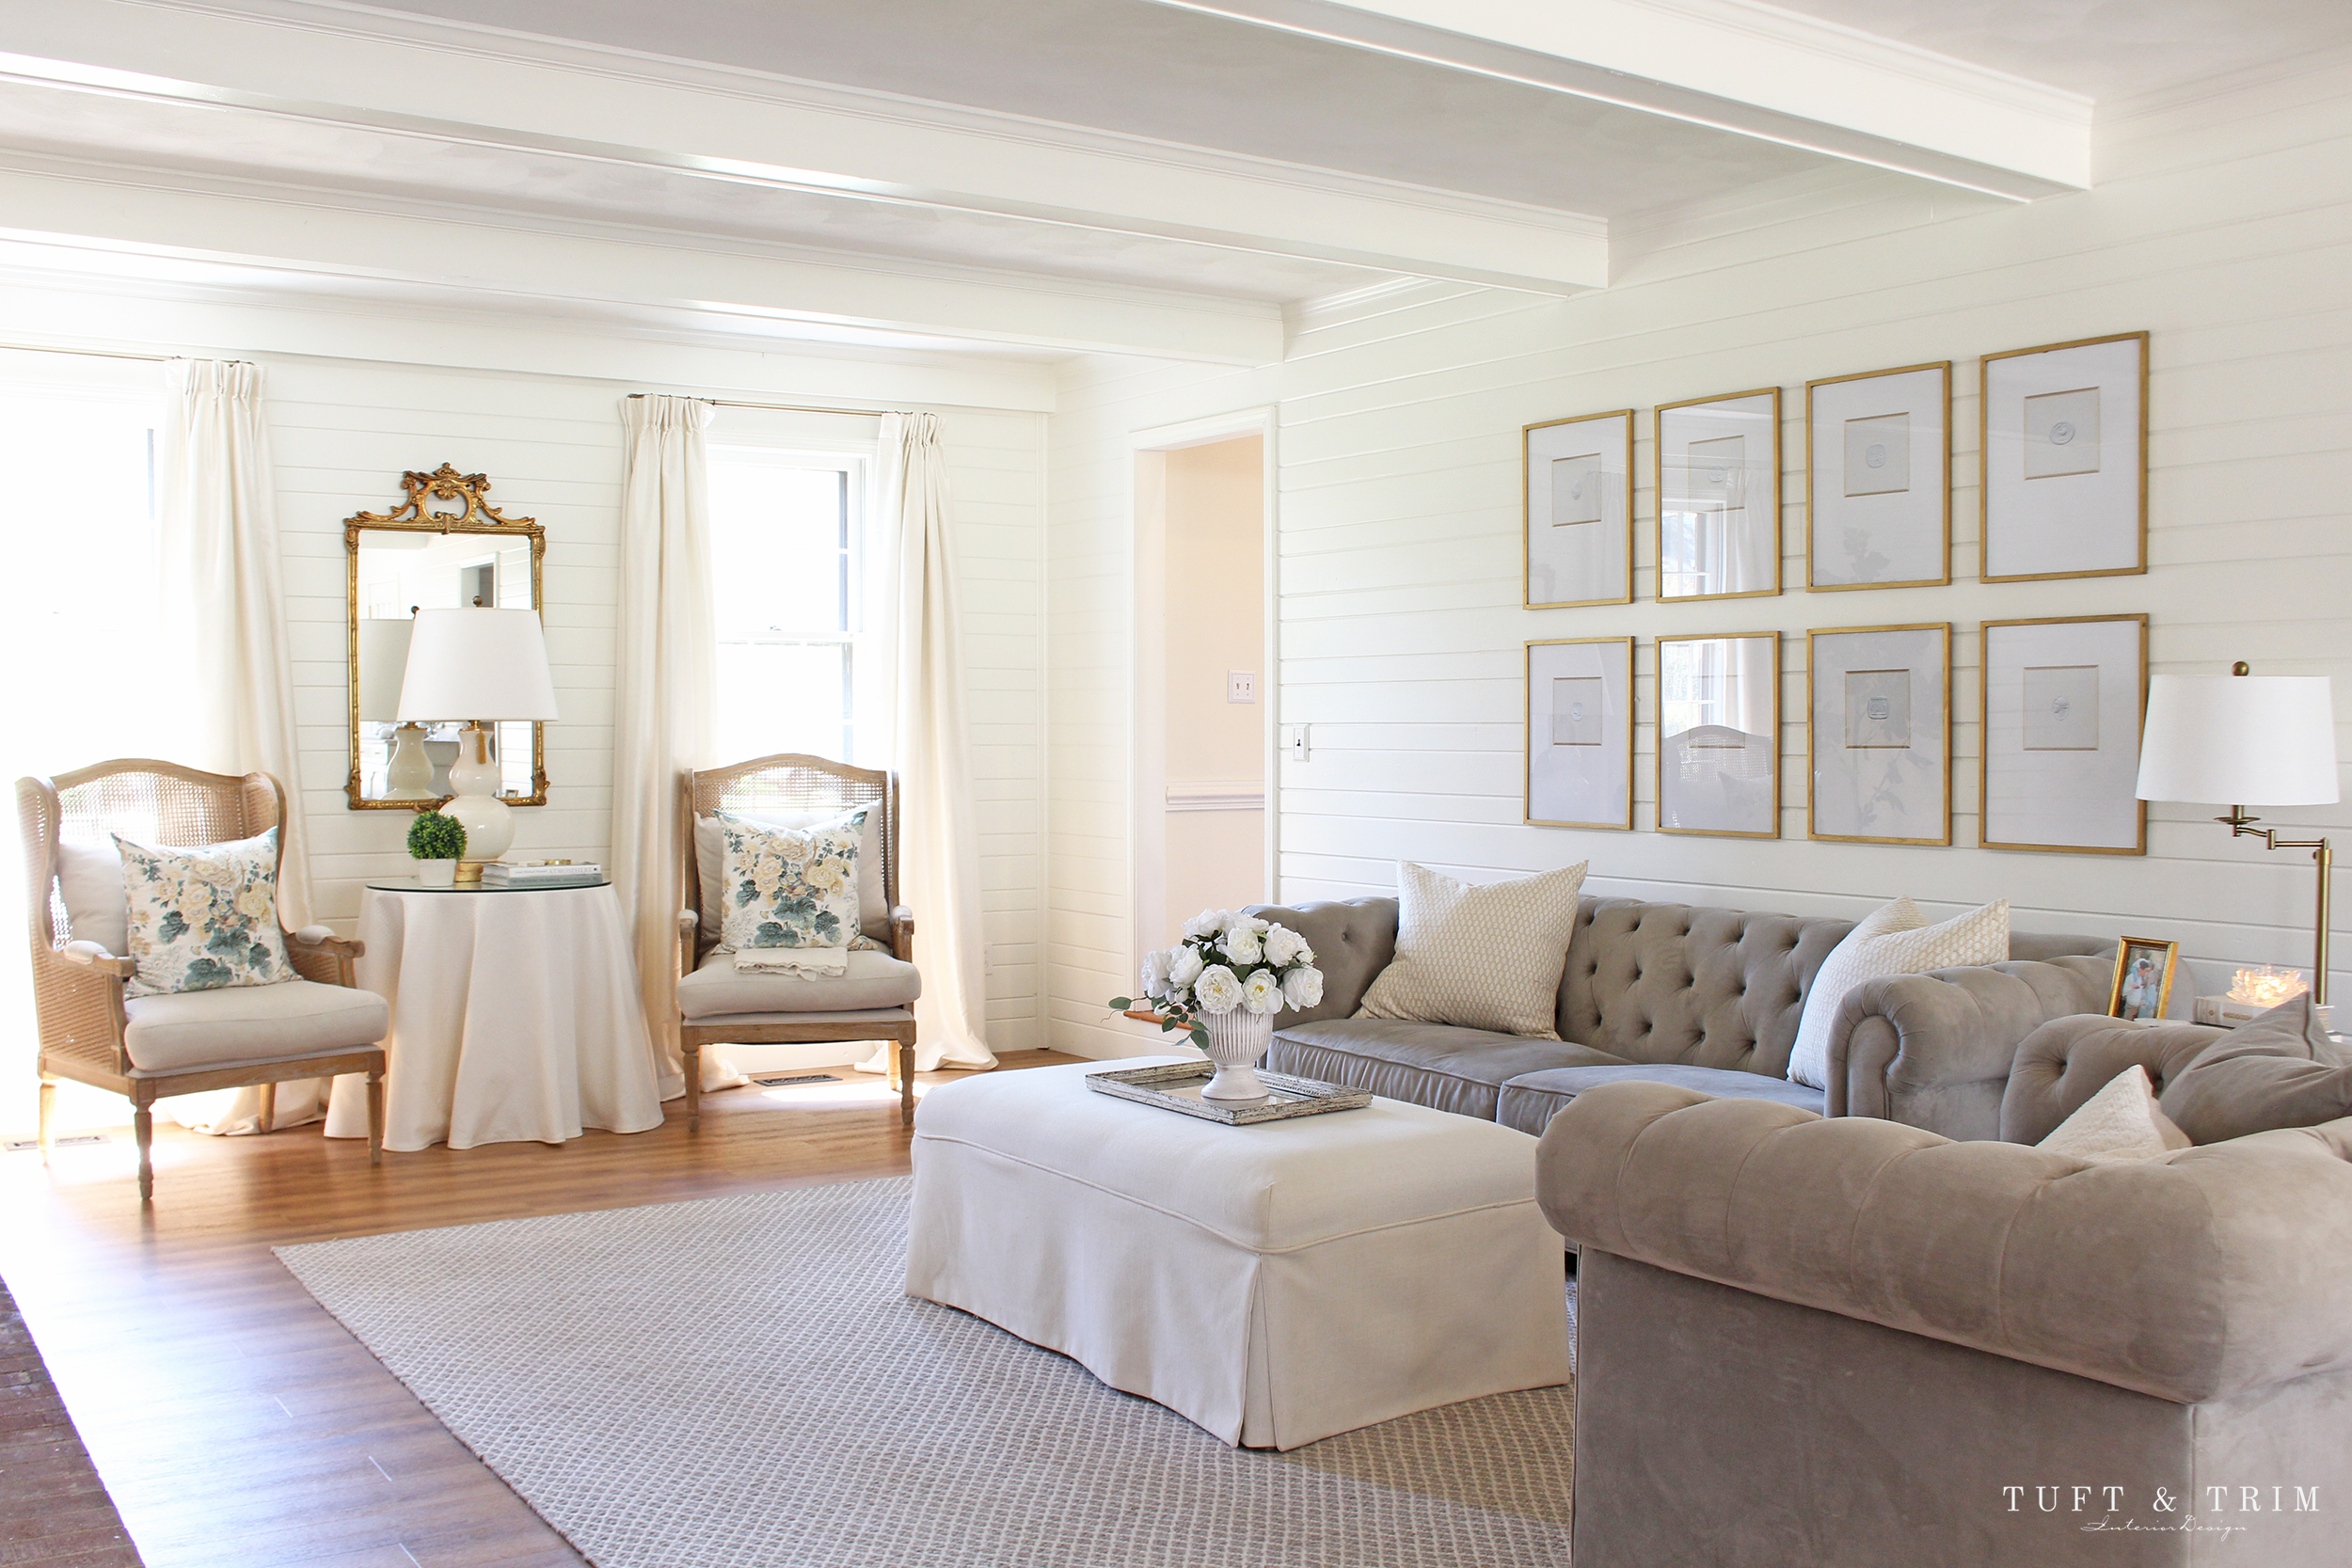
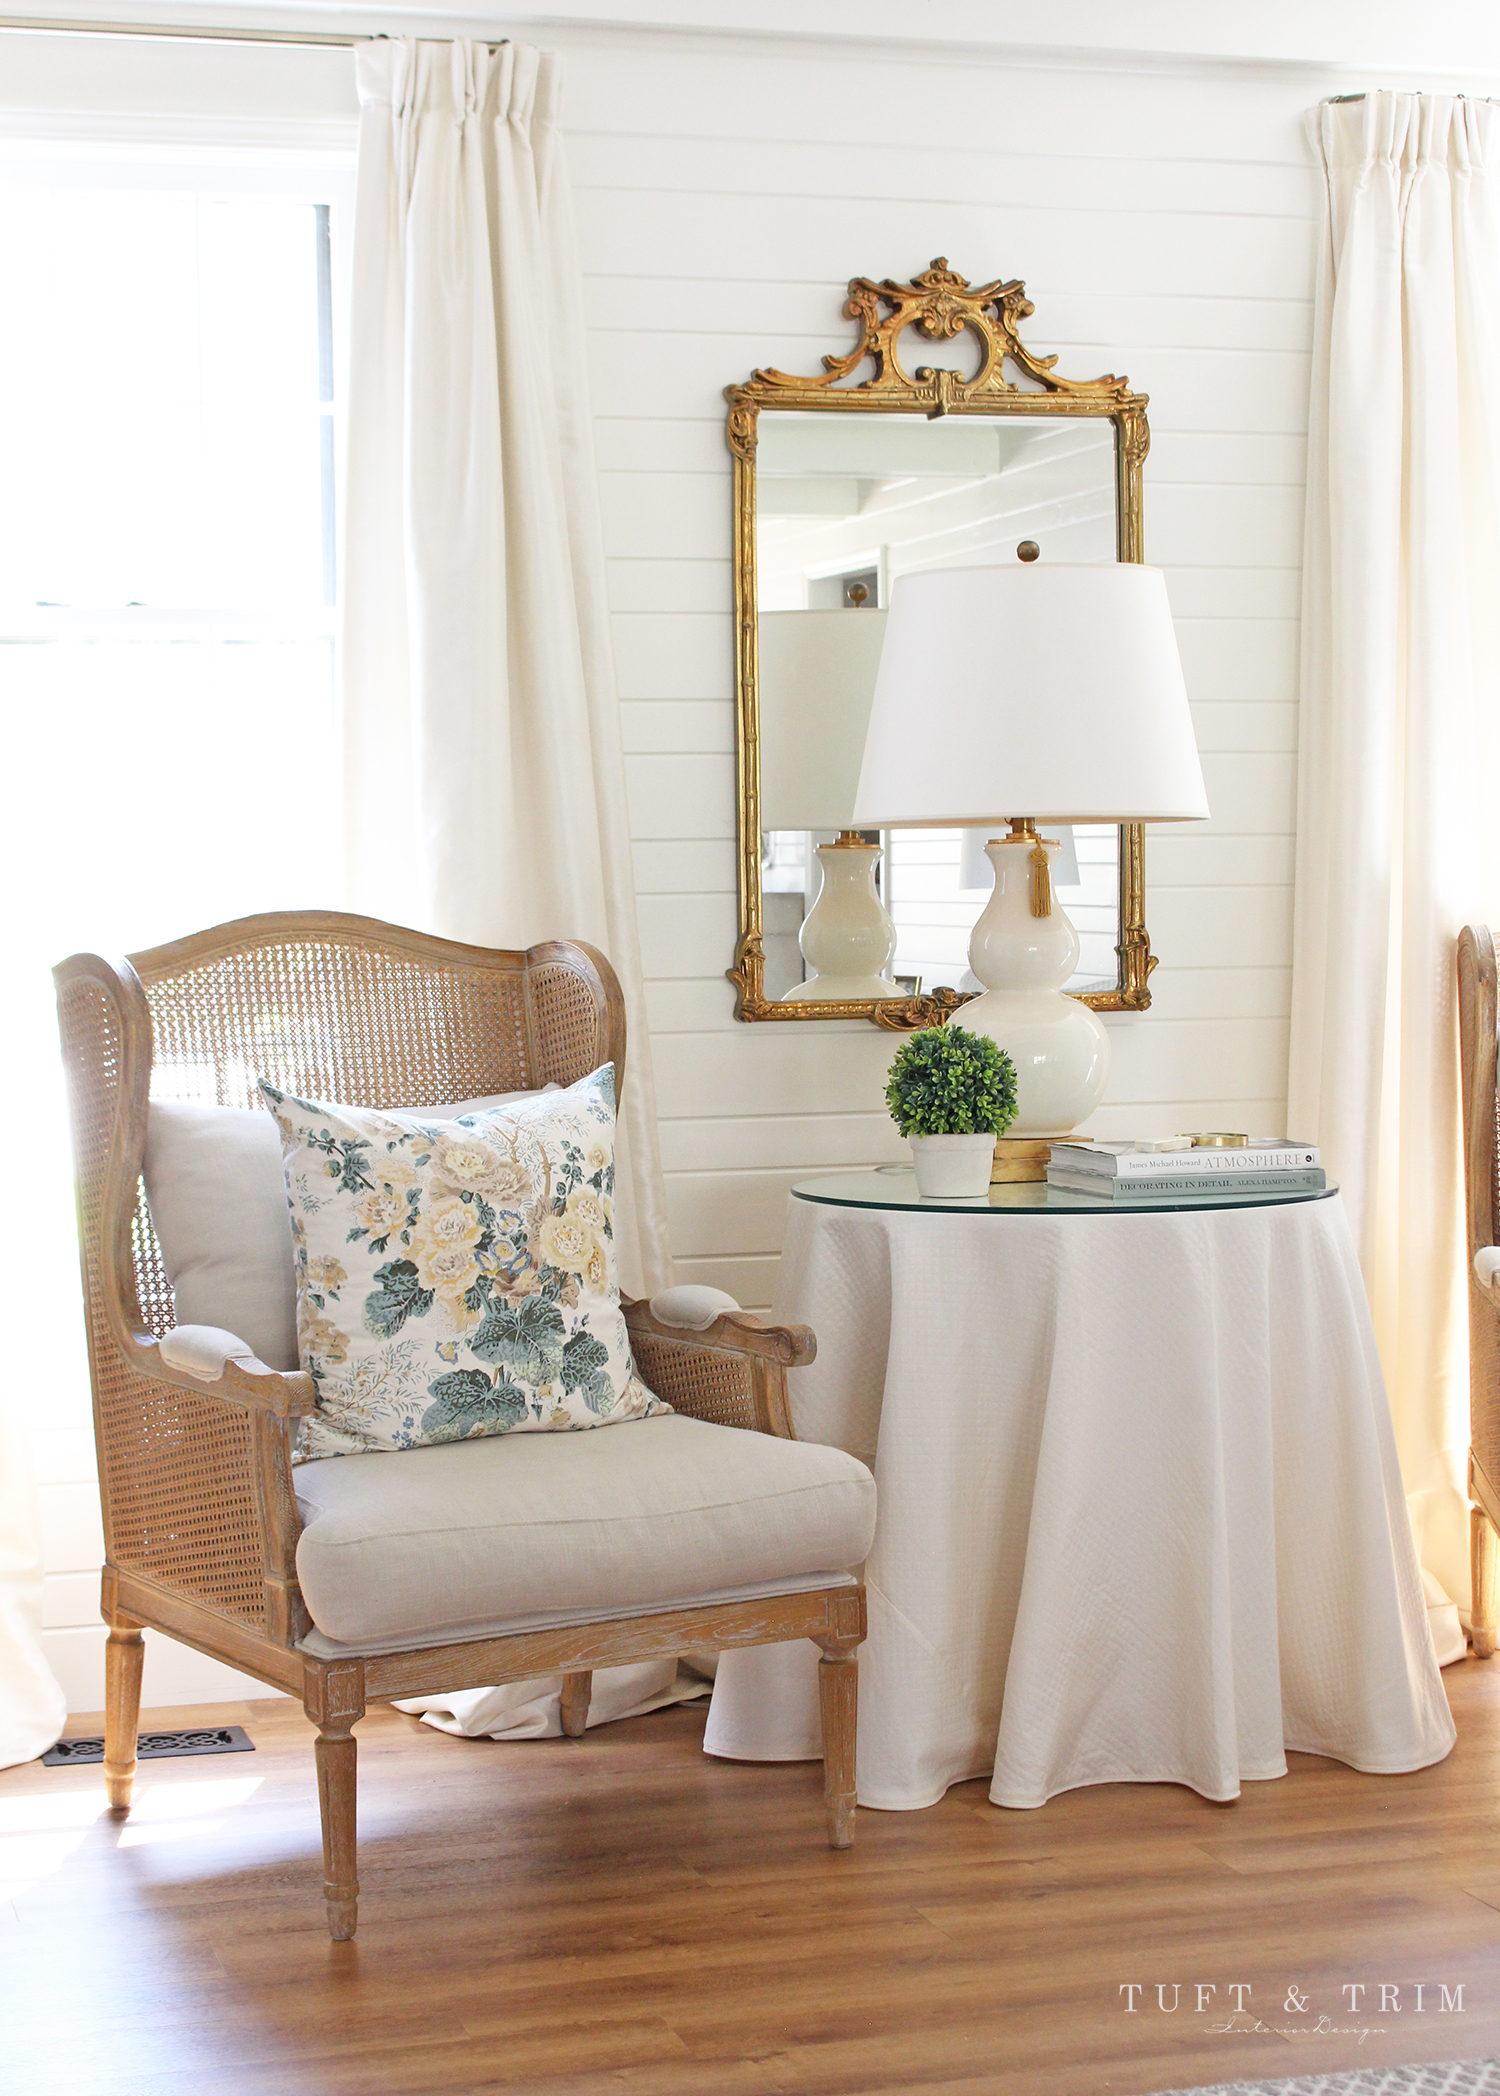
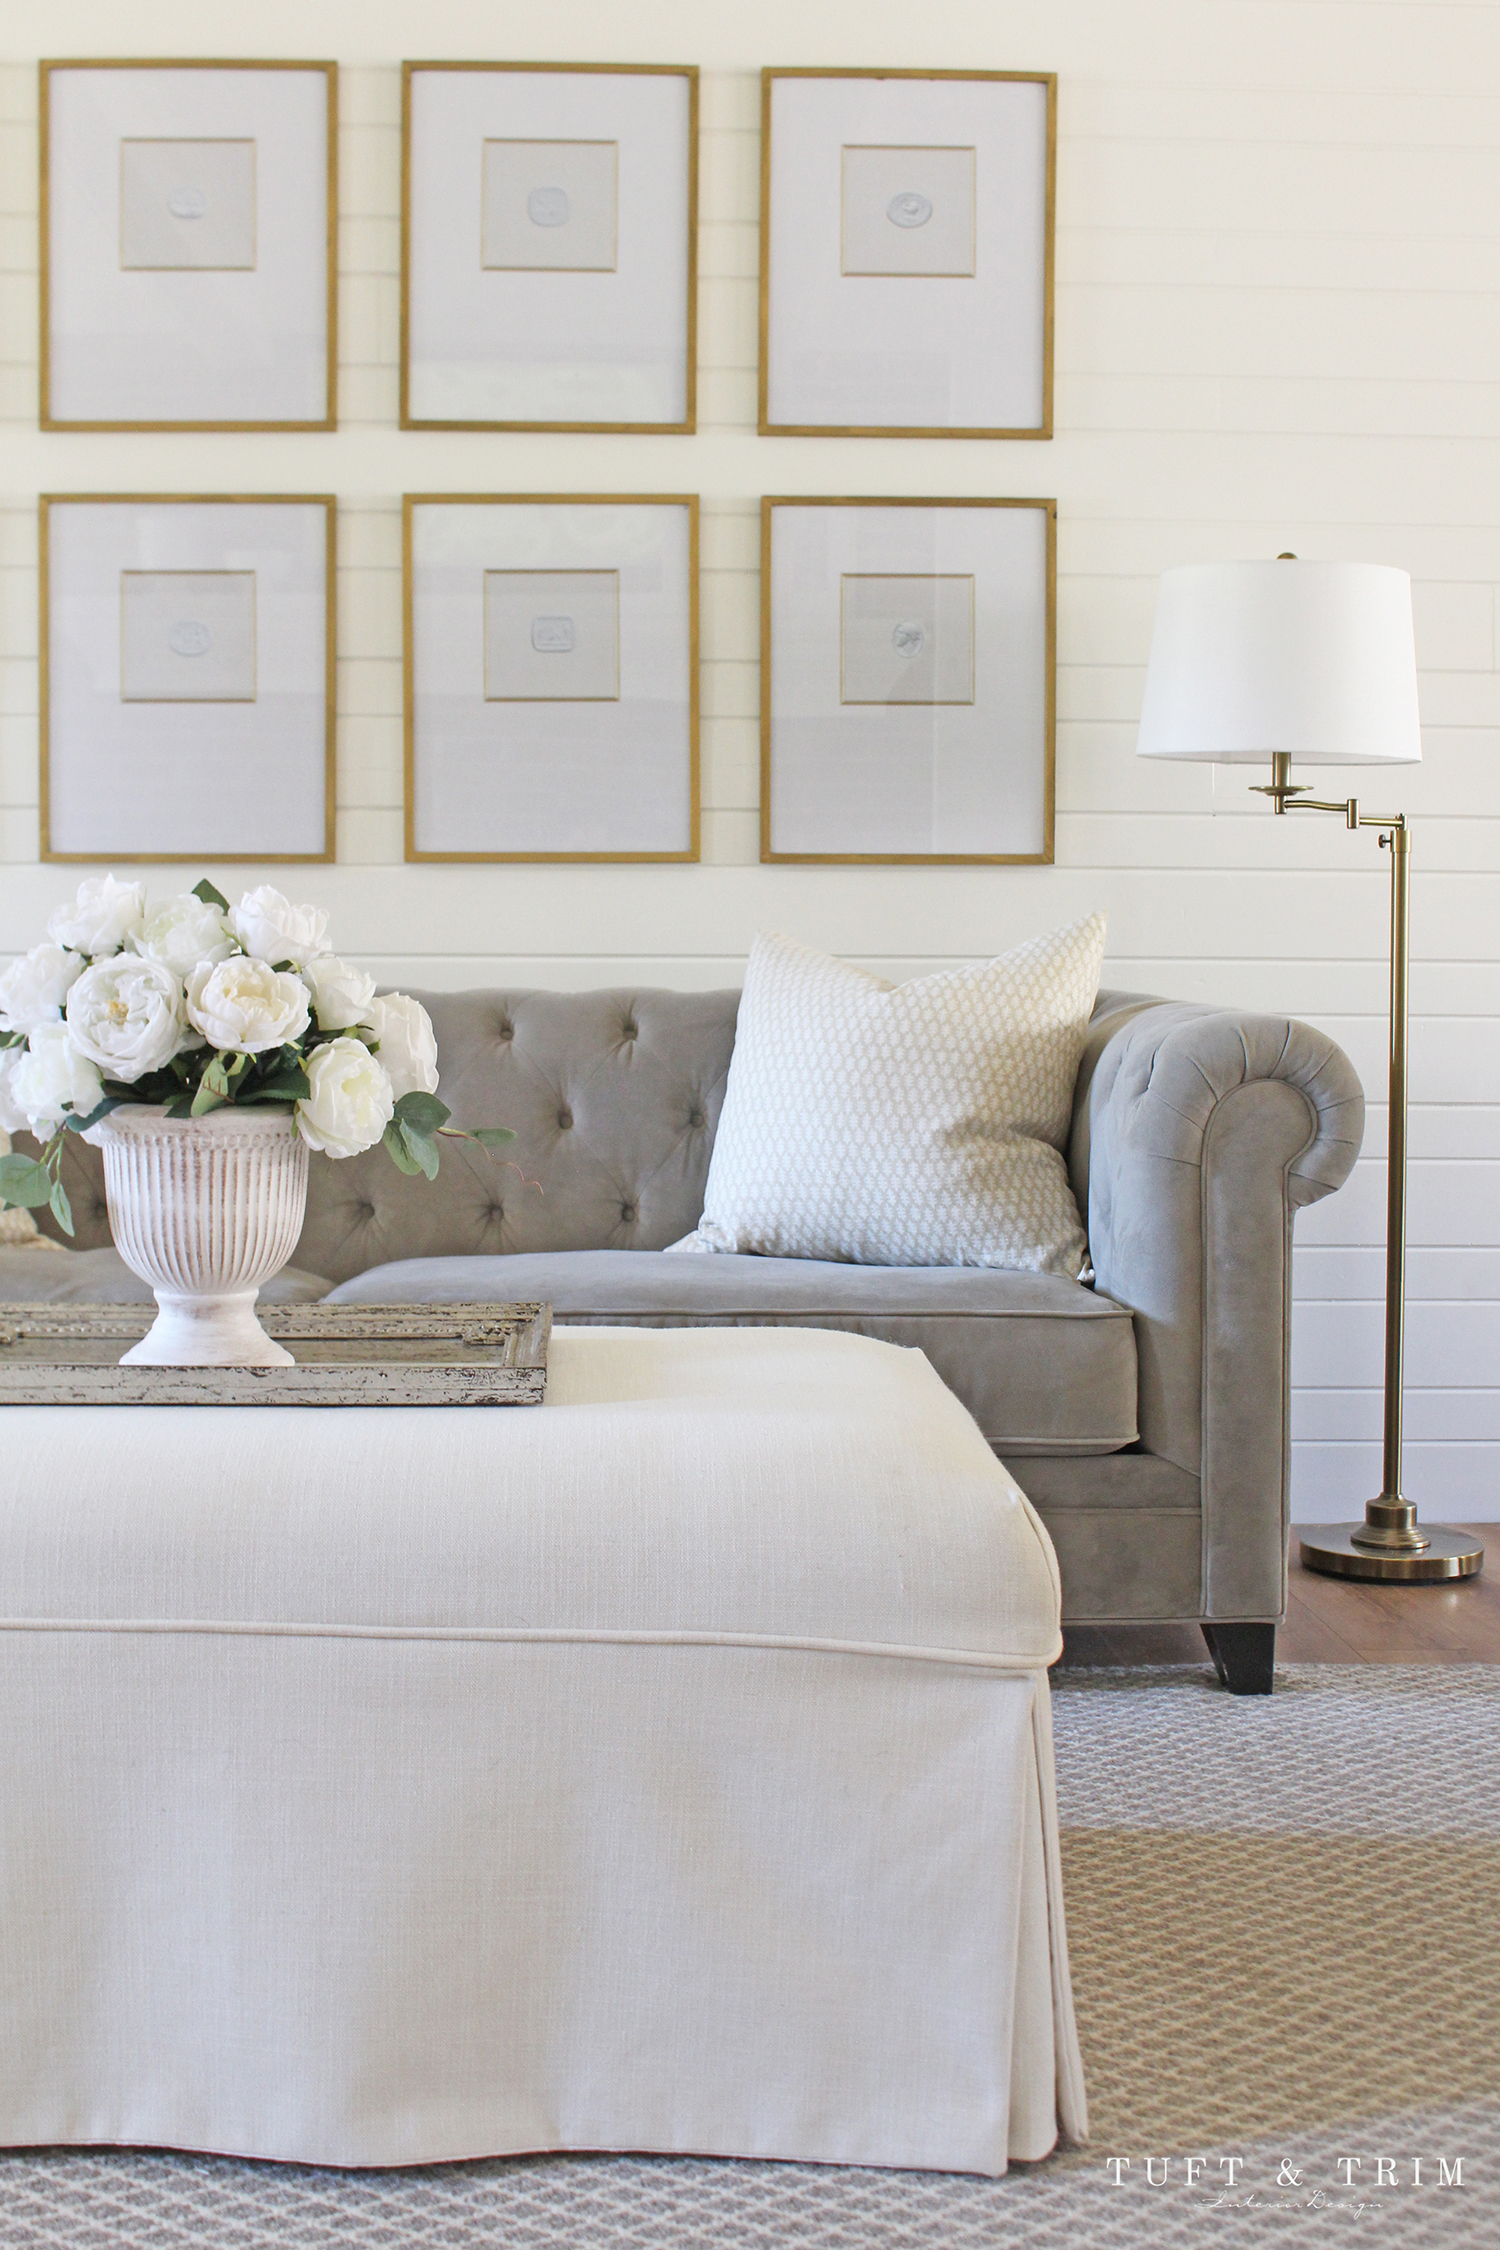
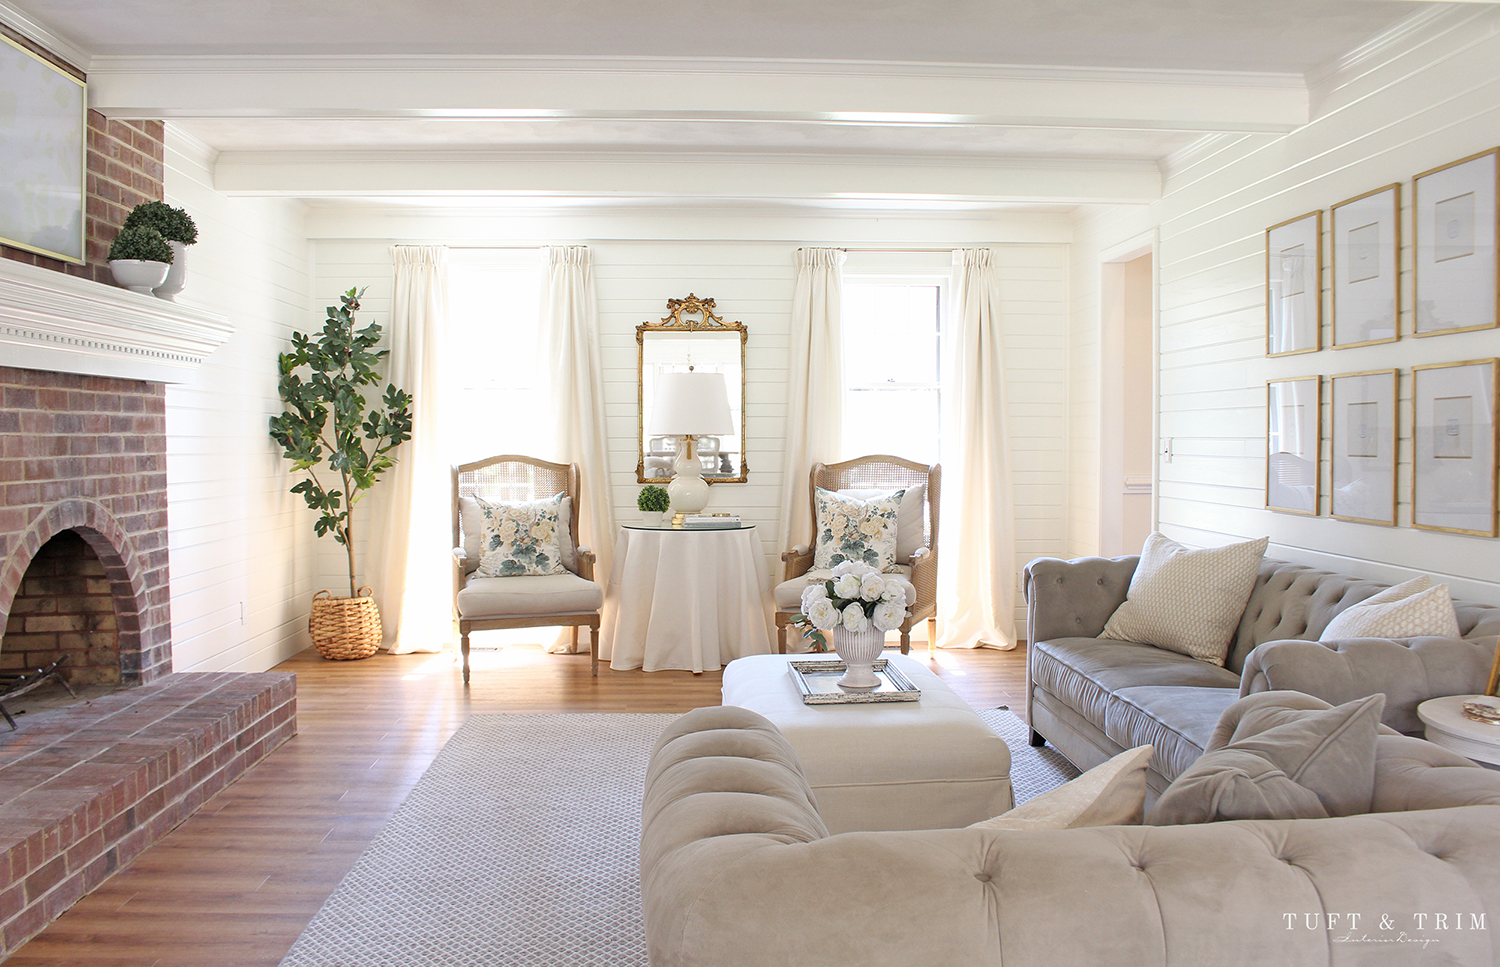
Another way I cut costs was to shop on Facebook Marketplace. You would not believe the amazing things you can find on there. The gorgeous gold mirror below is a vintage Uttermost and was only $25 and the lamp is a designer lamp costing over $500 retail and I got it for $75. If you’re looking to update your decor on a budget, check out Facebook Marketplace, you never know what gems you might find!
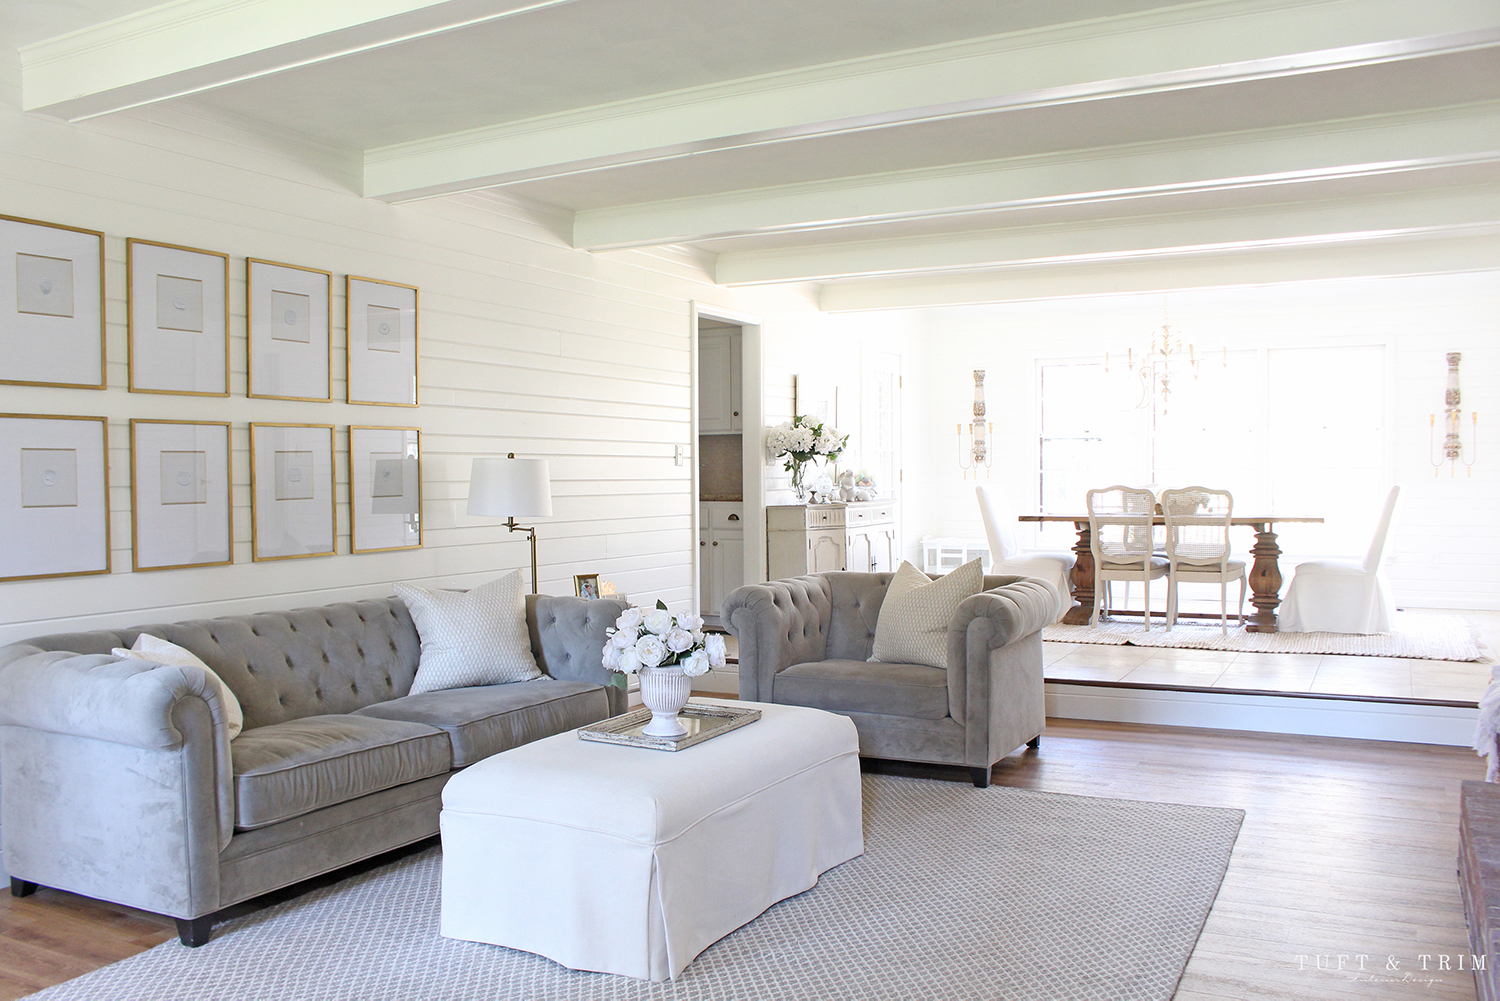
All the walls, beams, and trim were painted in Sherwin Williams Alabaster white- my favorite white paint color.

Now let’s take a look at what the room looked like before we started and you can watch the renovation unfold!
BEFORE
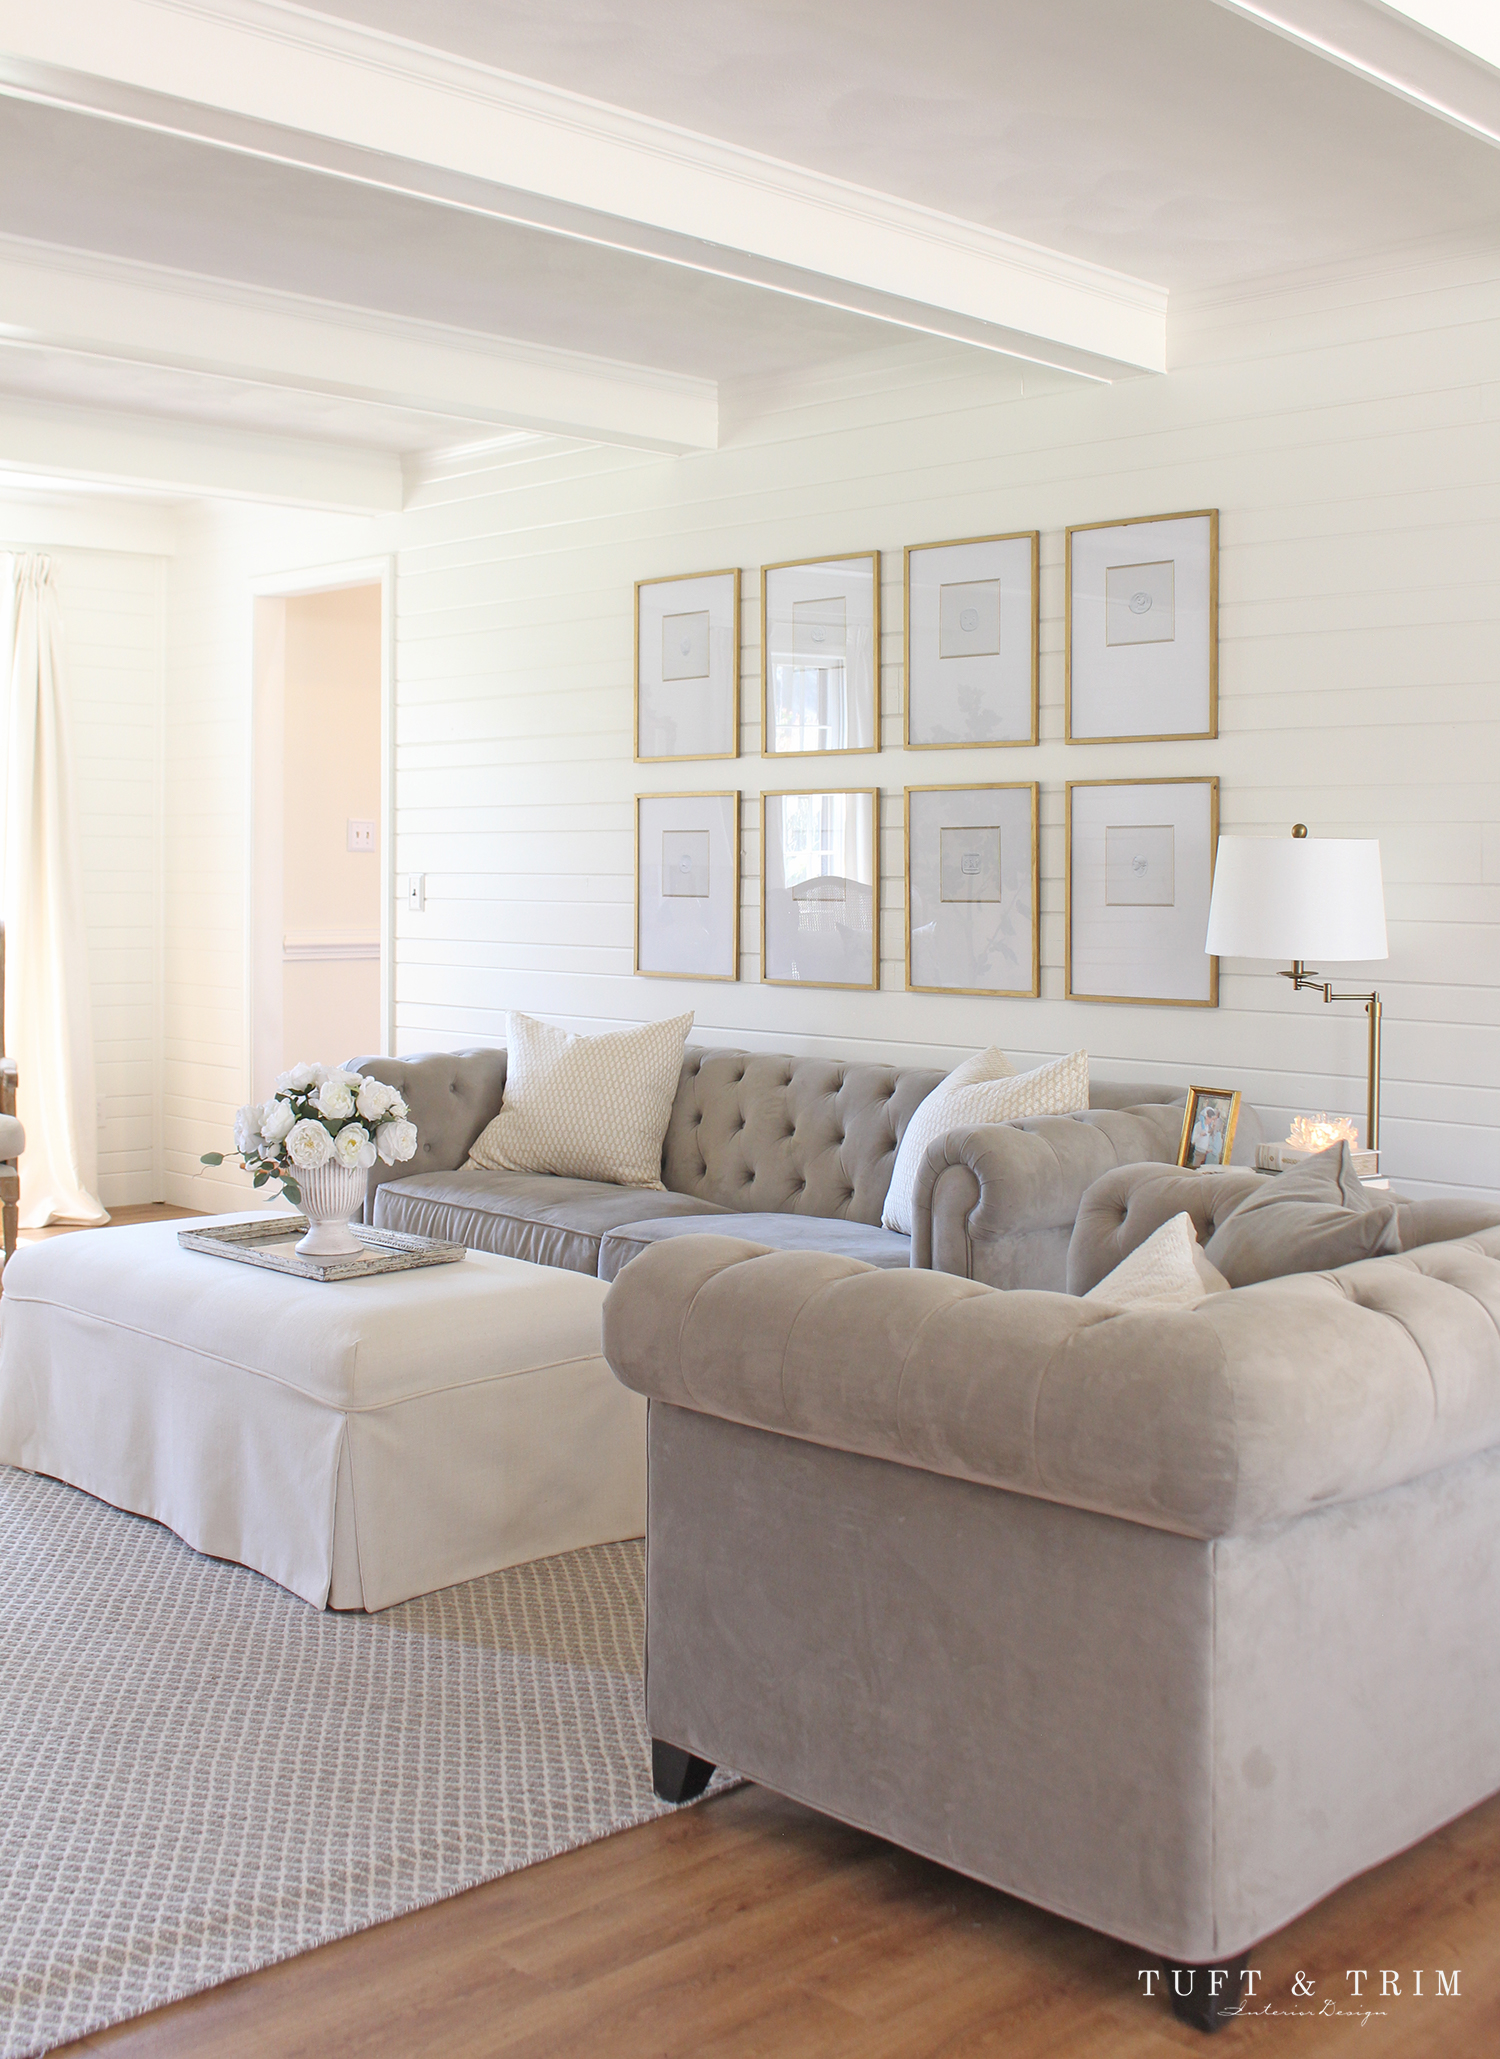
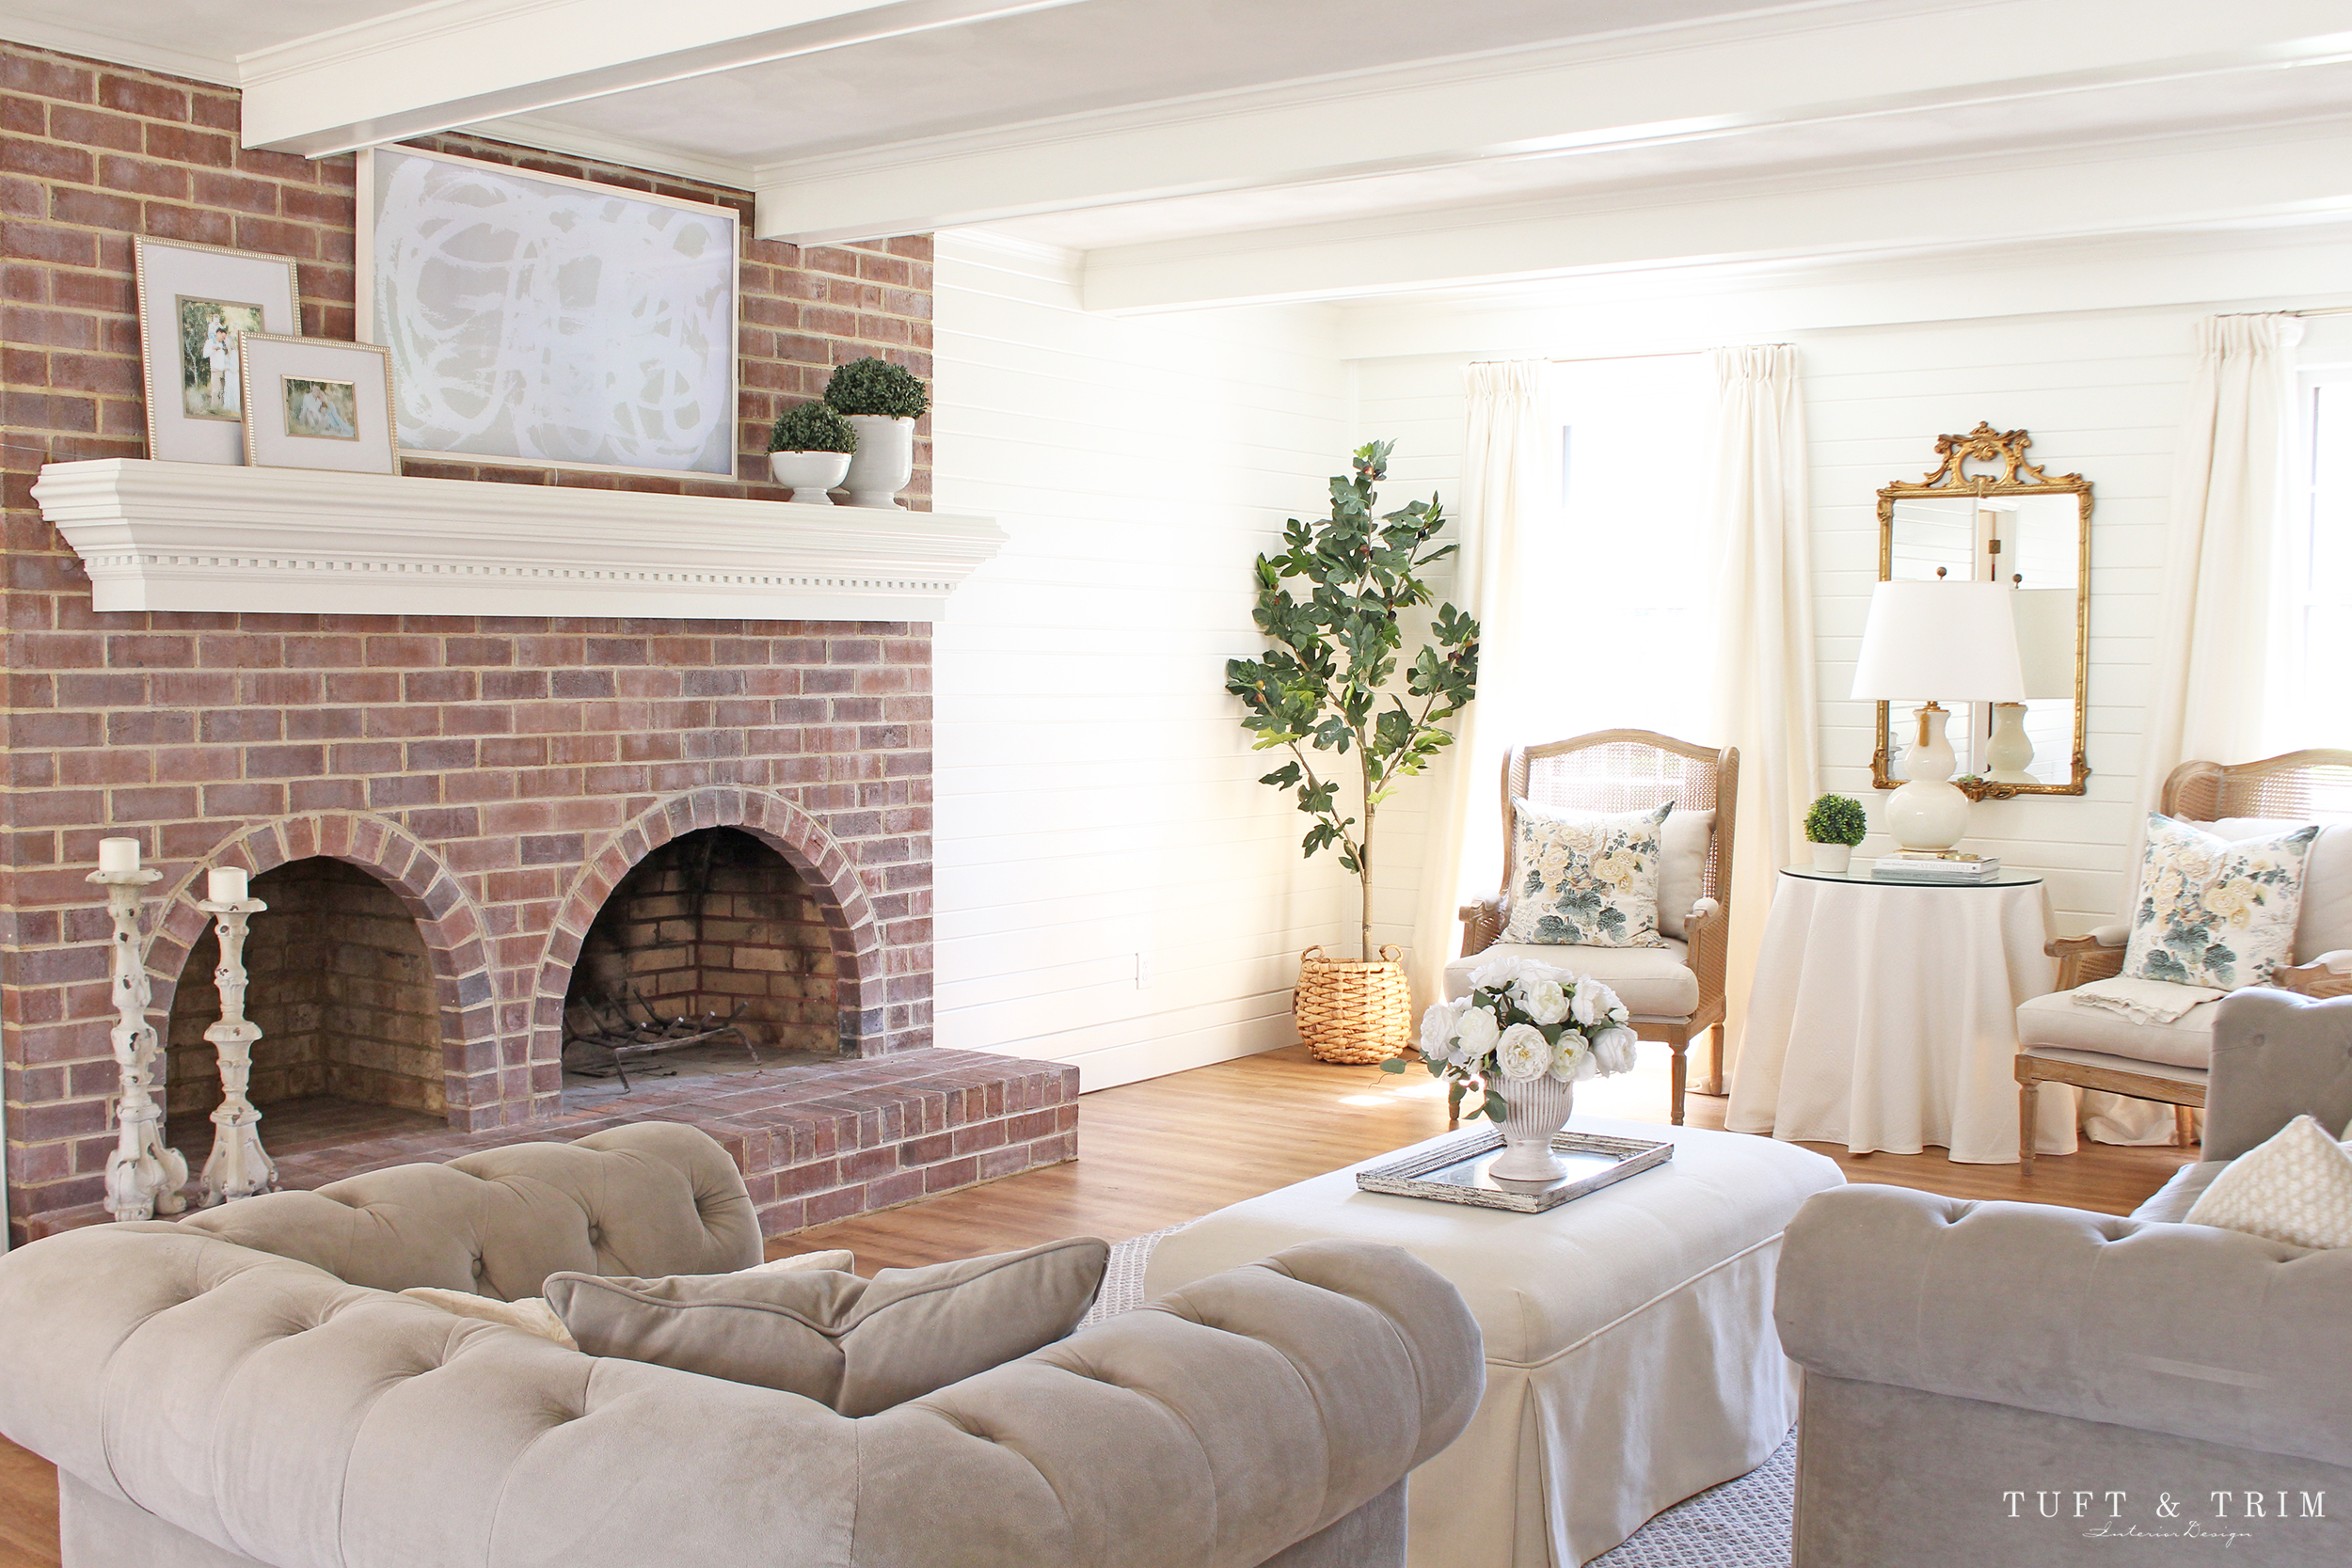
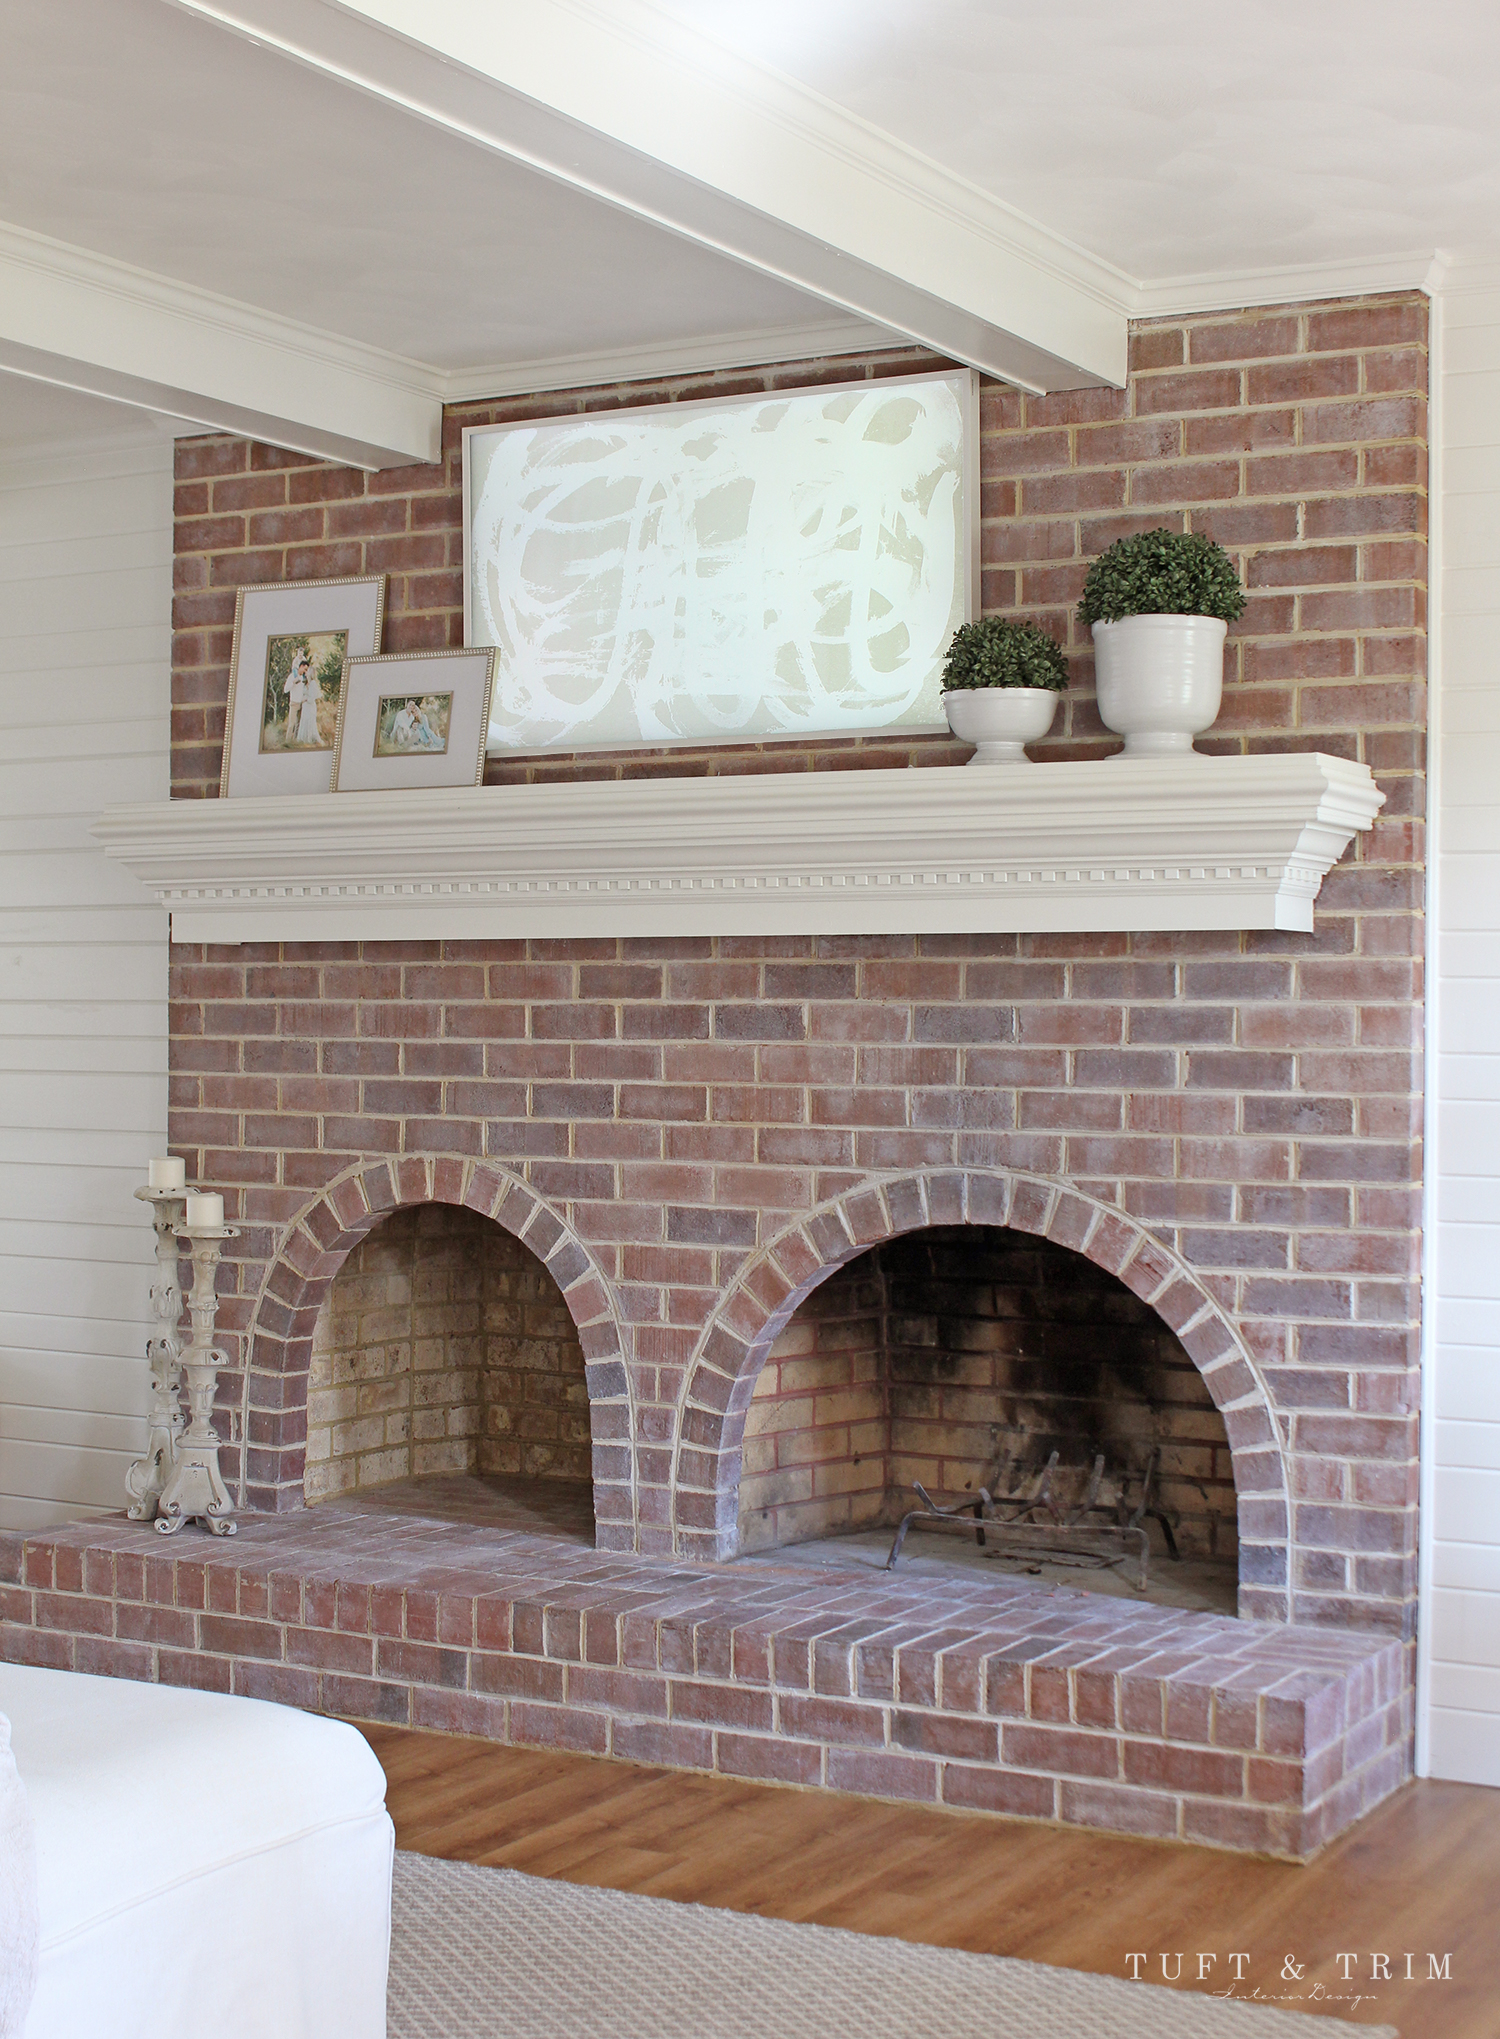
AFTER
BEFORE
AFTER
BEFORE
AFTER
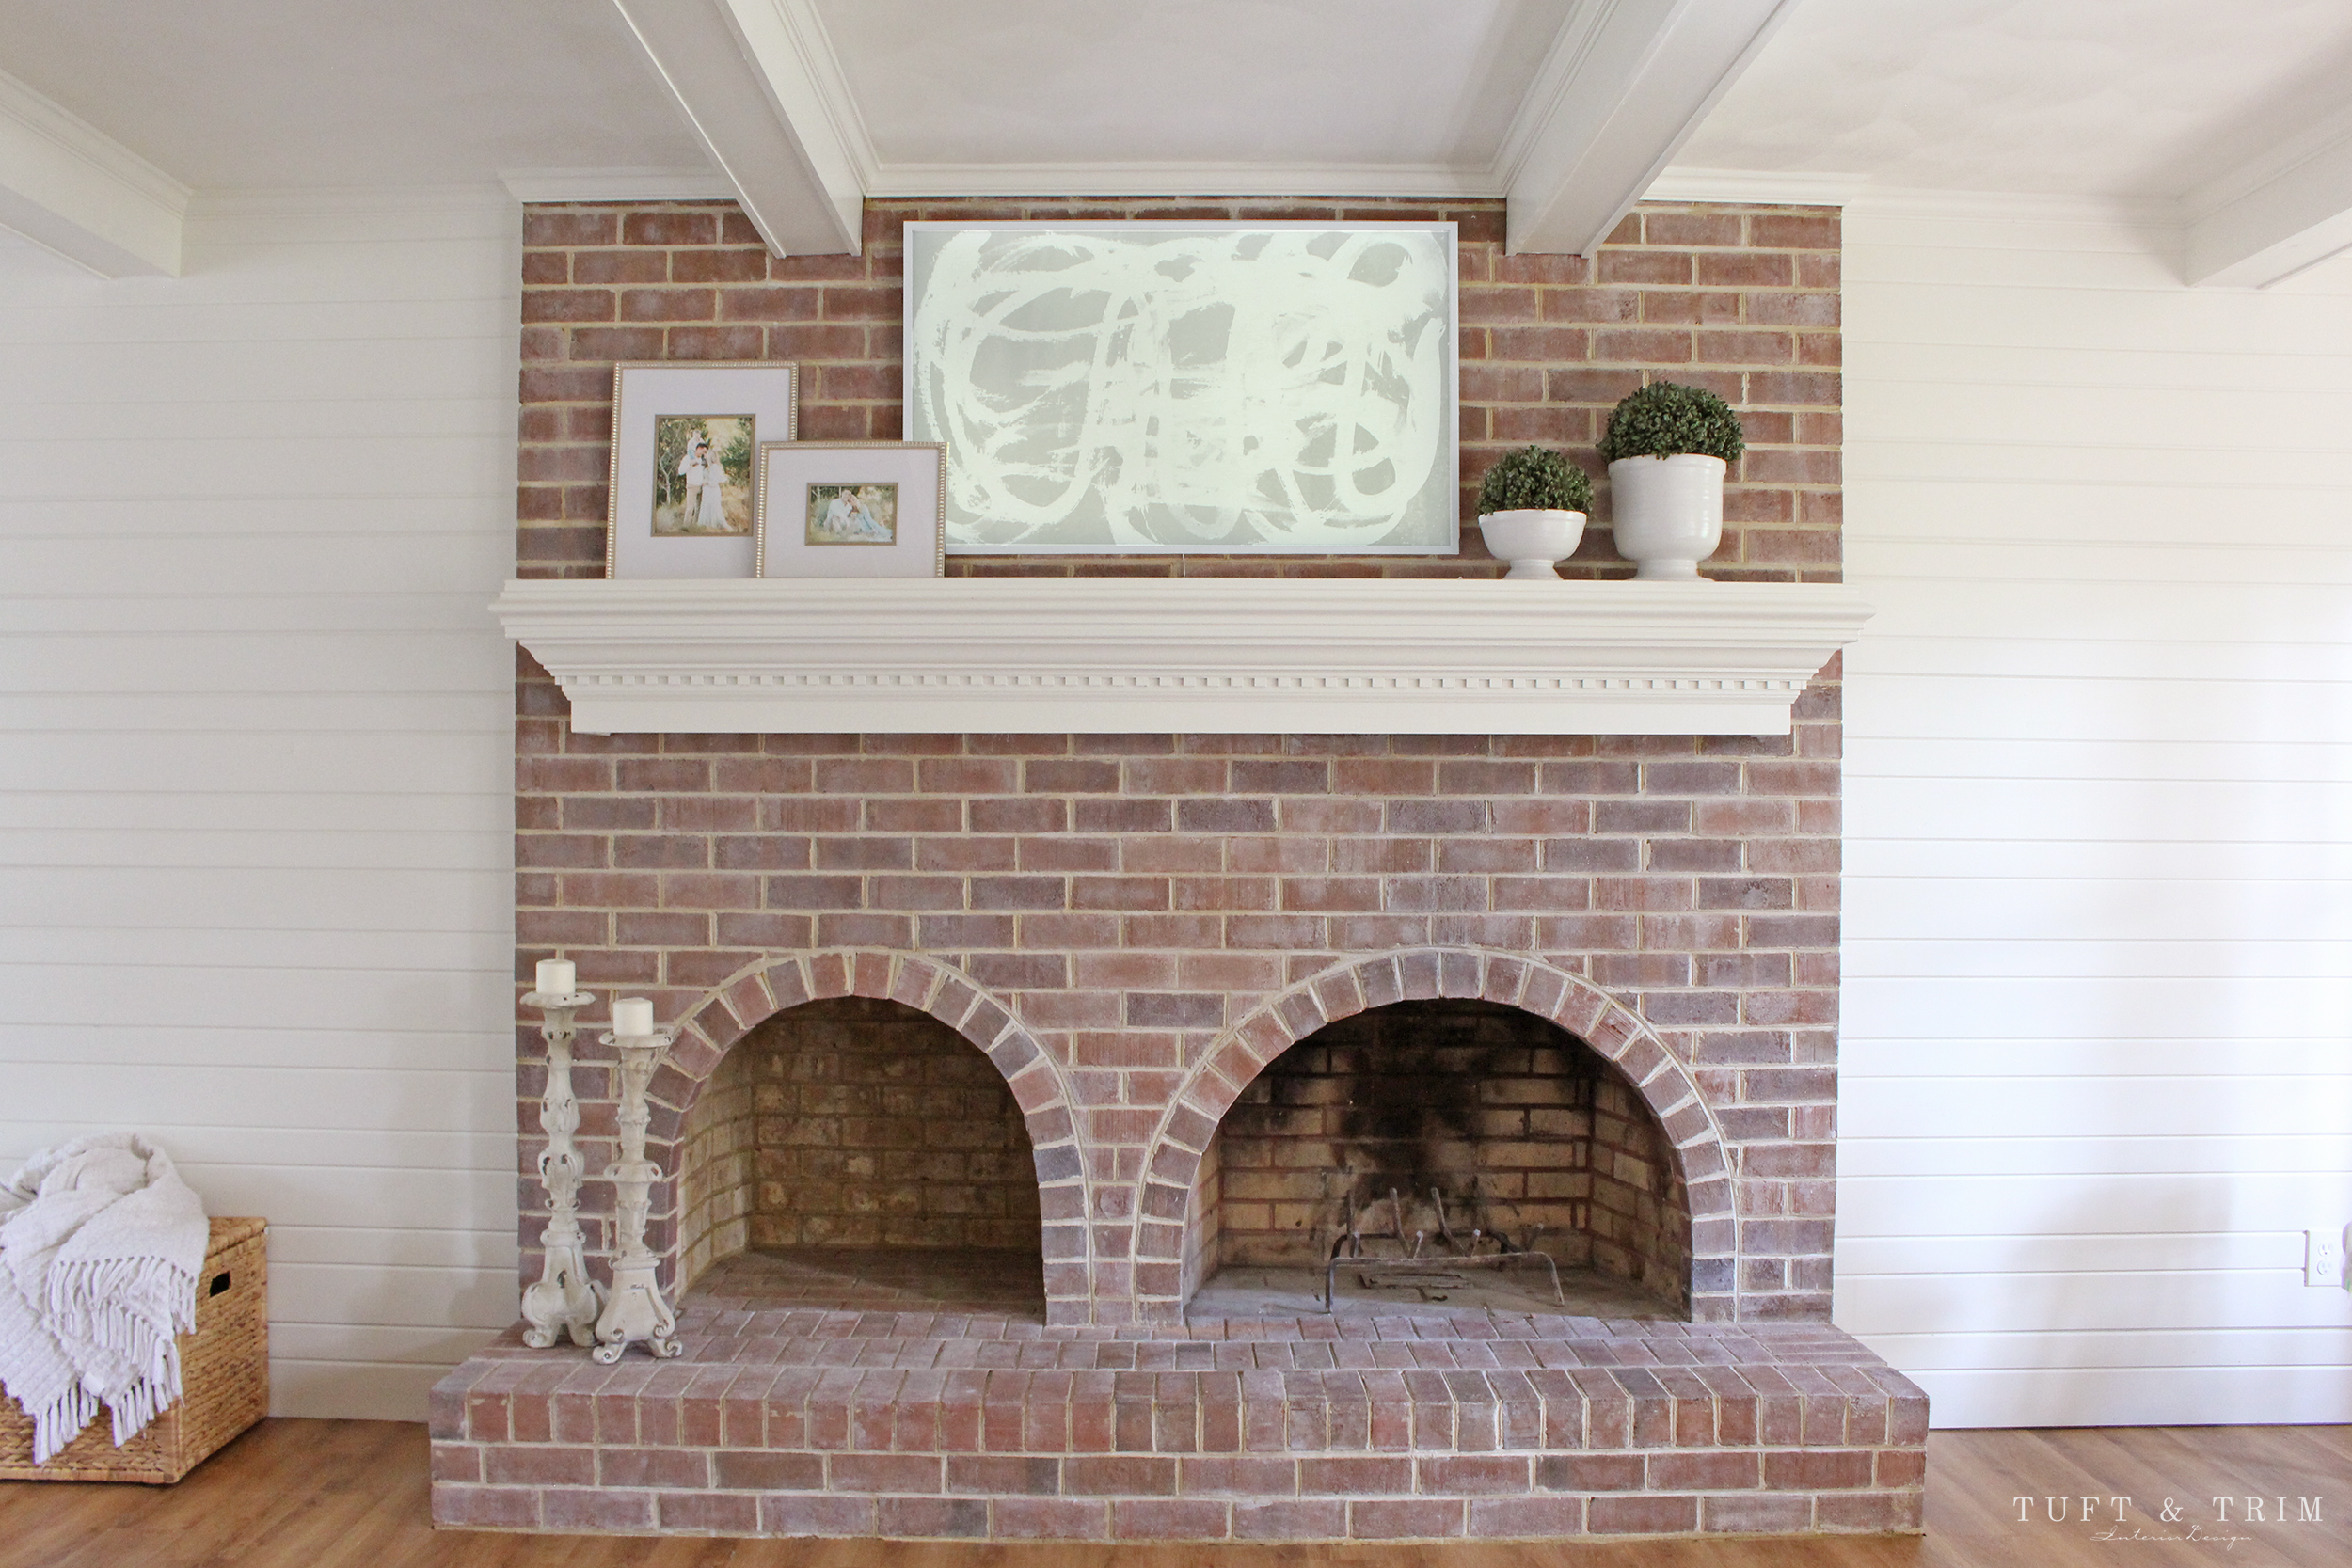
Another update we did was whitewashing the brick fireplace. I liked the contrast of the brick on the white walls, but wanted to soften it a bit so we applied a thin layer of watered down paint. It wasn’t a lot, but boy did it make a difference!
Progress Pictures
Pretty awesome transformation, right?! If you missed the dining room reveal, you can check out the full tour and before and after pictures here.
Thank you so much for stopping by today! I hope this project has inspired you to see the potential in your home and tackle a fun project of your own! For more home inspiration, follow me on my social media below and subscribe to my newsletter so you don’t miss any of my upcoming posts!
Instagram / Facebook / Pinterest


Courtney, Your home is such an inspiration. Two questions. Can you share the details of how you white washed your brick and what did u use to hang the picture on the brick? I have a brick fireplace all the way to the ceiling and it needs updating as we live in an older home too.
Thanks Marjorie
Hi Marjorie,
Thank you so much! For our mantel, we mixed wall paint (Alabaster) with water, about a 30/70 ratio but that can vary depending on how white you want it. I wanted it subtle so the brick tone still came through. For the application, you brush it on with a paint brush, then wipe over with a rag. My husband drilled holes in the brick and got certain screws from home depot that are made for brick. Hope that helps!!
Cheers!
Courtney
Hi is your tablecloth from Ballard? If so what color did you do? White, off white or super white? Thanks
Hi Marjorie,
Thanks so much for stopping by! Its the off white quilted- here’s the link- https://rstyle.me/+tA6GVgYcT89NyP3P8PIQ1w
Cheers!
Courtney